



Spring Patchwork Quilt Design Ideas
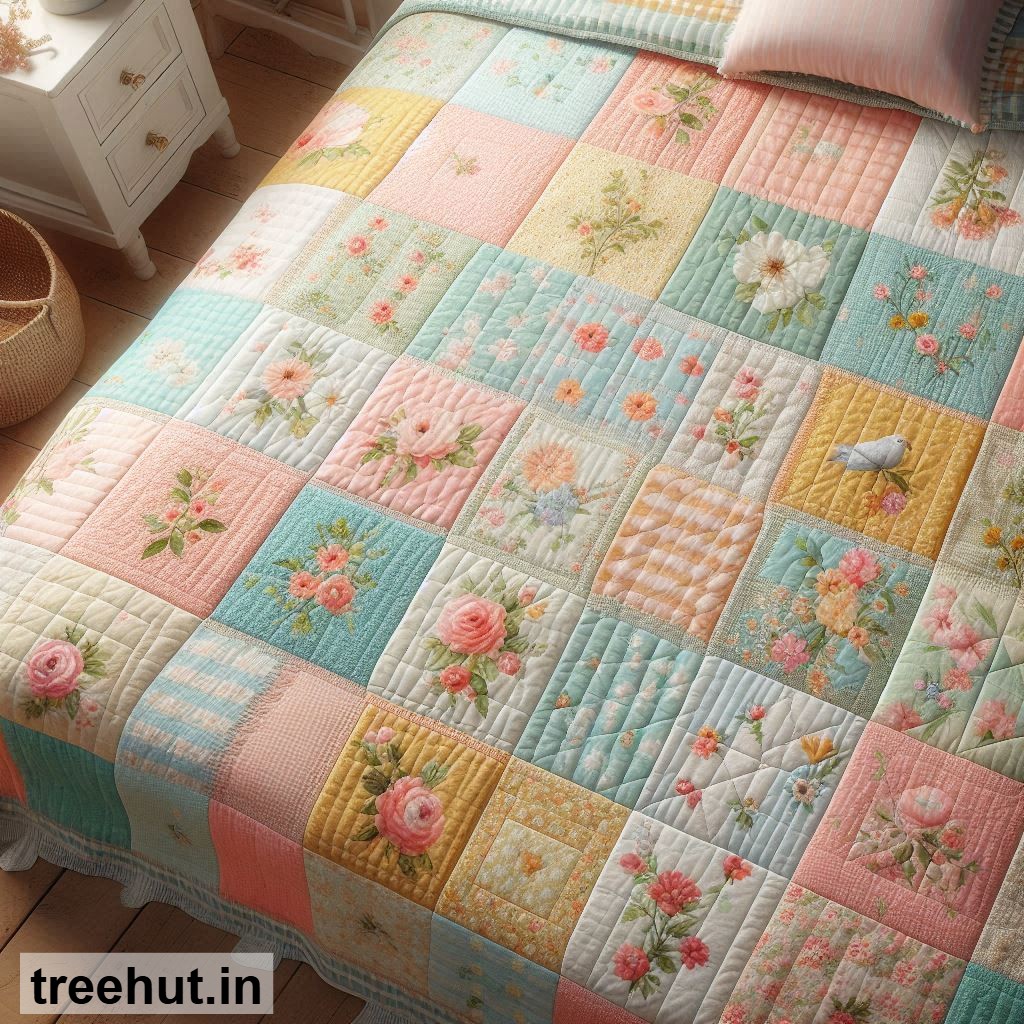
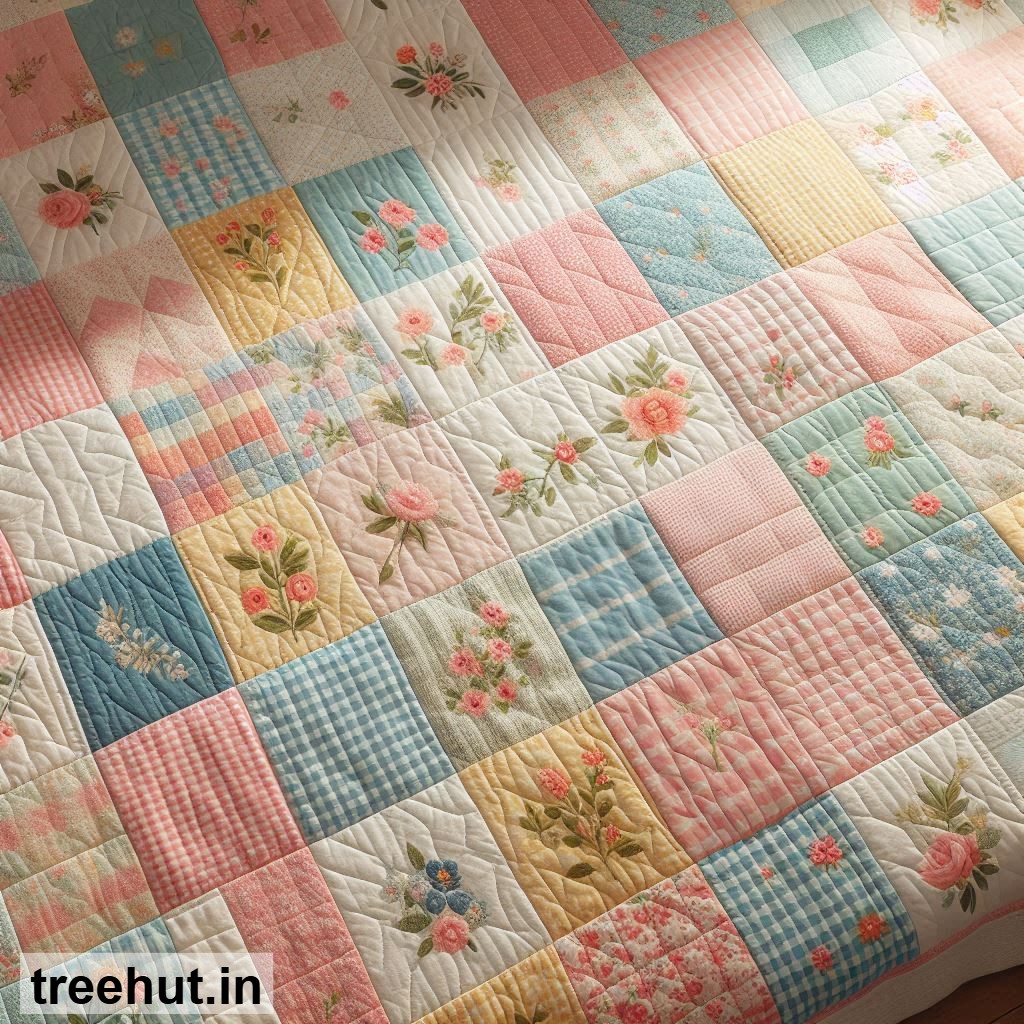
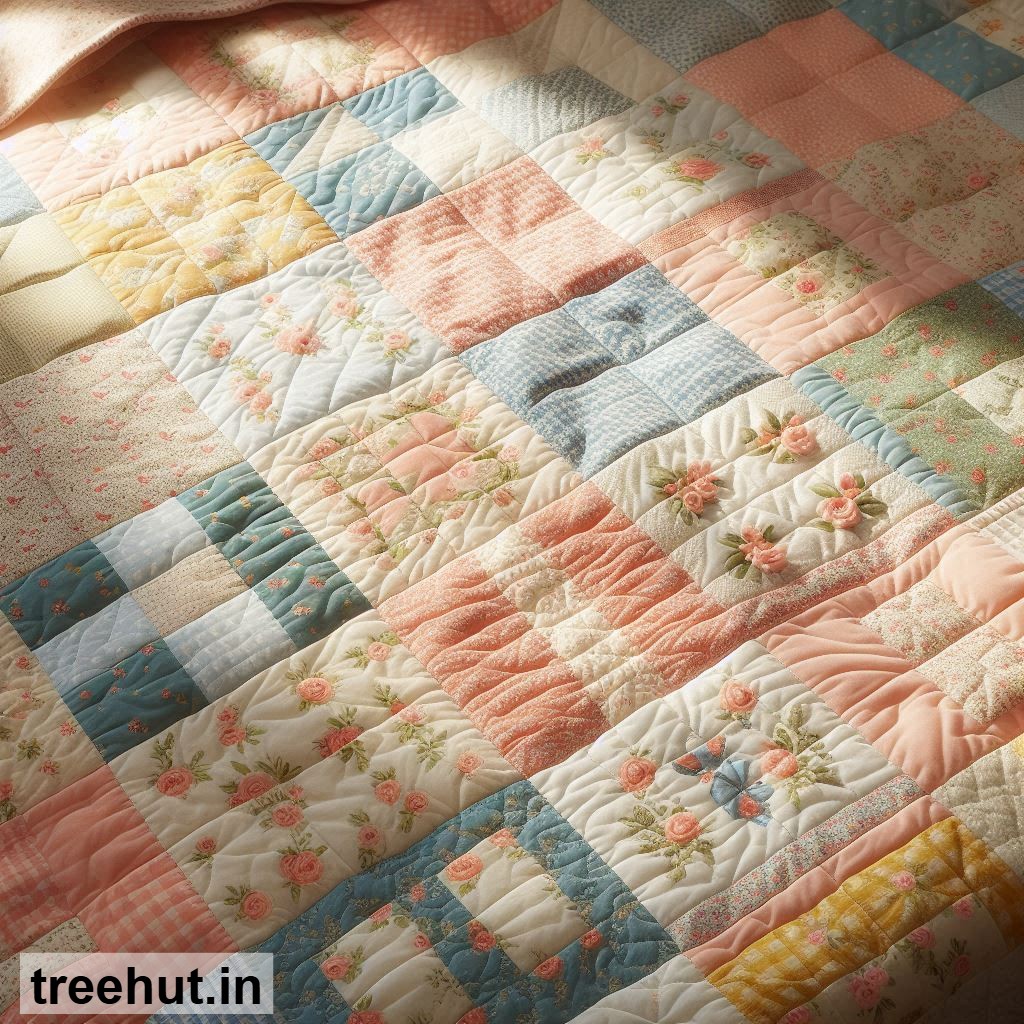
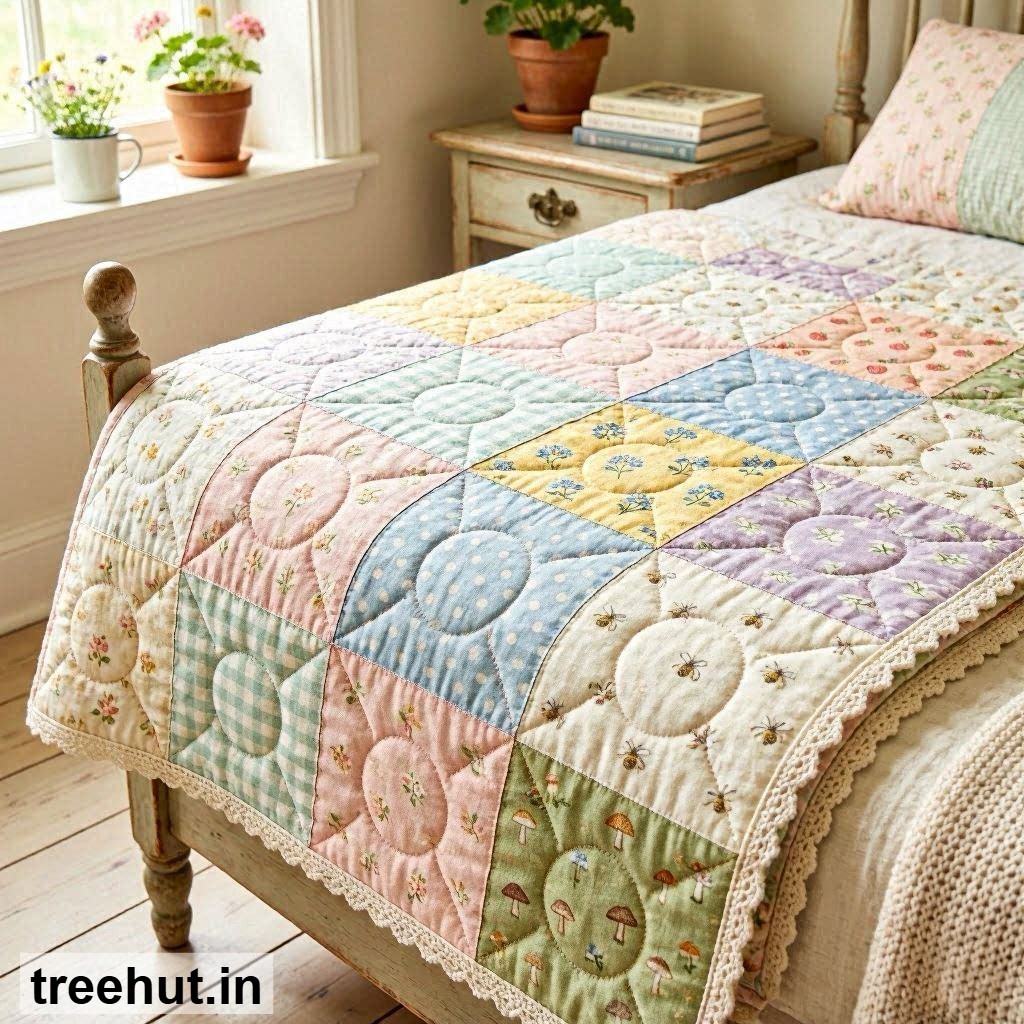
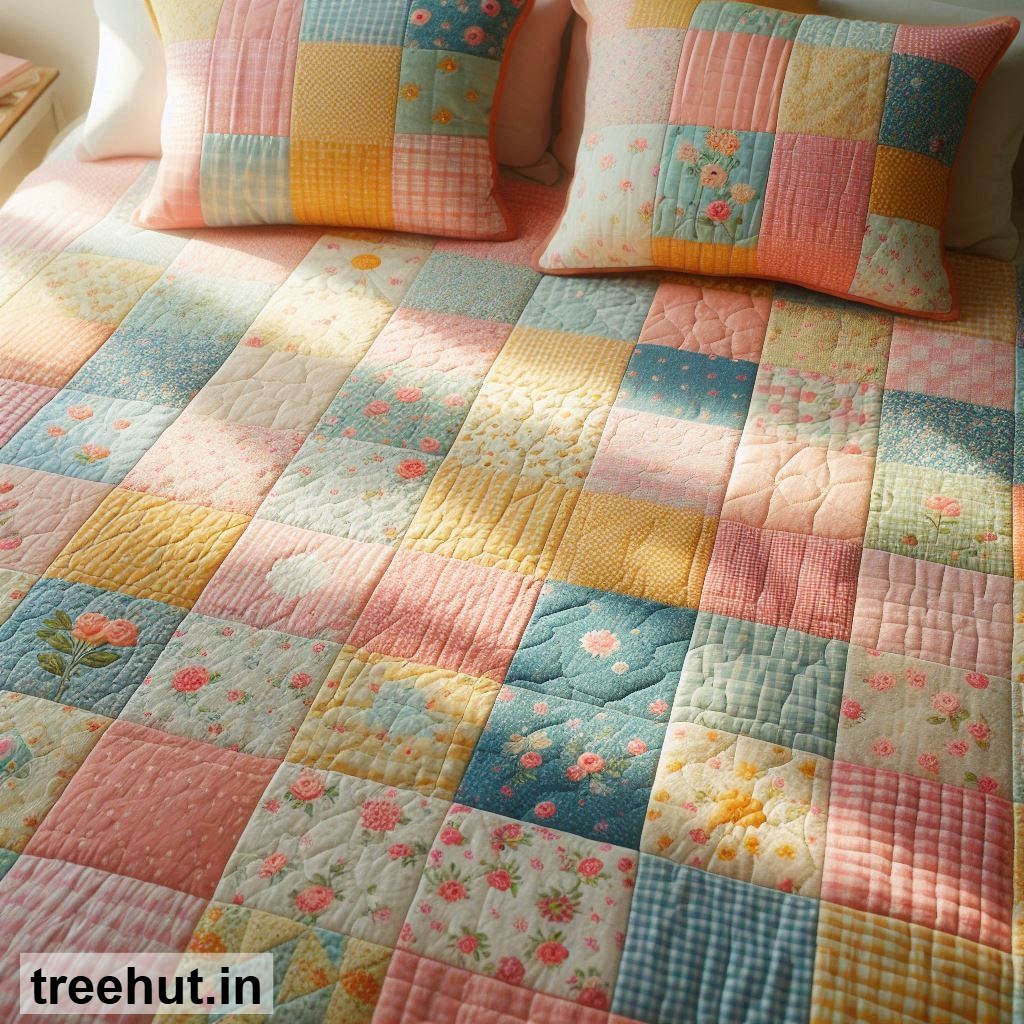
A Spring Patchwork Quilt is a fun and creative project that adds warmth and charm to your space. These quilts are great for snuggling up on chilly evenings, gifting to loved ones, or even selling at craft fairs. Whether you're a beginner or an intermediate crafter, designing and making your own patchwork quilt can be a rewarding experience. Below, you’ll find inspiring design ideas and a simple step-by-step guide to help you create your own beautiful quilt.
Spring Patchwork Quilt Design Ideas
Floral Garden Quilt: Use fabric with floral prints in soft pastels or vibrant colors to create a garden-inspired quilt. Mix and match different flower patterns for a fresh, lively look. This design is perfect for adding a touch of nature to your home.
Geometric Spring Quilt: Combine triangles, squares, and hexagons in bright spring colors like mint green, sky blue, and sunshine yellow. This modern design adds a playful yet sophisticated touch to any room.
Scrap Buster Quilt: Use leftover fabric scraps in various spring shades to create a unique, one-of-a-kind quilt. This design is great for reducing waste and adding a personal touch to your project.
Pastel Rainbow Quilt: Arrange fabric strips in a gradient of pastel colors, from soft pinks to light blues and greens. This design creates a soothing, dreamy effect that’s perfect for a cozy bedroom or nursery.
Appliqué Spring Quilt: Add appliqué designs like butterflies, birds, or flowers to your quilt blocks. This technique allows you to personalize your quilt with fun, spring-themed motifs.
Step-by-Step Guide to Making a Spring Patchwork Quilt
Materials: Gather fabric in your chosen colors and patterns, a rotary cutter, cutting mat, quilting ruler, sewing machine, thread, batting, and backing fabric. You’ll also need scissors, pins, and an iron for pressing.
Measurements: Decide on the size of your quilt. For a beginner-friendly project, start with a small throw quilt, around 40 x 60 inches. Cut your fabric into squares or rectangles, typically 4 to 6 inches in size, depending on your design.
Making the Quilt Top: Arrange your fabric pieces in your desired pattern. Sew the pieces together in rows, pressing the seams flat after each row. Then, sew the rows together to complete the quilt top.
Layering and Quilting: Lay your backing fabric on a flat surface, followed by the batting, and then your quilt top. Pin or baste the layers together. Quilt by sewing through all layers, either by hand or with a sewing machine, using straight lines or free-motion designs.
Finishing: Trim the edges of your quilt to ensure they are even. Bind the edges by sewing strips of fabric around the perimeter, folding and pressing as you go. Your quilt is now ready to use or gift!
Practical Tips and Uses
Start with simple designs if you’re a beginner, and gradually experiment with more complex patterns as you gain confidence. Pre-washing your fabric can prevent shrinking and color bleeding later on. Use high-quality thread to ensure your quilt lasts for years. A spring patchwork quilt is perfect for gifting on special occasions like birthdays, Mother’s Day, or housewarmings. It’s also a great item to sell at craft fairs or online, as handmade quilts are always in demand. For daily use, drape your quilt over a couch or bed to add a pop of color and warmth to your home decor.