





Spring Patchwork Design Ideas for Patchwork Butterfly tote organizer
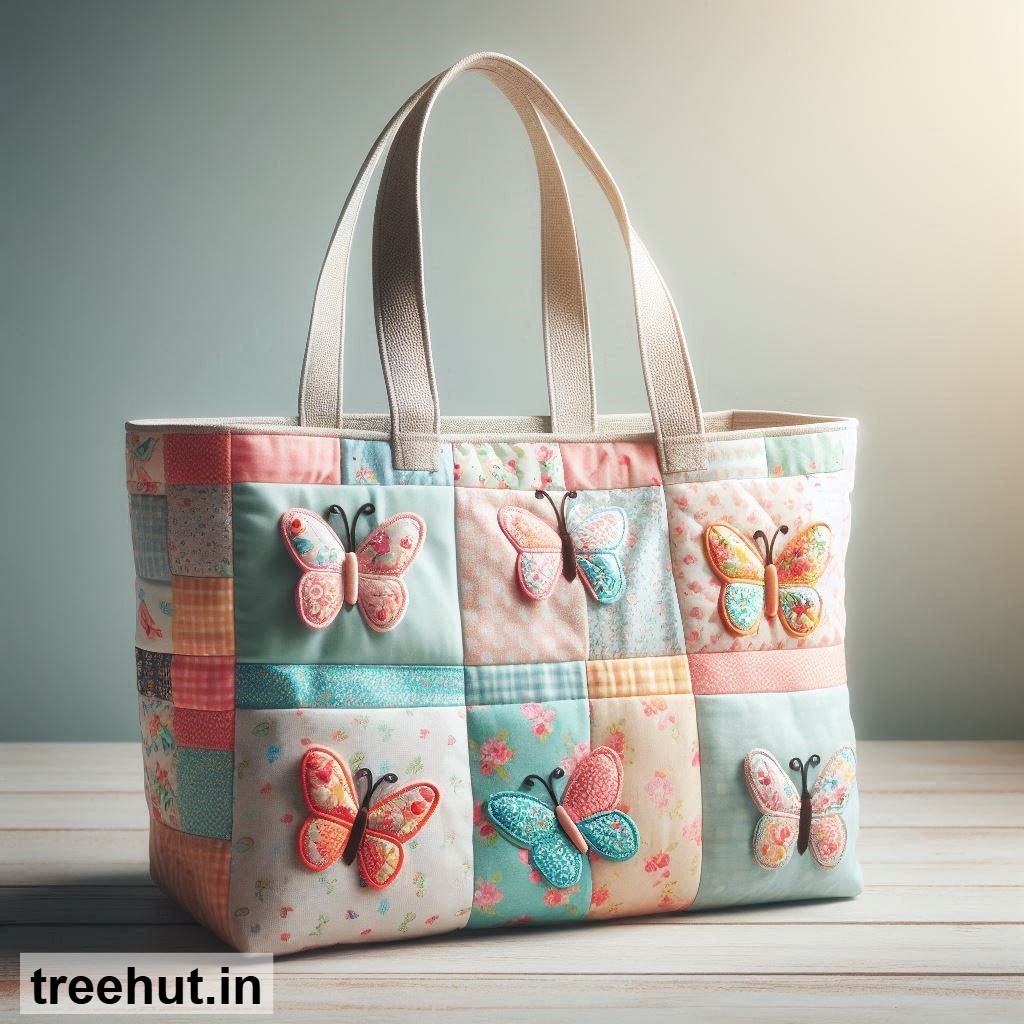
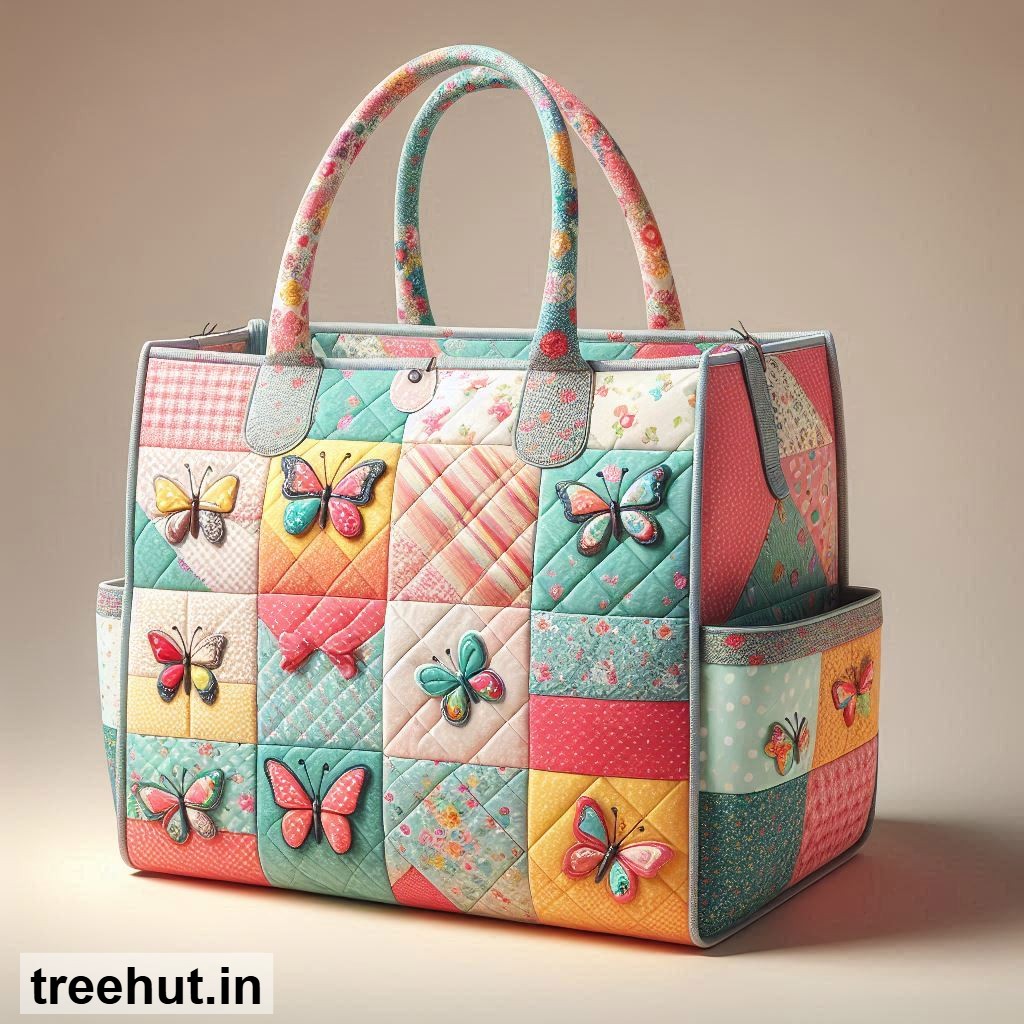
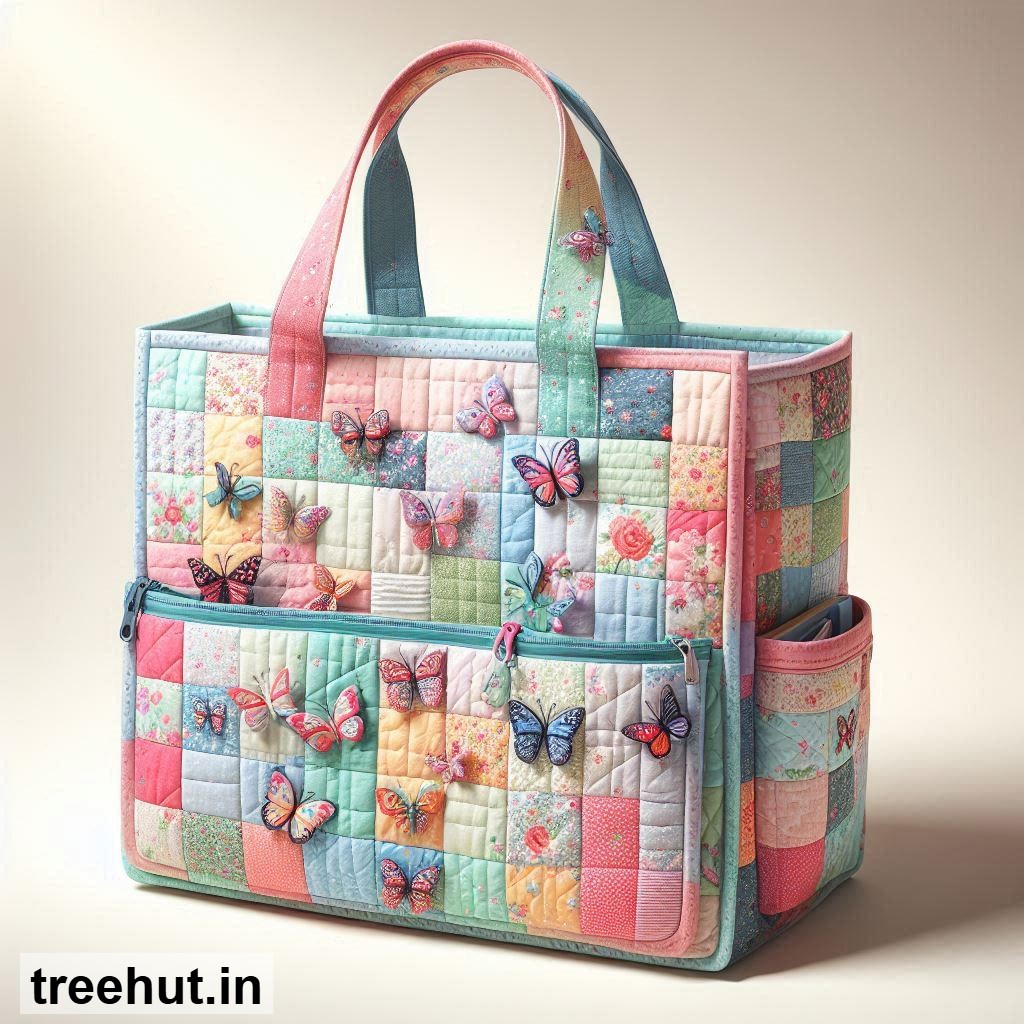
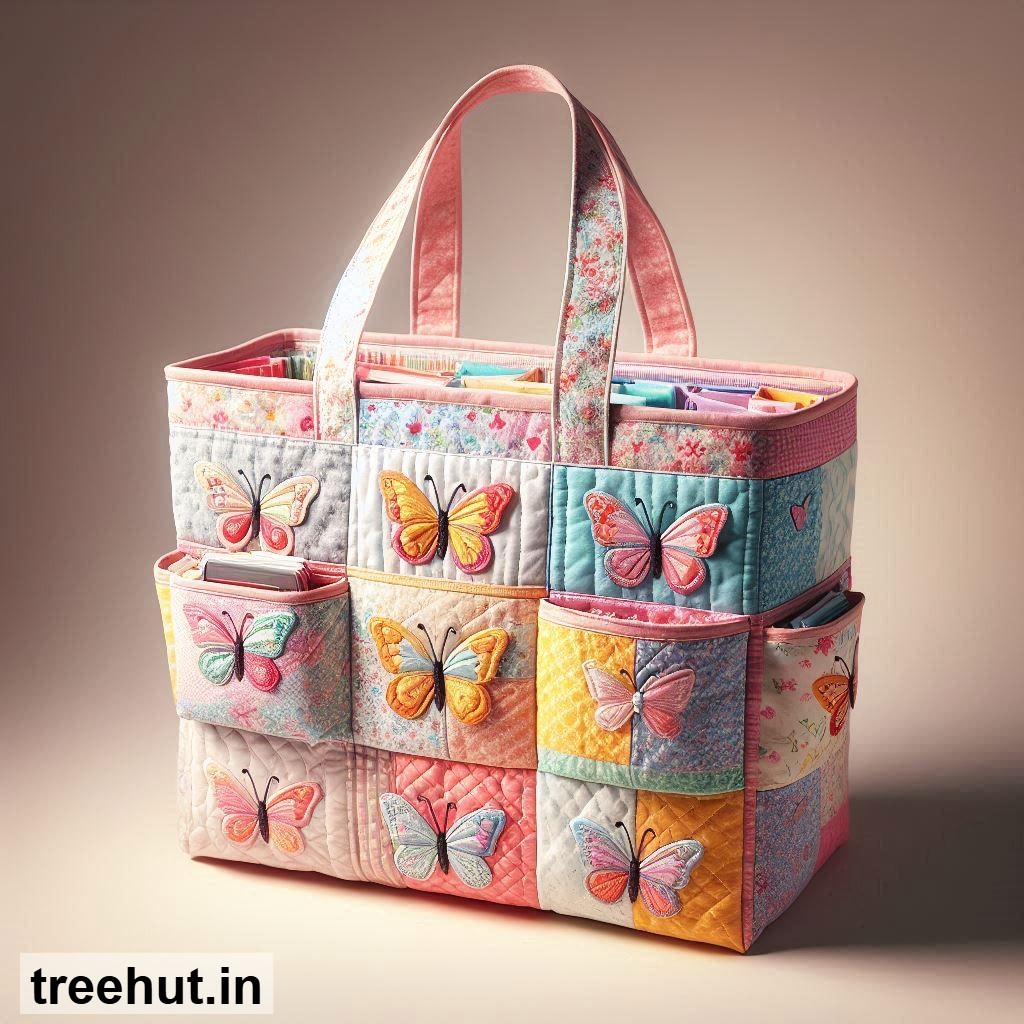
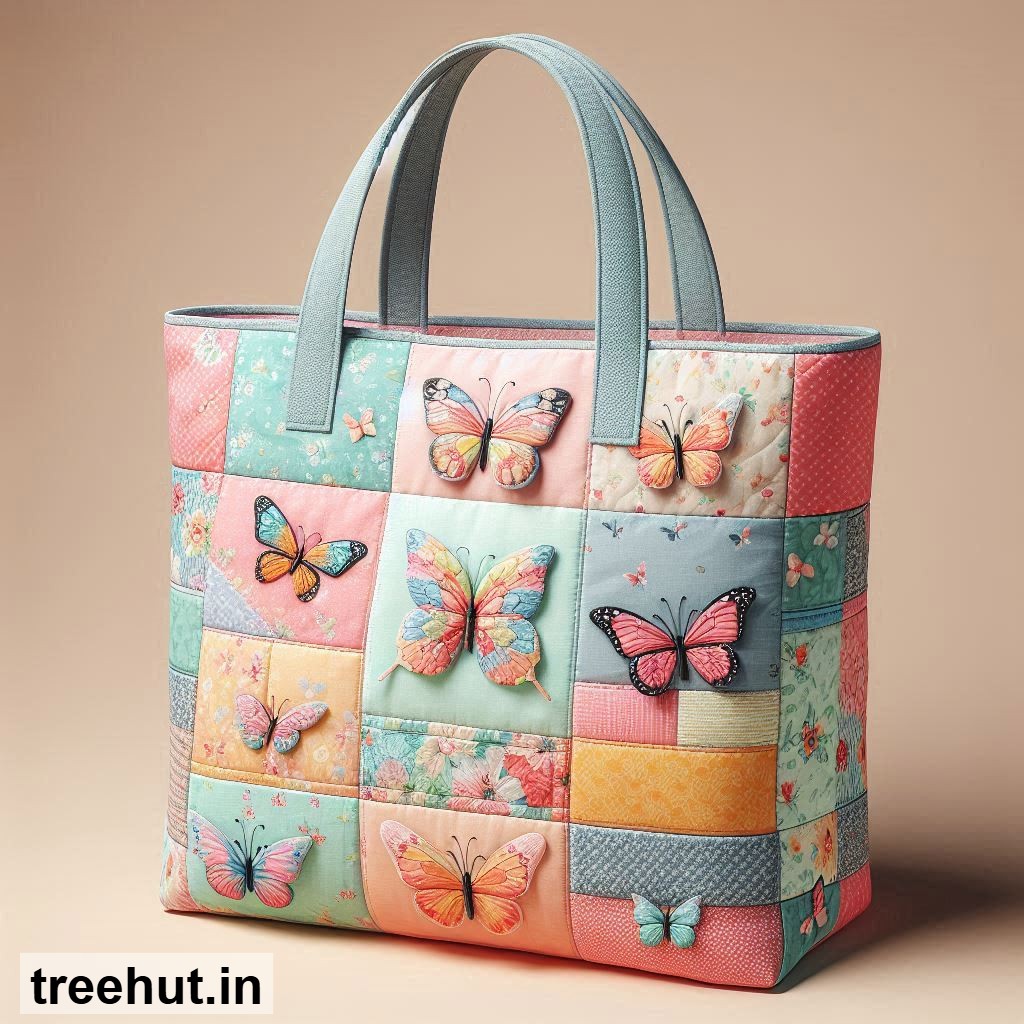
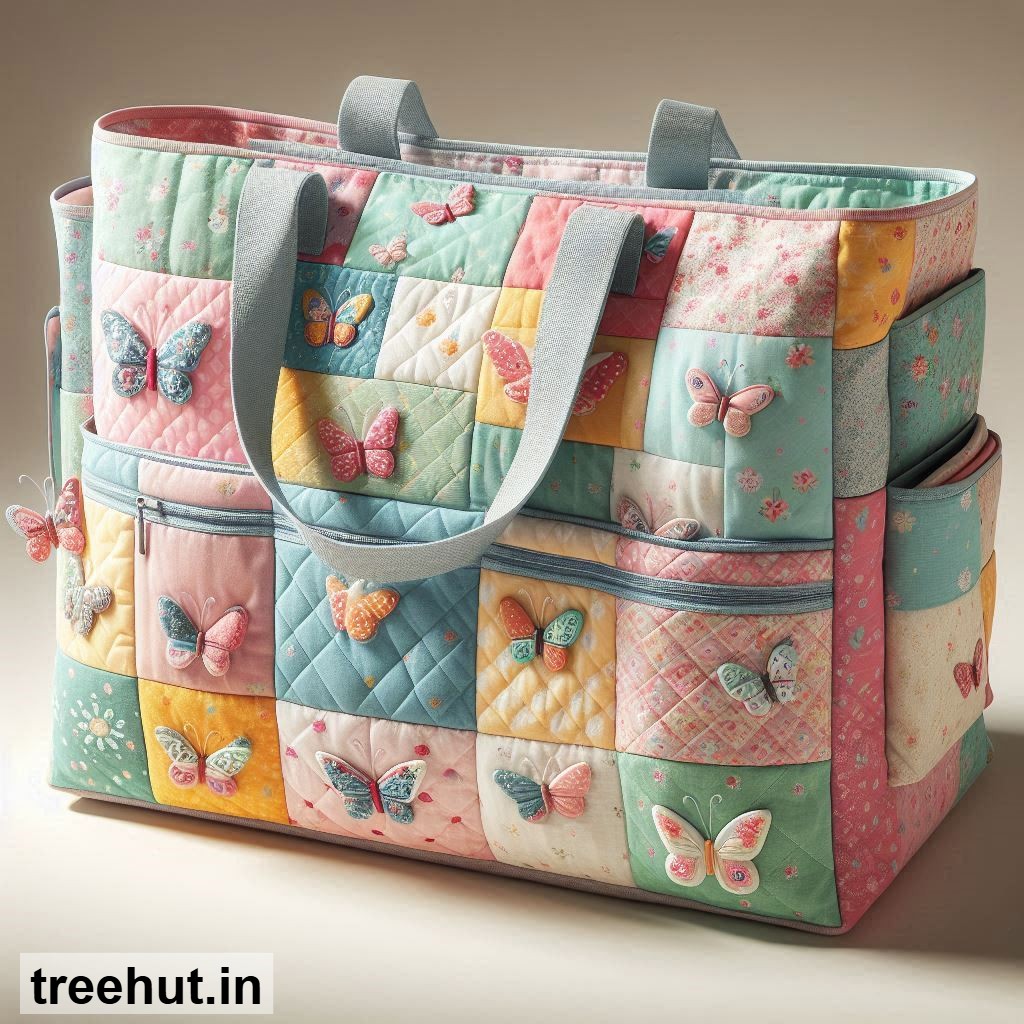
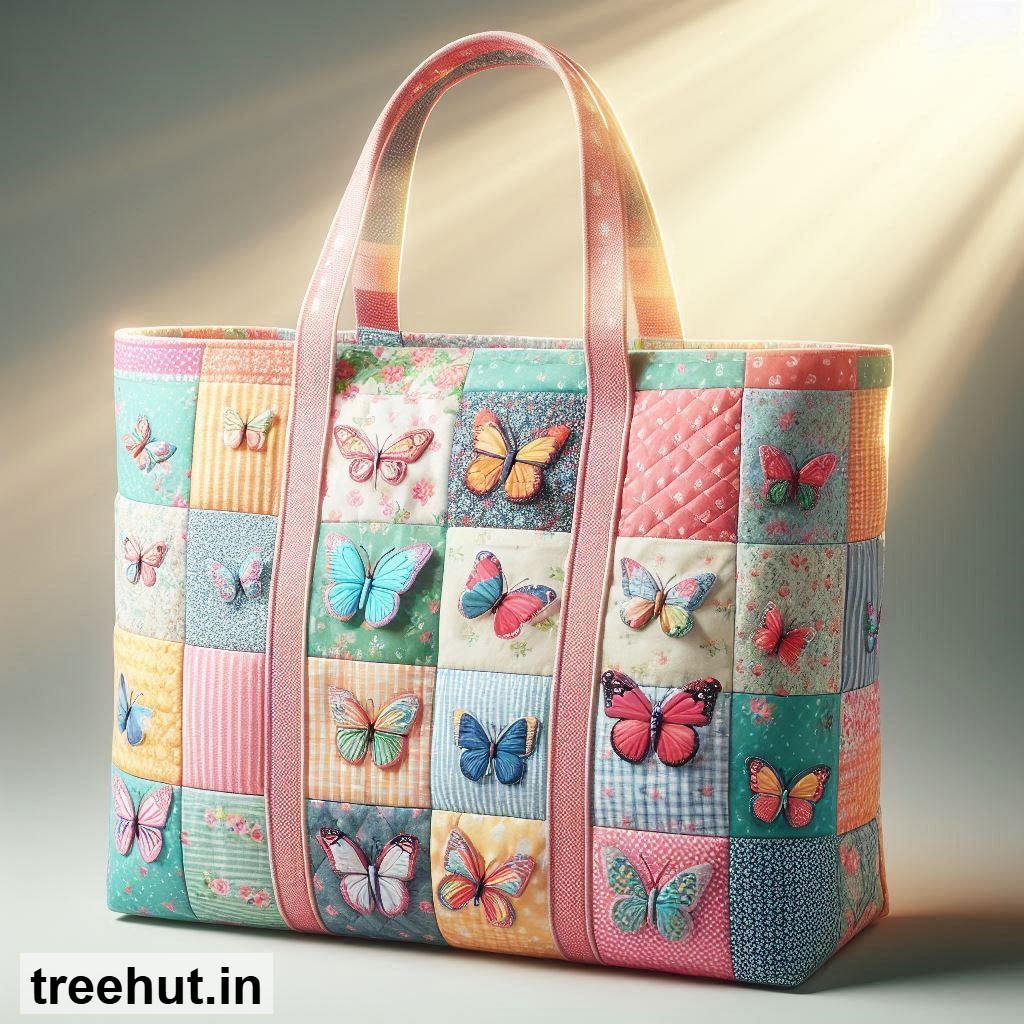
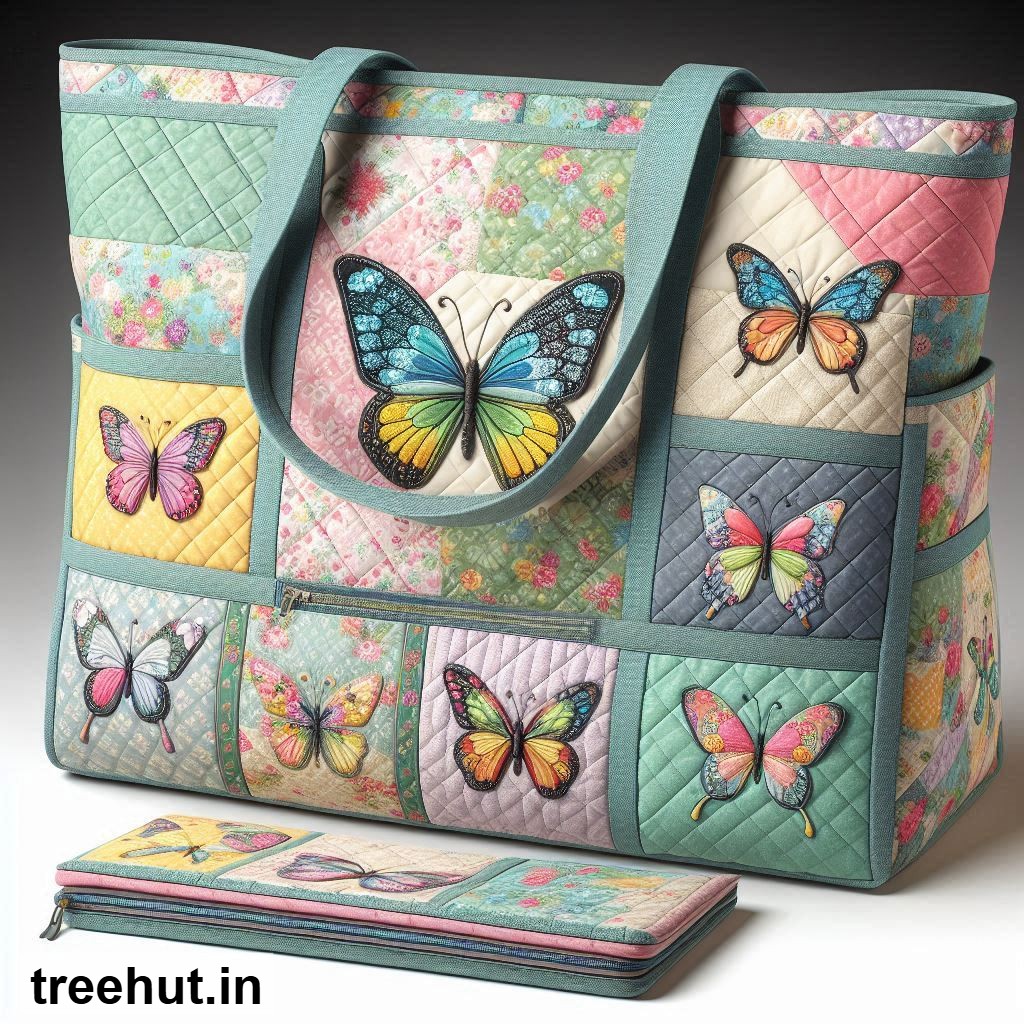
Spring is the perfect time to refresh your accessories with something bright, cheerful, and practical. A patchwork butterfly tote organizer is not only adorable but also incredibly useful for keeping your bag tidy. Whether you're storing makeup, craft supplies, or small essentials, this organizer adds a touch of handmade charm while helping you stay organized. Plus, it’s a fun project for beginner and intermediate crafters who love working with fabric scraps and playful designs.
Here are some delightful spring patchwork design ideas to inspire your butterfly tote organizer:
1. Floral Garden Butterfly: Use soft pastel fabrics with tiny floral prints to create a delicate, garden-inspired look. Add a butterfly appliqué in the center for a whimsical touch.
2. Rainbow Stripes: Cut fabric into even strips and sew them horizontally or vertically for a bold, colorful effect. This design is great for using up leftover fabric scraps.
3. Vintage Patchwork: Mix vintage-inspired fabrics with muted tones and small prints for a nostalgic, shabby-chic vibe. Pair it with lace trim for extra charm.
4. Geometric Shapes: Play with triangles, hexagons, or diamonds in bright spring colors for a modern, eye-catching design. This is perfect for crafters who enjoy precision piecing.
5. Butterfly Wings Appliqué: Instead of just one butterfly, create a pair of wings on the front panel using contrasting fabrics. This adds depth and movement to your organizer.
6. Scalloped Edges: Add scalloped fabric pieces along the edges for a playful, feminine look. This works well with soft cotton or linen fabrics.
7. Ombré Effect: Arrange fabrics in a gradient from light to dark for a subtle, elegant ombré effect. This is a great way to use coordinating fabric shades.
8. Mixed Textures: Combine different fabric textures like cotton, linen, and lightweight denim for a tactile, layered look. This adds visual interest and durability.
Now, let’s make your patchwork butterfly tote organizer with this simple step-by-step method:
Materials Needed: Fabric scraps (cotton or linen work best), fusible interfacing, coordinating thread, scissors, sewing machine, iron, and a butterfly template (optional).
Measurements: Cut two main panels (front and back) to your desired size—typically around 10x12 inches. Cut smaller fabric pieces for patchwork, ensuring they fit together neatly. Add a 1/4-inch seam allowance to all pieces.
Making the Patchwork: Arrange your fabric pieces in your chosen design on one of the main panels. Sew them together using a 1/4-inch seam, pressing each seam open as you go. Once the patchwork is complete, iron fusible interfacing to the wrong side for stability.
Assembling the Organizer: Place the patchwork panel (right side up) on top of the second main panel (right side down). Sew around the edges, leaving a 3-inch gap for turning. Clip the corners, turn right side out, and press flat. Topstitch around the edges to close the gap and add a polished finish.
Adding the Butterfly: If using an appliqué, cut out a butterfly shape from fabric and fuse it to the front panel. Stitch around the edges with a zigzag or straight stitch to secure it.
Finishing Touches: Add pockets, a zipper, or a magnetic snap closure if desired. For a simple version, leave it open or add a fabric loop and button for closure.
Here are some practical tips to make your project even better:
1. Use a rotary cutter and cutting mat for precise fabric pieces, especially for geometric designs. This saves time and ensures clean edges.
2. Press seams open after sewing each patch to reduce bulk and create a smoother finish. This makes the final product look more professional.
3. Experiment with fabric combinations before sewing. Lay out your pieces and take a photo to visualize the final design.
4. Reinforce stress points like pocket corners or closure areas with extra stitching or interfacing to ensure durability.
5. Personalize with embroidery or fabric paint to add names, quotes, or extra details. This makes your organizer unique and great for gifting.
This patchwork butterfly tote organizer is perfect for daily use—keep it in your purse for makeup, craft supplies, or travel essentials. It also makes a thoughtful handmade gift for friends, teachers, or coworkers. If you’re selling your creations, these organizers are great for craft fairs or online shops, as they appeal to a wide audience. Happy sewing!