



Spring Patchwork Design Ideas for Bunny Shaped Cushion
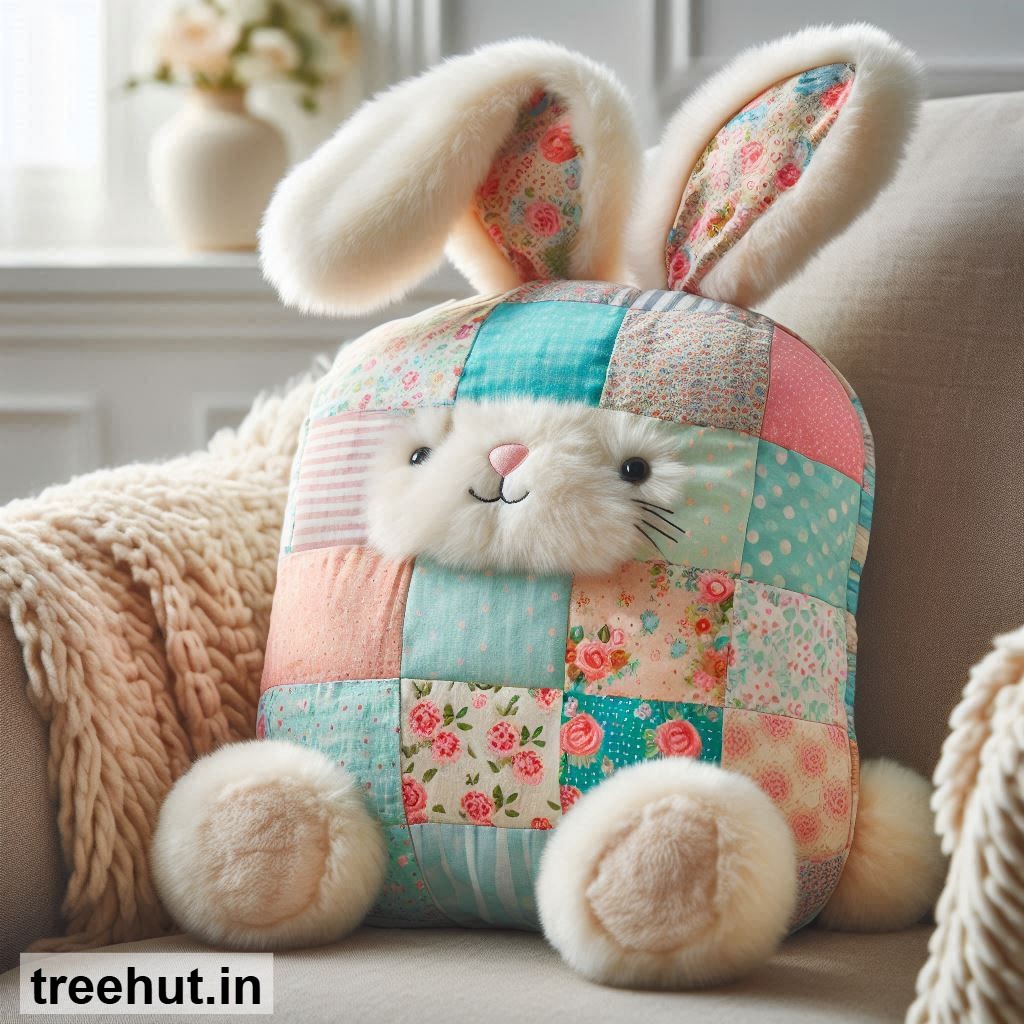
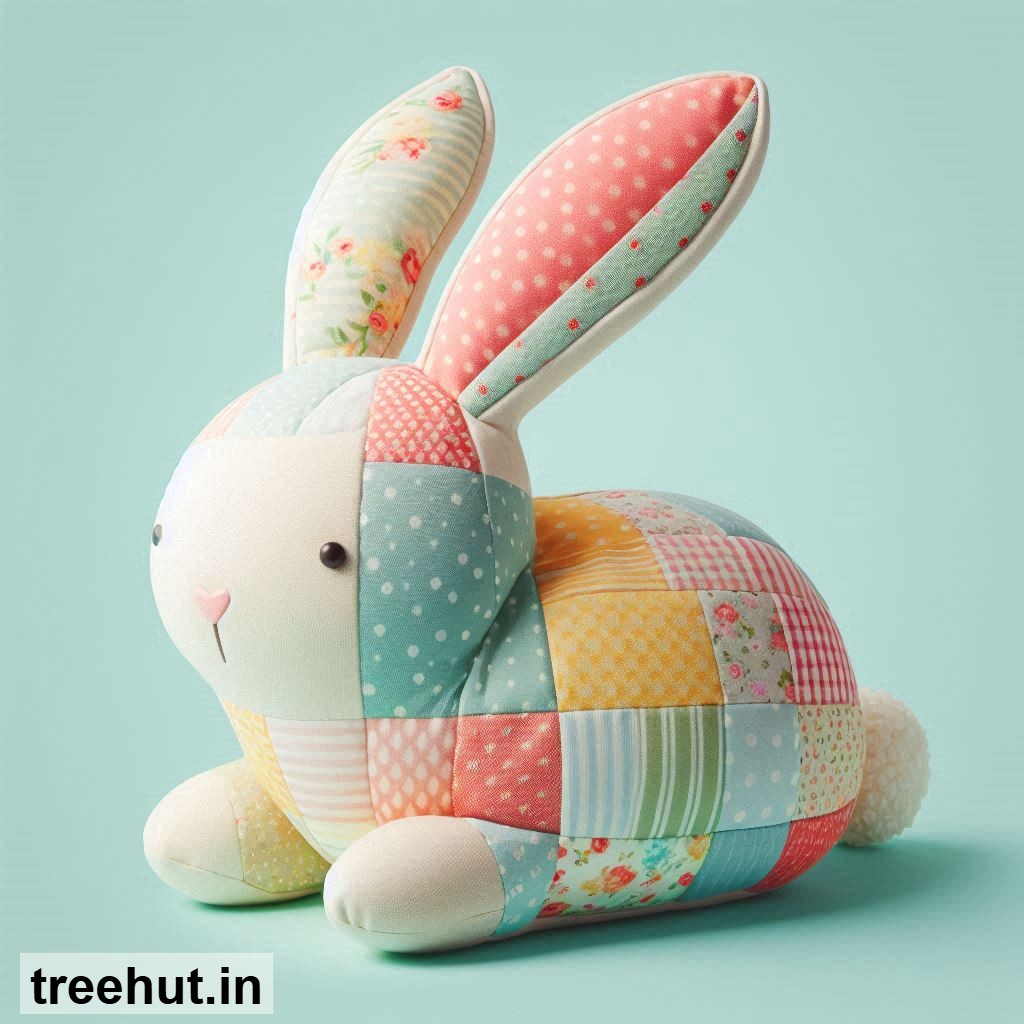
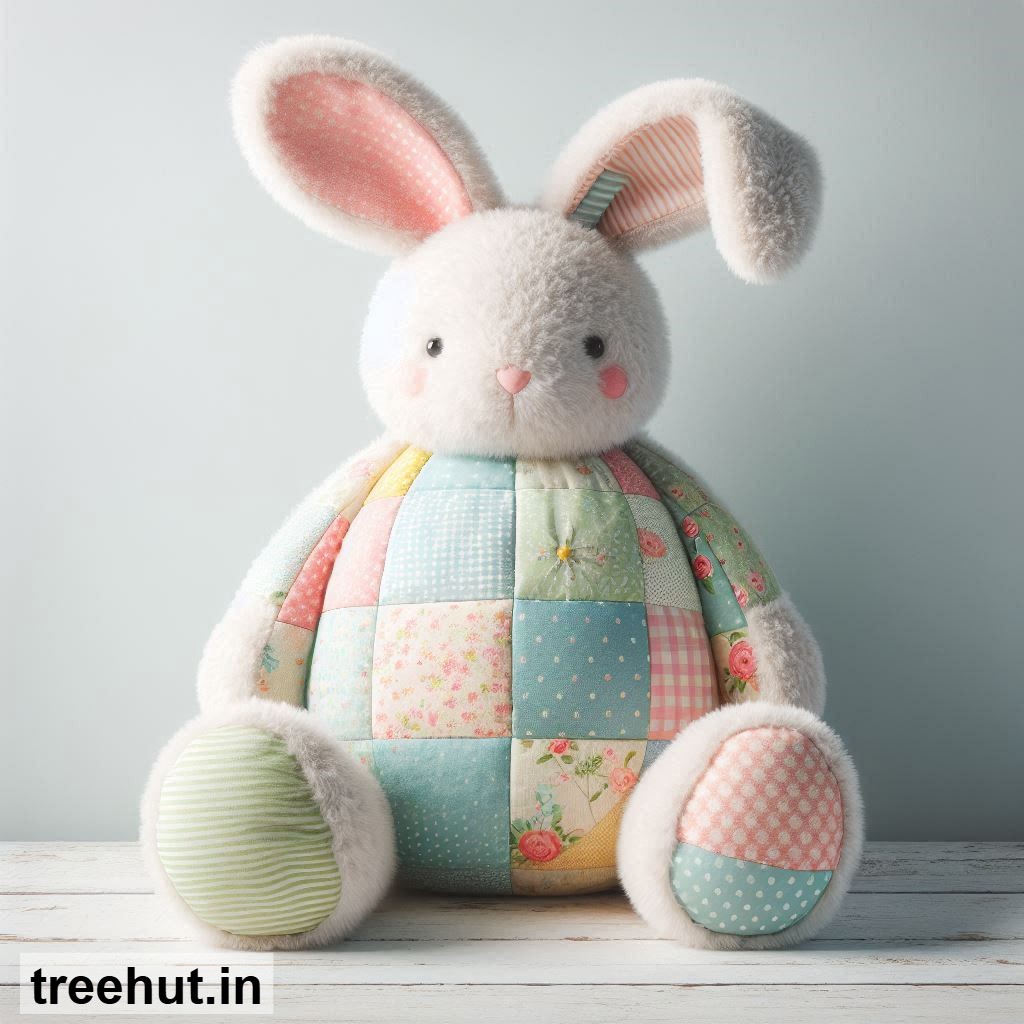
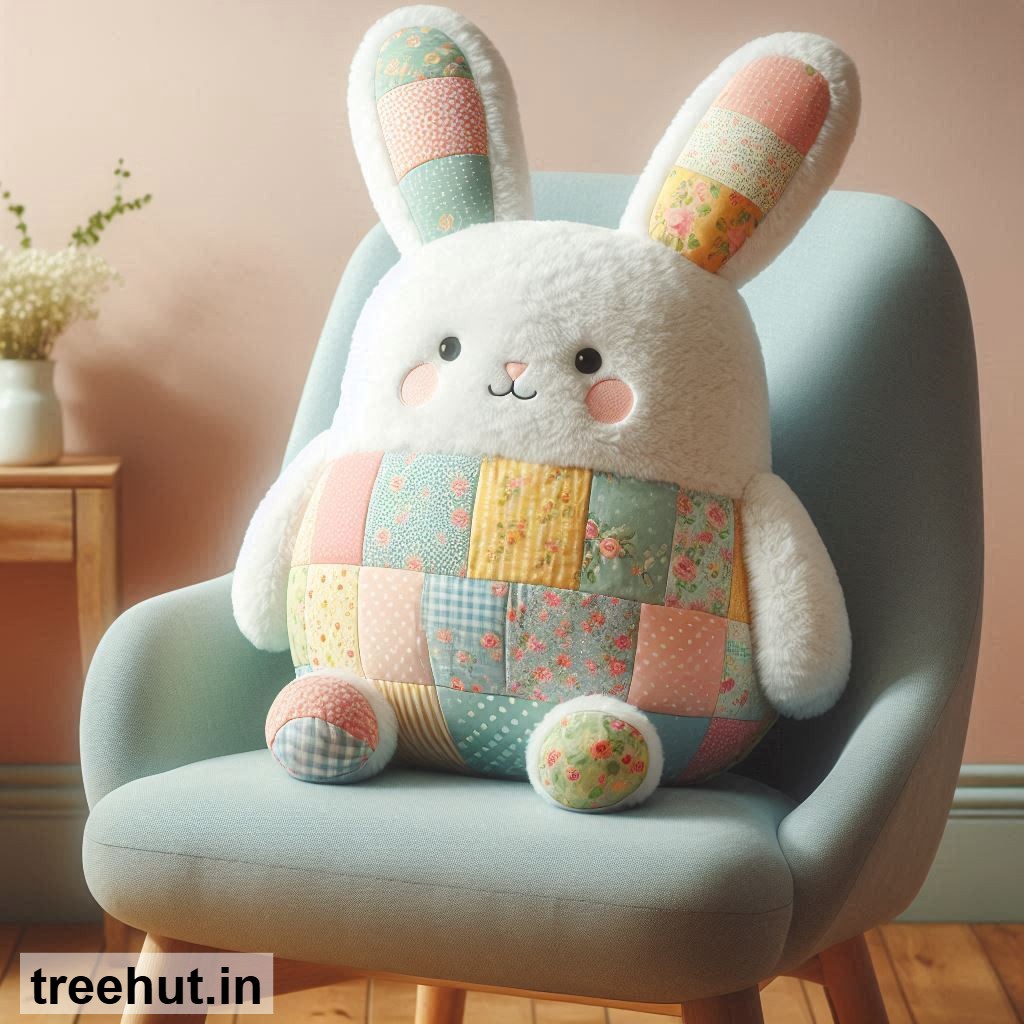
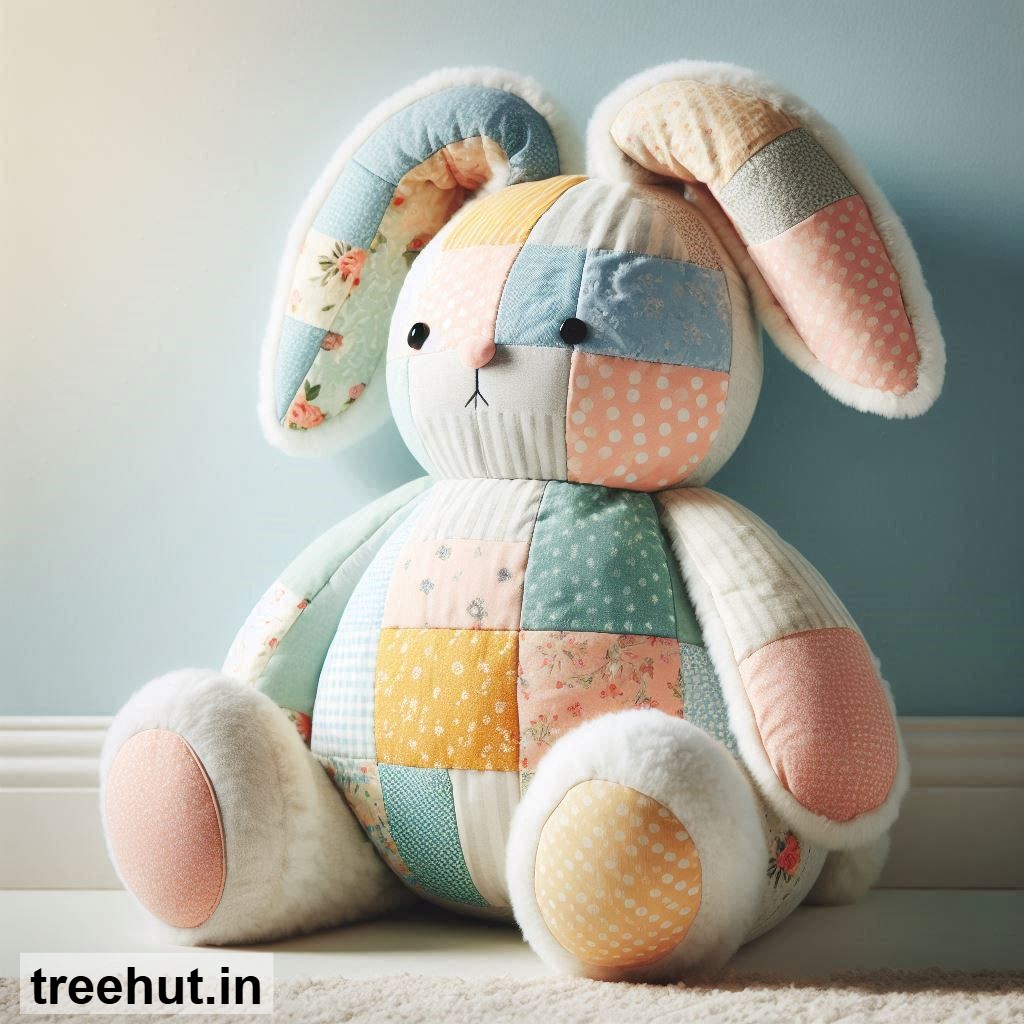
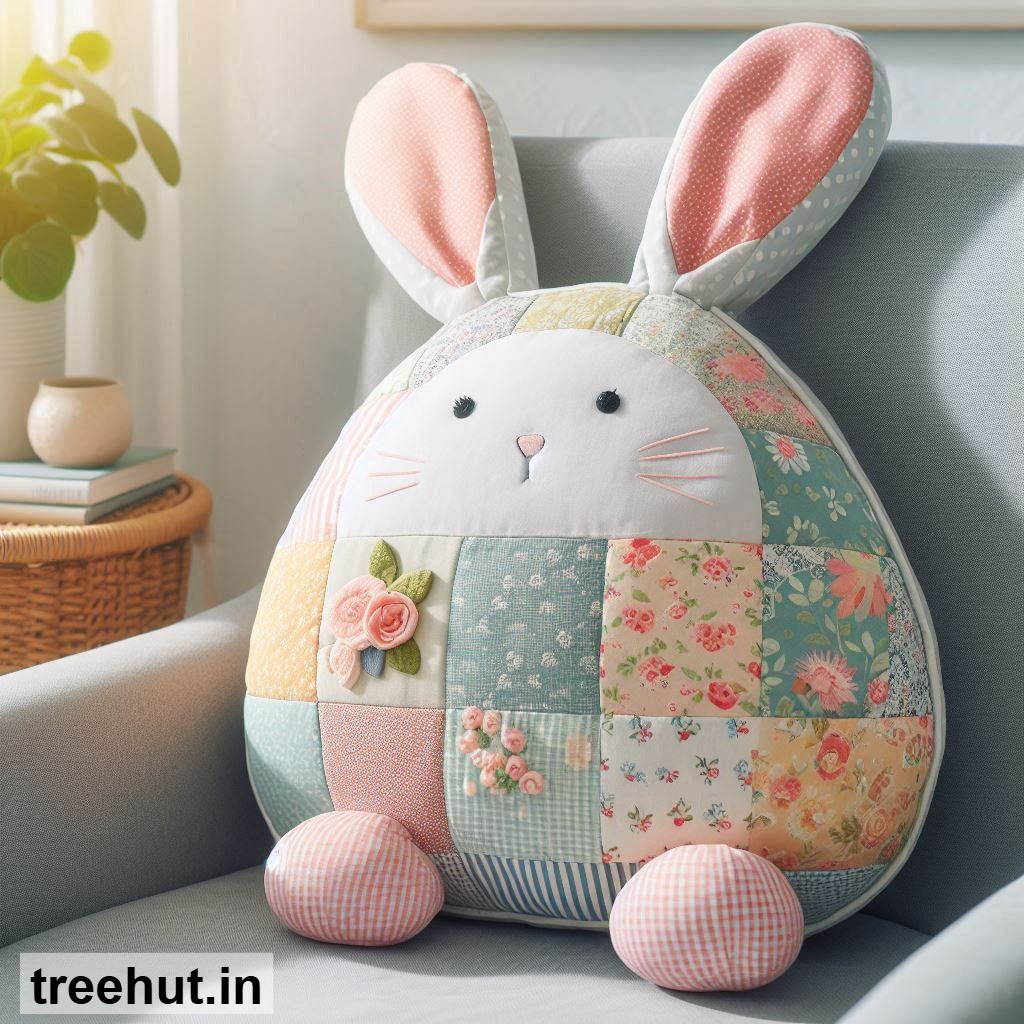
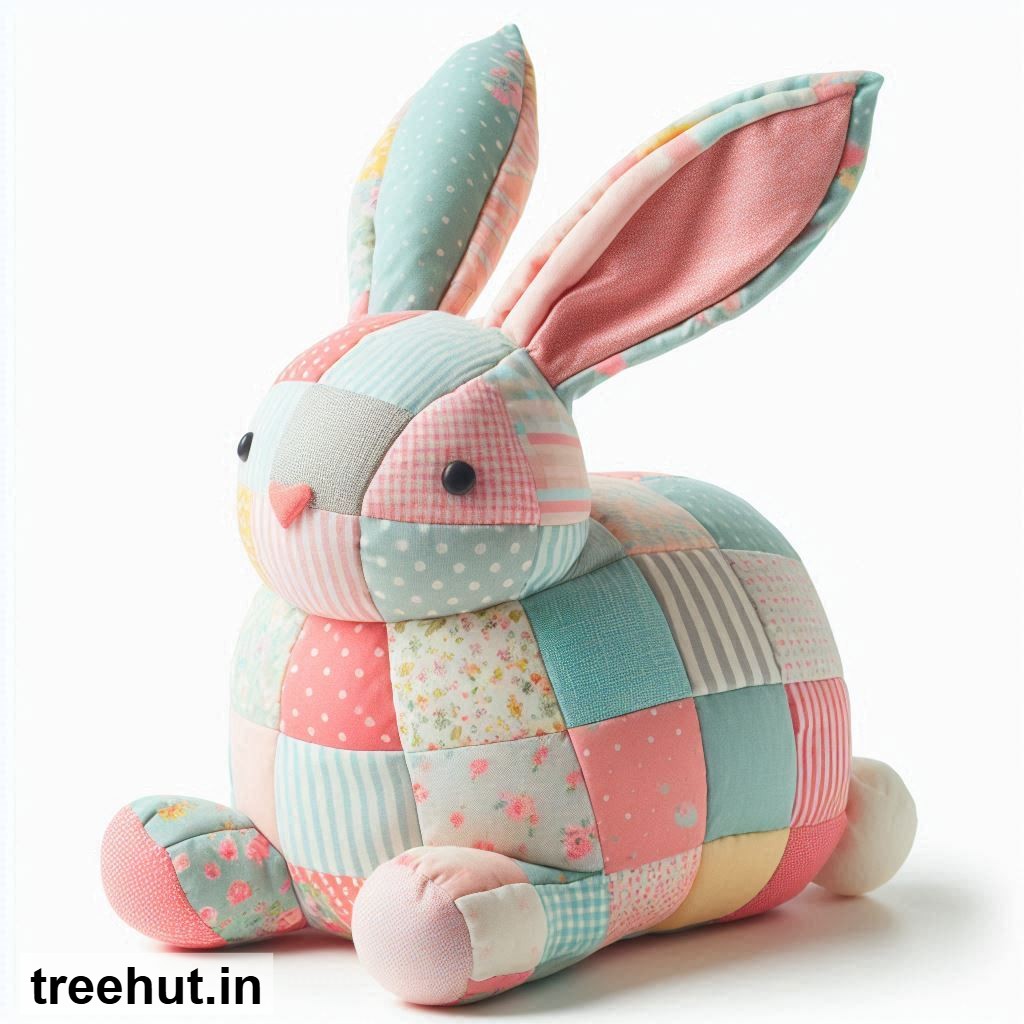
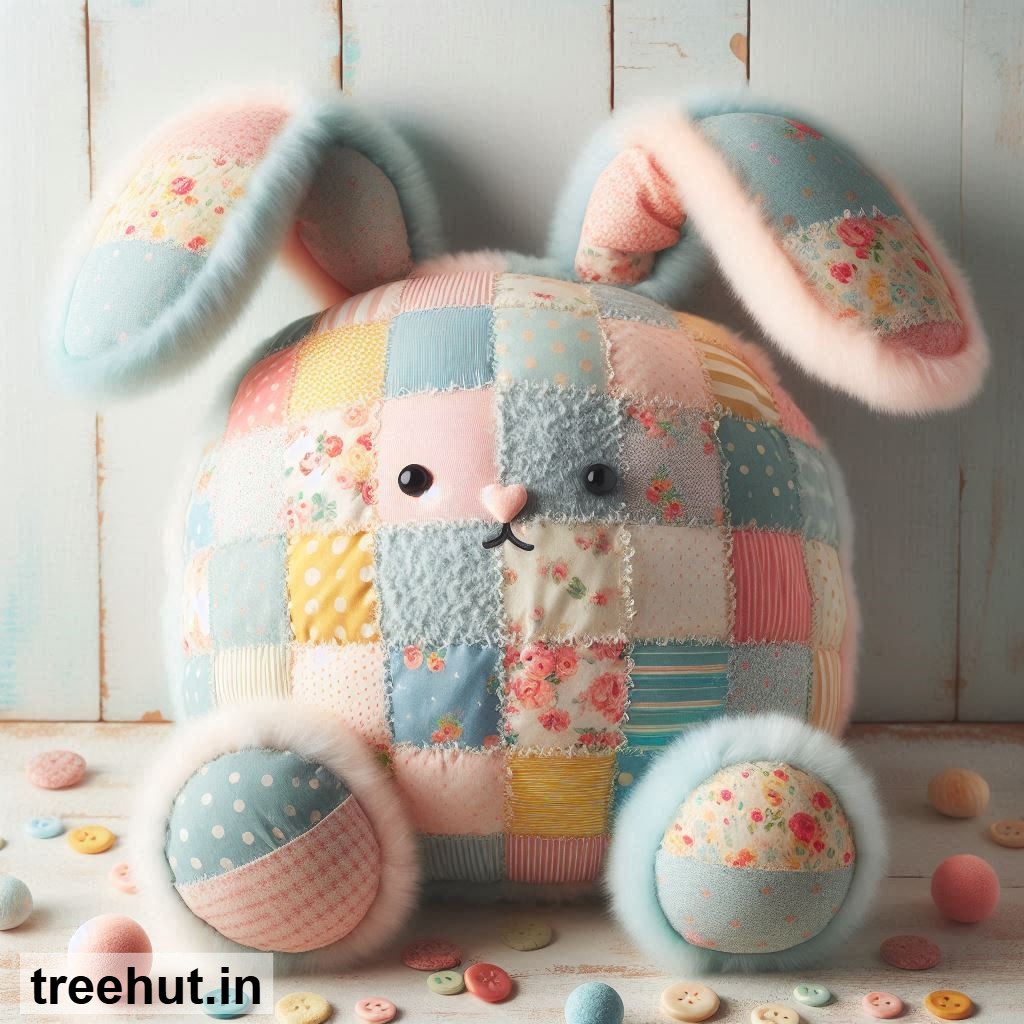
Bunny-shaped cushions are not only adorable but also incredibly versatile—they can brighten up a cozy reading nook, add charm to a child’s bedroom, or make a heartfelt gift for loved ones. Patchwork designs allow you to play with colors, patterns, and textures, making each cushion unique. Whether you're a beginner or an intermediate crafter, these spring patchwork ideas will inspire you to create something delightful and functional.
Spring Patchwork Design Ideas for Bunny-Shaped Cushions
1. Floral Garden Bunny: Use soft pastel fabrics like blush pink, mint green, and butter yellow to create a patchwork of tiny floral prints. This design evokes the freshness of spring blooms and works beautifully for a gentle, feminine touch. Mix small-scale florals with solid colors to keep the look balanced.
2. Easter Egg Patchwork: Cut fabric into egg-shaped patches in bright, cheerful colors like lavender, sky blue, and sunshine yellow. Arrange them in a random or geometric pattern on the bunny’s body for a playful, festive vibe. This design is perfect for Easter-themed decor or gifts.
3. Vintage Linen and Lace: Combine neutral linen fabrics with delicate lace trims for a rustic, shabby-chic look. Use soft beige, cream, and light gray patches, and add a touch of lace along the bunny’s ears or edges. This design is ideal for a cozy, timeless aesthetic.
4. Rainbow Stripes: Create bold, colorful stripes using fabrics in every shade of the rainbow. Arrange the stripes horizontally or vertically on the bunny’s body for a fun, modern look. This design is great for adding a pop of color to a neutral space or a child’s room.
5. Gingham Check Bunny: Use classic gingham fabrics in red, blue, or yellow for a nostalgic, country-inspired cushion. The checkered pattern adds a charming, retro feel, and it’s easy to mix and match with other fabrics for a playful contrast.
6. Appliqué Bunny with Patchwork Background: Instead of piecing together small patches, create a solid fabric background and add appliqué details like flowers, leaves, or tiny bunnies. This design is beginner-friendly and allows for creative embellishments.
7. Ombré Patchwork: Use fabrics in varying shades of the same color, like light to dark blue or pink, to create an ombré effect. This gradient look adds depth and sophistication to your bunny cushion, making it a stylish addition to any room.
Step-by-Step Guide to Making a Bunny-Shaped Patchwork Cushion
Materials: Fabric scraps or fat quarters in your chosen colors and patterns, fabric scissors, sewing machine (or needle and thread for hand-sewing), pins, stuffing or a cushion insert, paper or cardstock for the bunny template, and a marking tool like chalk or a fabric pen.
Measurements: Start by drawing or printing a bunny-shaped template. A simple silhouette with rounded ears and a plump body works best. The size depends on your preference, but a 12-inch tall bunny is a good starting point. Cut two identical shapes from your patchwork fabric—one for the front and one for the back.
Making the Patchwork: If you’re using patchwork, arrange your fabric pieces on the bunny template before cutting. Pin or glue the pieces in place, then sew them together with a ¼-inch seam allowance. Press the seams flat with an iron for a neat finish. Once your patchwork is complete, place the template on top and cut out the bunny shape.
Assembling the Cushion: Place the two bunny shapes together, right sides facing in. Pin around the edges, leaving a 3-4 inch gap for turning and stuffing. Sew around the edges with a ½-inch seam allowance, reinforcing the stitches at the curves. Trim any excess fabric and clip the curves to help the shape lay flat when turned right side out.
Finishing Touches: Turn the cushion right side out through the gap, gently pushing out the ears and edges with a blunt tool. Stuff the cushion firmly with polyester filling or insert a pre-made cushion pad. Hand-stitch the gap closed with a ladder stitch for an invisible finish. Add embroidery details like eyes, a nose, or whiskers if desired.
Practical Tips and Uses
1. Start Simple: If you’re new to patchwork, begin with larger fabric pieces or a simple appliqué design. This will help you build confidence before tackling more intricate patterns.
2. Mix Textures: Combine different fabric textures like cotton, linen, and lightweight denim for added visual interest. Just ensure all fabrics have a similar weight to avoid puckering when sewing.
3. Pre-Wash Fabrics: Always pre-wash your fabrics to prevent shrinking or color bleeding after the cushion is made. This is especially important if you’re using a mix of fabrics.
4. Use a Walking Foot: If your sewing machine has a walking foot, use it for patchwork. It helps feed multiple layers of fabric evenly, reducing the risk of shifting or misalignment.
5. Personalize for Gifting: Add a monogram, embroidered name, or a small pocket to the back of the cushion for a personalized touch. This makes it extra special for birthdays, baby showers, or housewarming gifts.
6. Perfect for Selling: Bunny-shaped cushions are popular at craft fairs, online marketplaces, and boutique shops. Offer a variety of designs and sizes to appeal to different customers, and consider bundling them with matching items like bunny-themed tea towels or mug rugs.
These charming patchwork bunnies are perfect for daily use, gifting, or selling. They add a handmade touch to any space and are a wonderful way to celebrate the joy of spring. Happy crafting!