





Spring Patchwork Design Ideas for Bunny ear headpiece
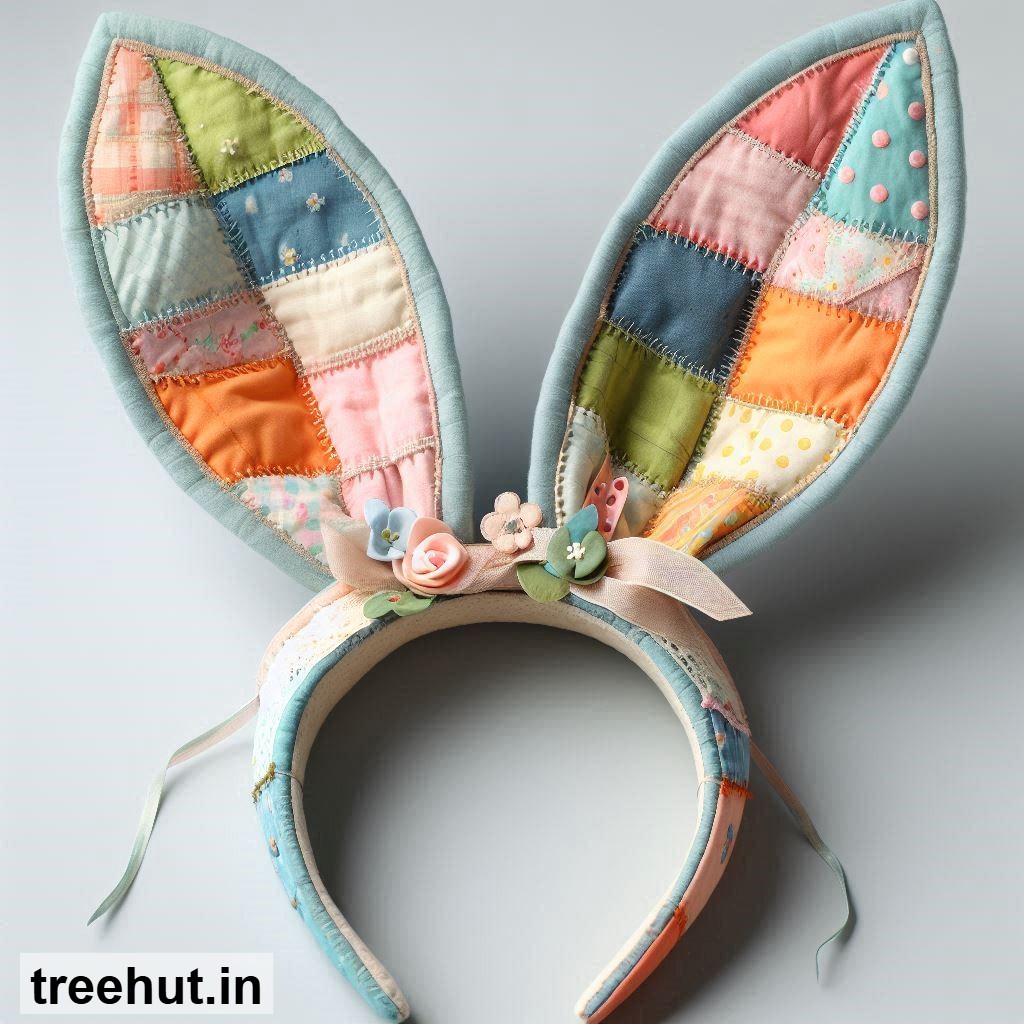
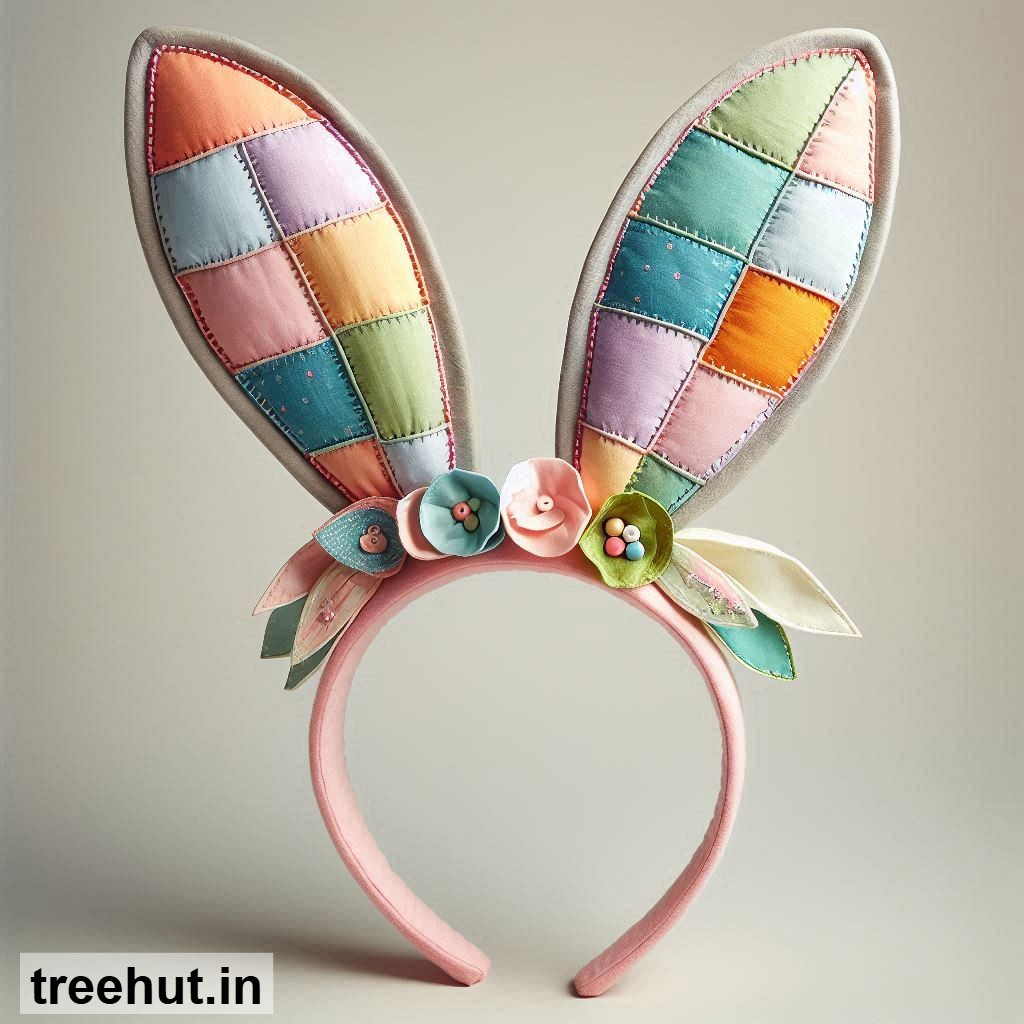
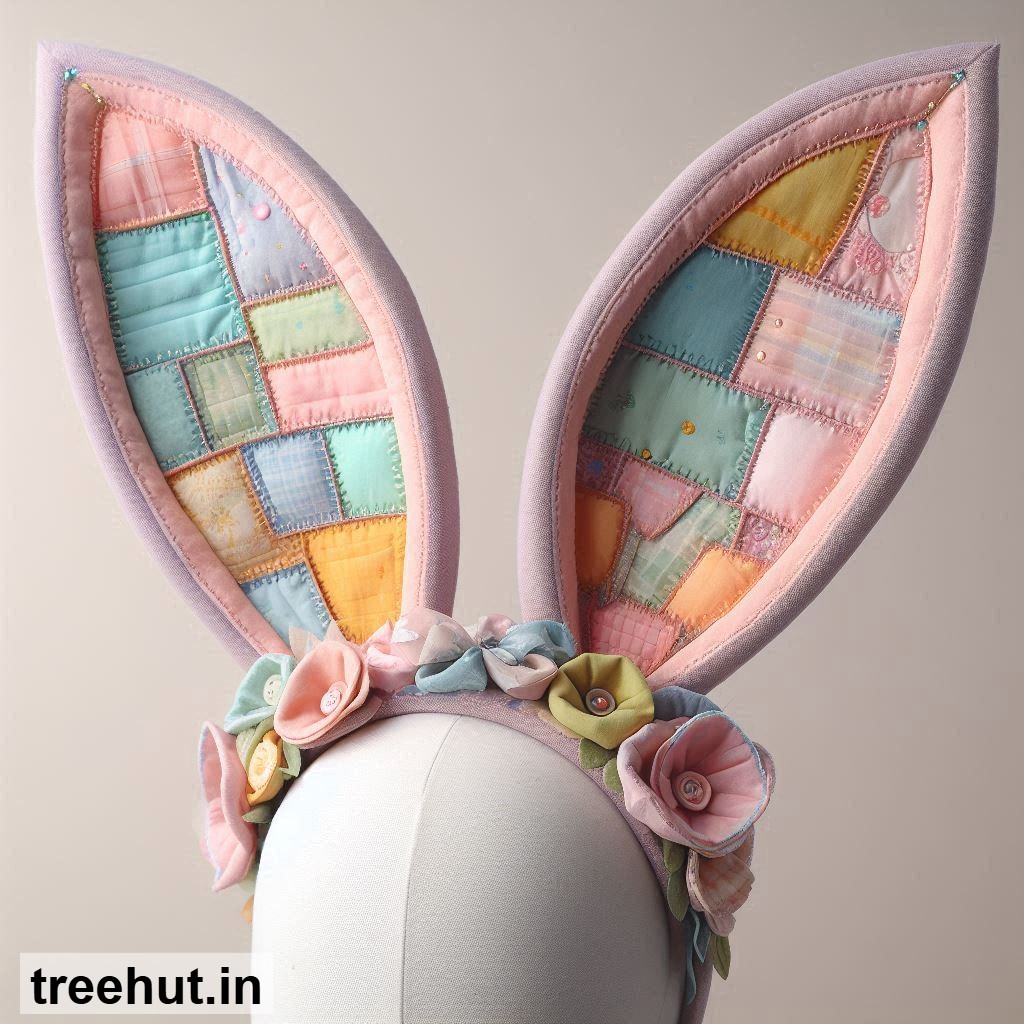
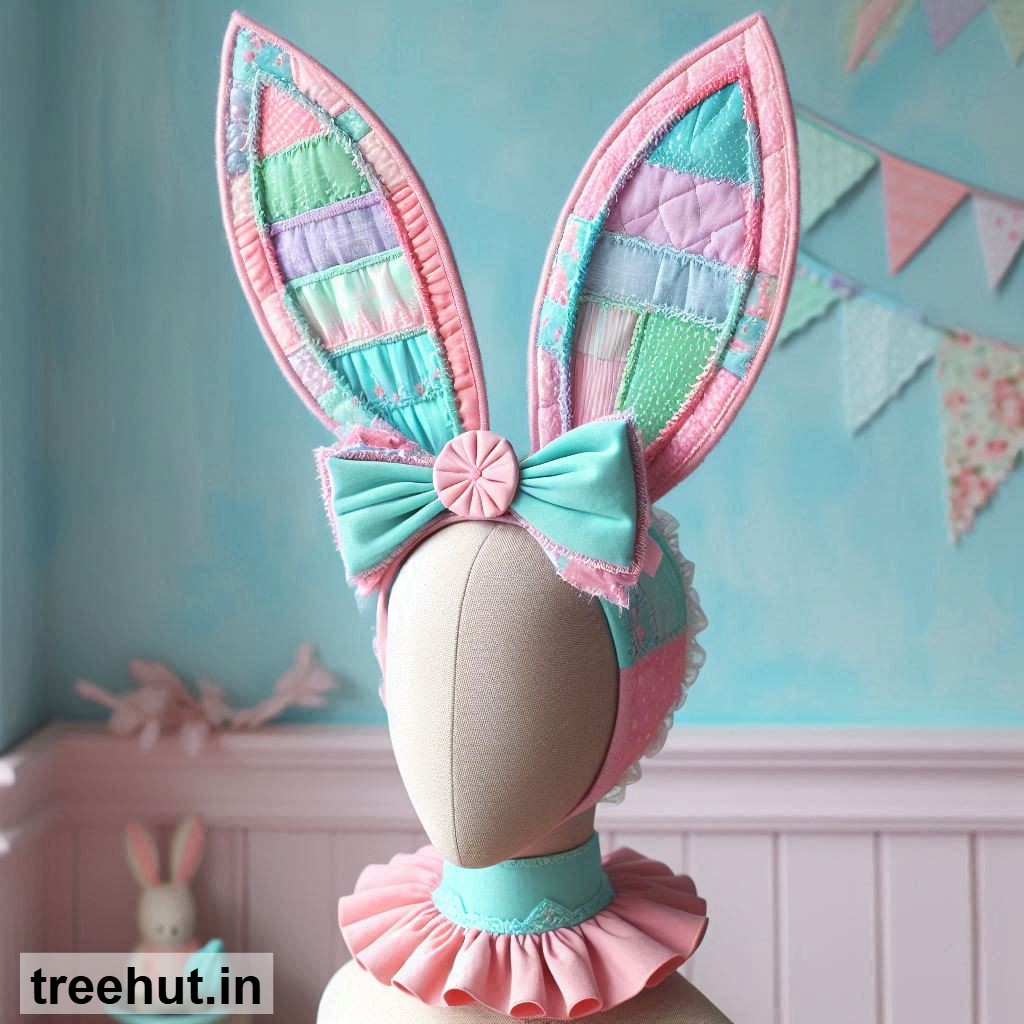

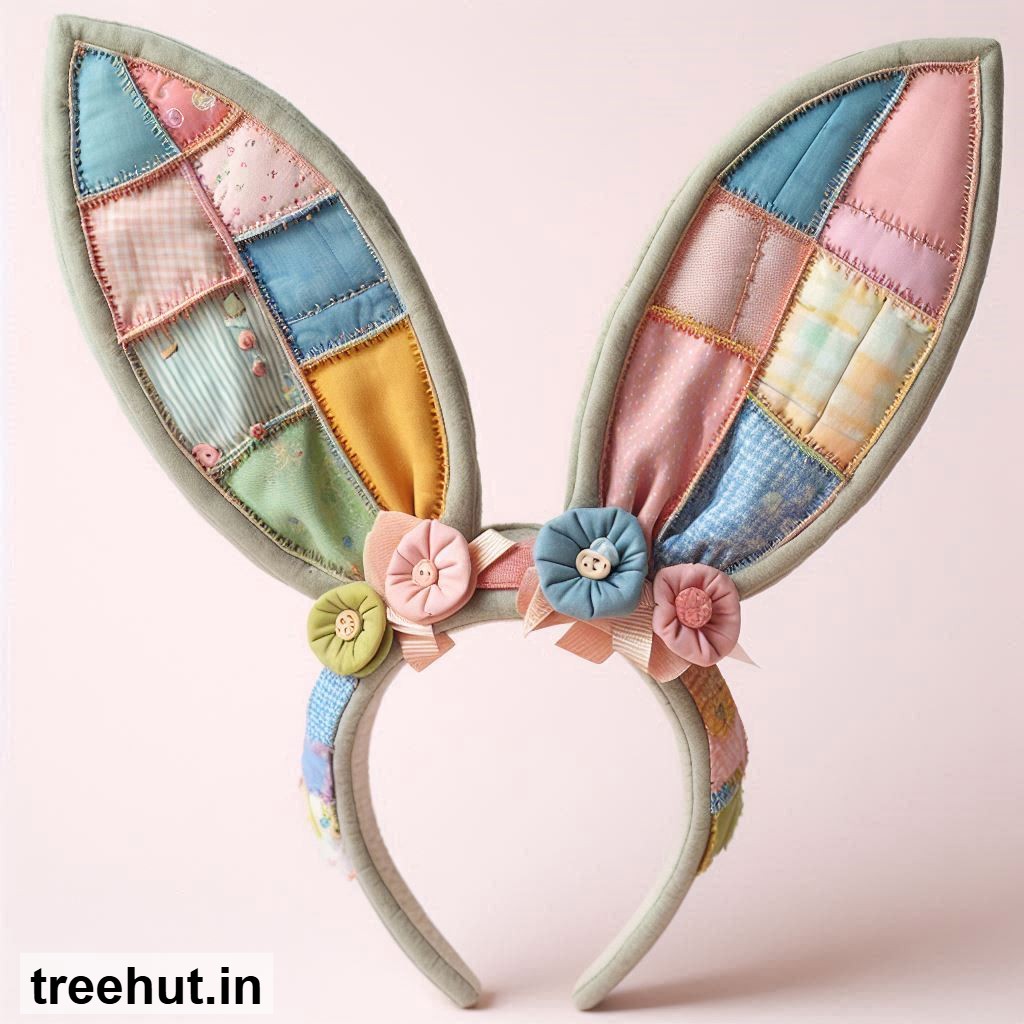
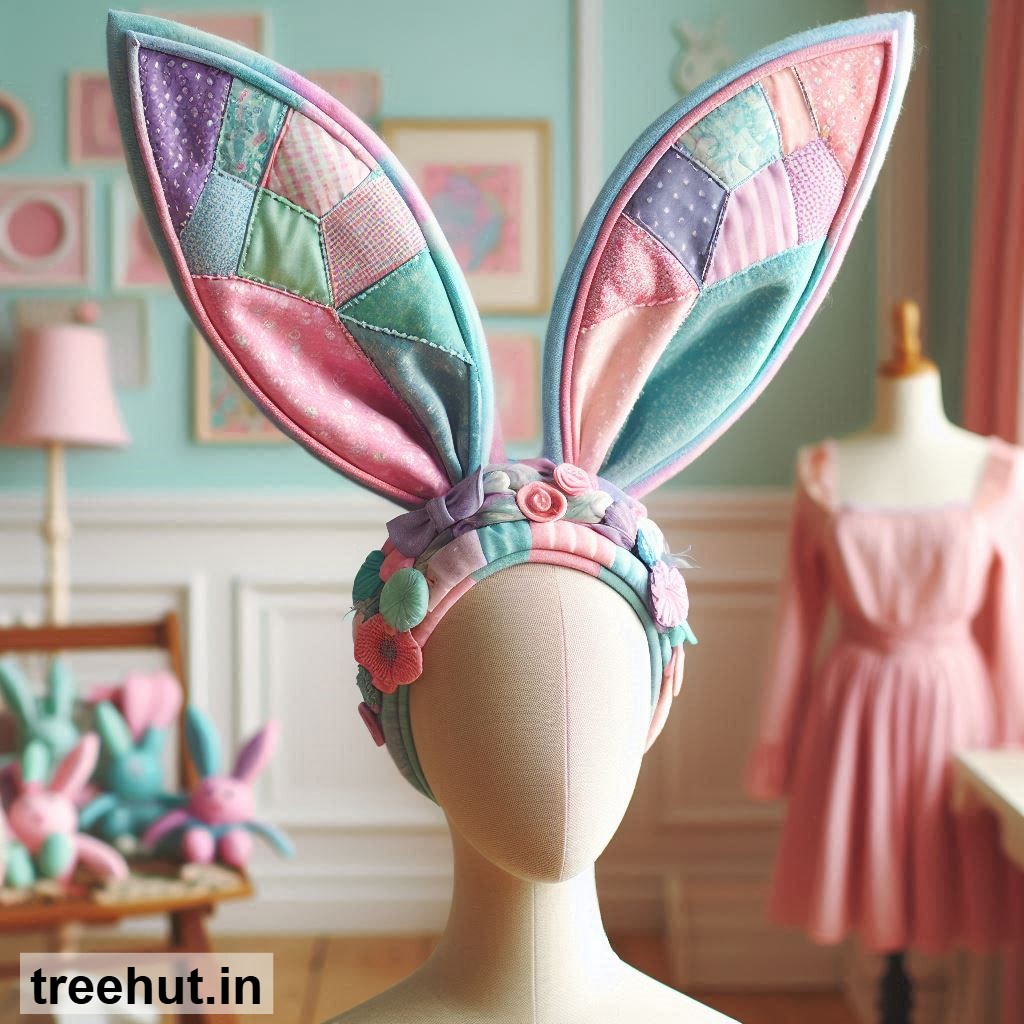
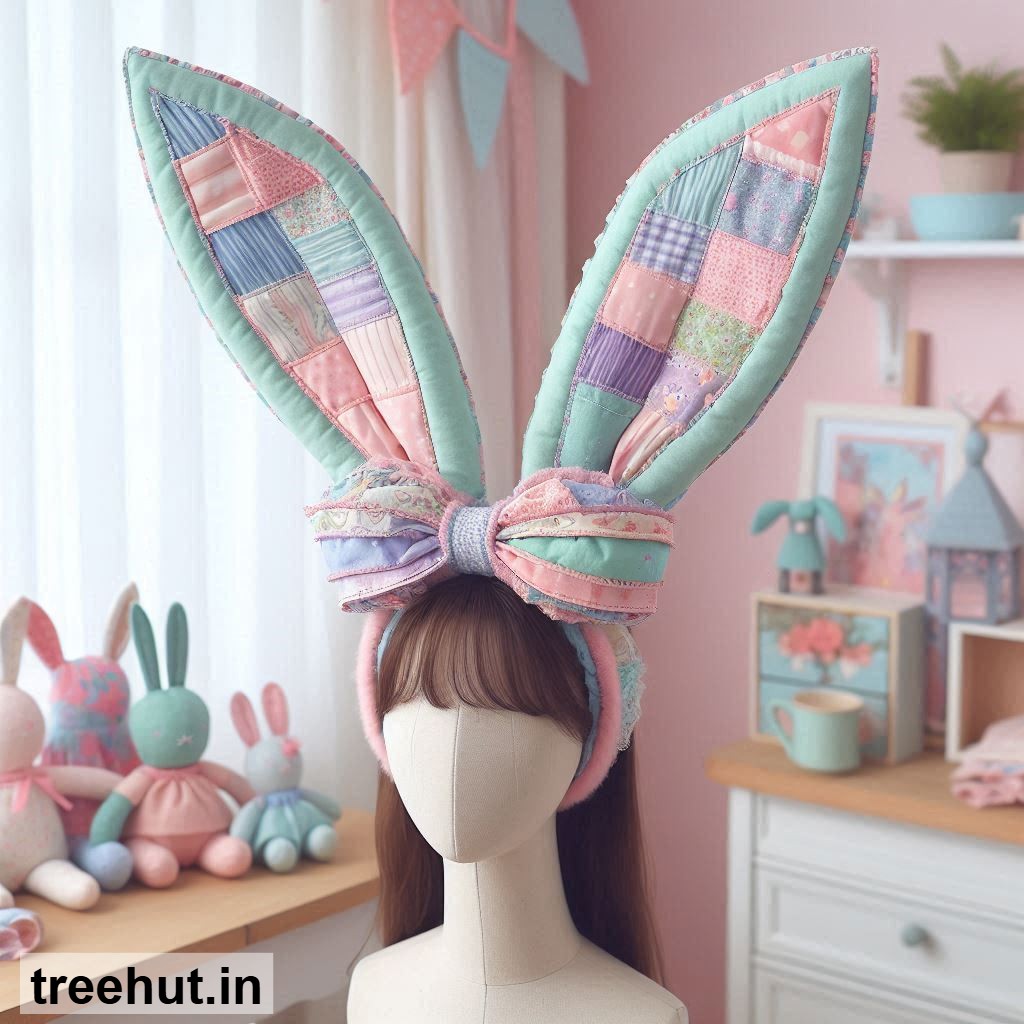
Spring is the perfect time to add a touch of whimsy and charm to your accessories, and what better way than with a bunny ear headpiece? These adorable headbands or clips are not only cute but also versatile, making them ideal for Easter celebrations, spring photoshoots, or even everyday wear. Whether you're crafting for yourself, gifting to a loved one, or selling at a market, a patchwork bunny ear headpiece is a delightful project that combines creativity with functionality. Below, you’ll find design ideas, a simple step-by-step guide, and tips to make your creation stand out.
Spring Patchwork Design Ideas for Bunny Ear Headpieces
Floral Fantasy: Combine soft pastel fabrics like pink, lavender, and mint with tiny floral prints. Add a touch of lace or ribbon for an extra feminine touch. This design is perfect for spring weddings or garden parties.
Easter Egg Patchwork: Use fabrics in bright, egg-inspired colors like yellow, blue, and green. Cut the ears into egg shapes or add small egg-shaped appliqués for a playful Easter theme.
Rustic Country: Opt for gingham, linen, or burlap fabrics in earthy tones like beige, sage, and cream. Add a small wooden button or twine bow for a rustic, farmhouse feel.
Rainbow Bright: Go bold with a rainbow of colors! Use strips of fabric in red, orange, yellow, green, blue, and purple to create a vibrant, eye-catching design. This is great for kids or anyone who loves a pop of color.
Vintage Lace: Choose delicate lace fabrics in ivory or soft pink. Layer the lace with a satin backing for a timeless, elegant look that’s perfect for bridal showers or vintage-themed events.
Step-by-Step Guide to Making a Bunny Ear Headpiece
Materials: You’ll need fabric scraps (cotton or linen work well), scissors, a sewing machine or needle and thread, a headband or clip base, interfacing (for structure), and a hot glue gun (optional).
Measurements: Cut two ear shapes from your fabric, each about 5–6 inches long and 3–4 inches wide at the base. Cut two more pieces from interfacing for stiffness. If using a headband, measure the width to ensure the ears fit snugly.
Making the Ears: Place the interfacing between two fabric pieces for each ear. Sew around the edges, leaving the base open. Turn the ears right side out and press flat. If you’re adding patchwork, sew or glue small fabric pieces onto the ears before assembling.
Attaching to the Base: For a headband, sew or glue the base of the ears to the band, spacing them evenly. For a clip, attach the ears to a small piece of felt first, then glue the felt to the clip. Secure everything with a few stitches for durability.
Finishing Touches: Add embellishments like ribbons, buttons, or embroidery to personalize your headpiece. Press the ears one final time to ensure they look crisp and neat.
Practical Tips and Uses
Start with simple designs if you’re a beginner, and gradually experiment with more complex patchwork as you gain confidence. Use high-quality fabrics to ensure your headpiece looks polished and lasts longer. These headpieces are perfect for gifting to kids, friends, or even as a unique accessory for spring weddings. If you’re selling them, consider offering customization options like different colors or embellishments to attract more buyers. For daily use, choose durable fabrics and secure stitching to withstand wear and tear. Don’t be afraid to mix and match patterns—patchwork is all about creativity!