


Spring Patchwork Design Ideas for Bee pattern necktie
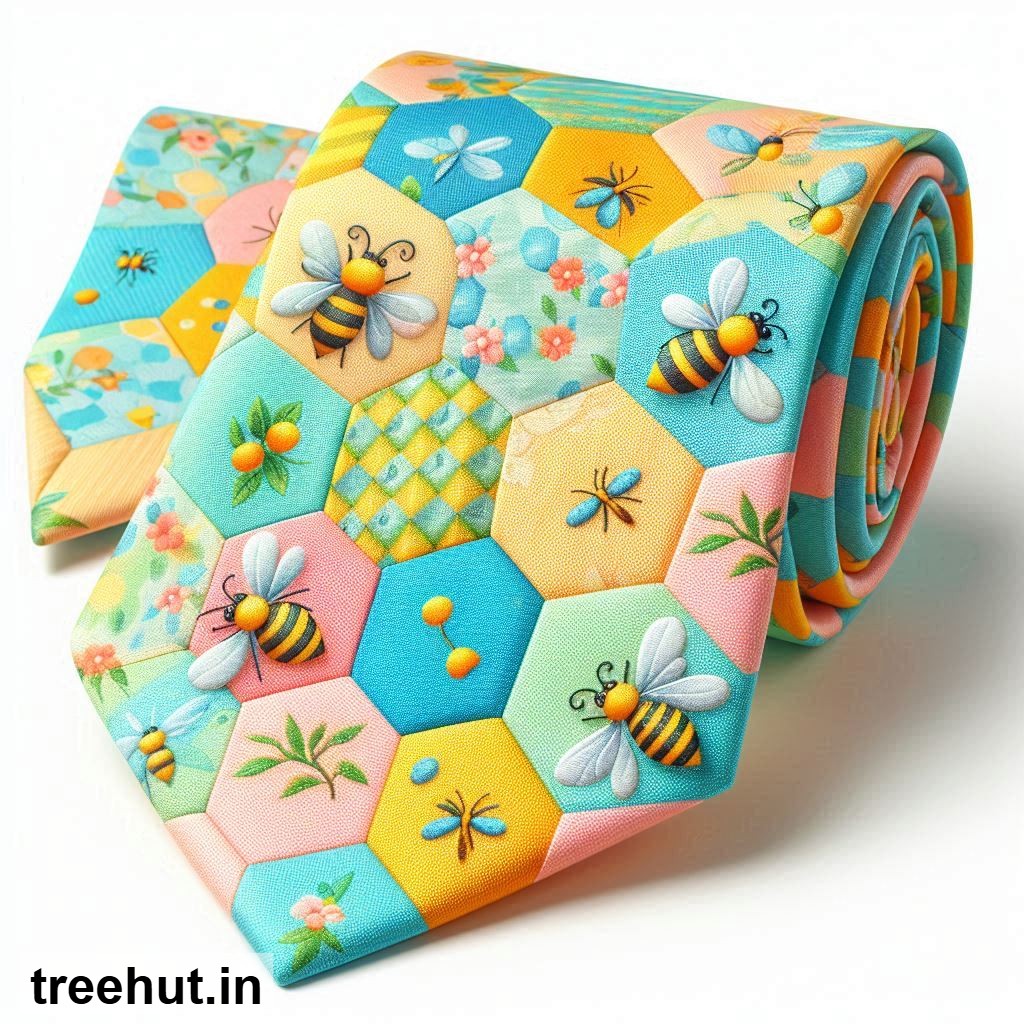
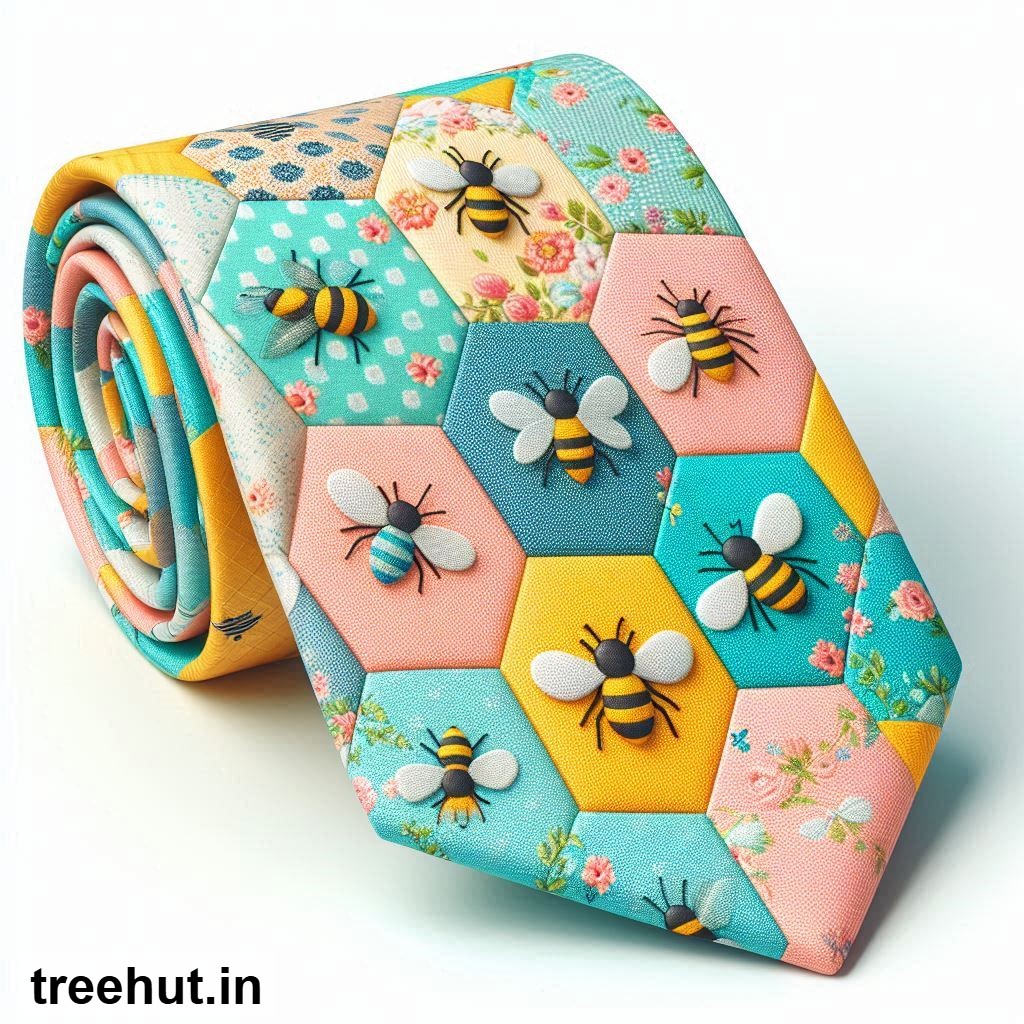
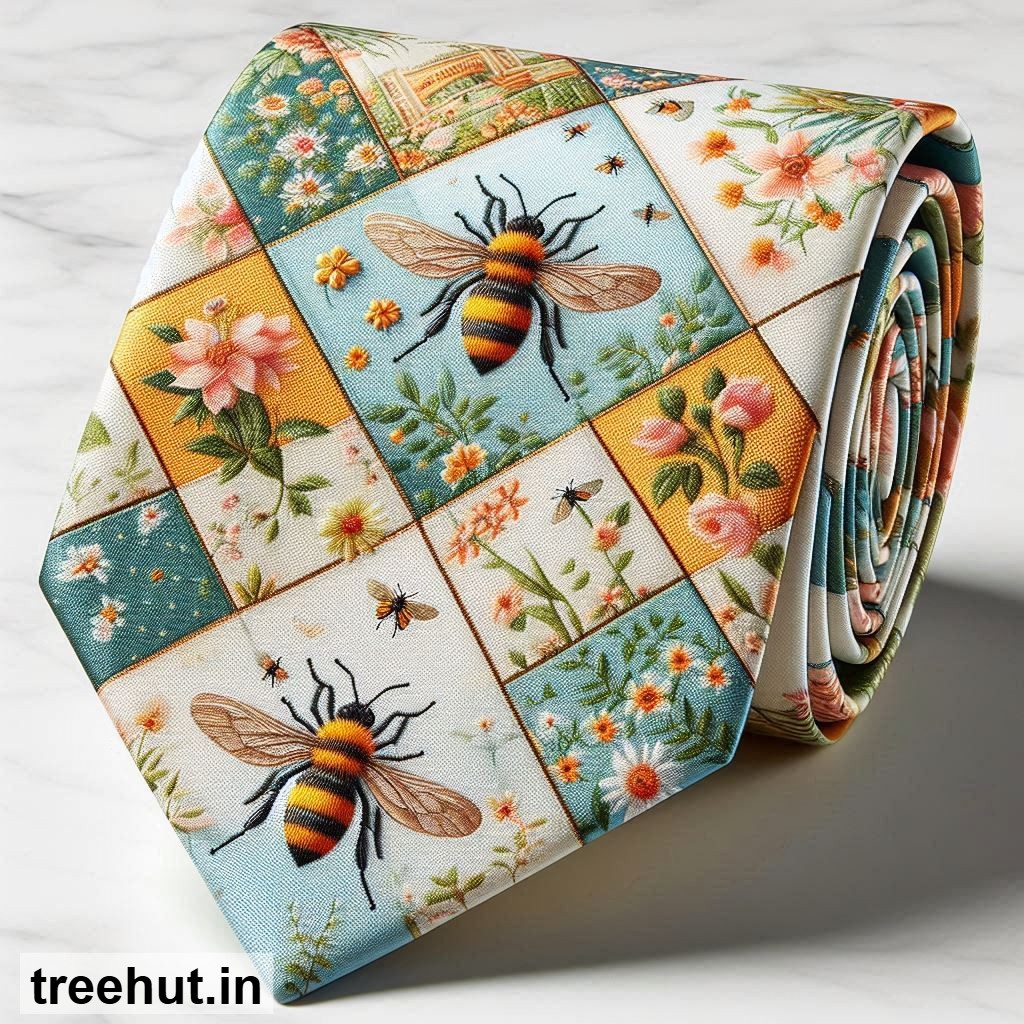
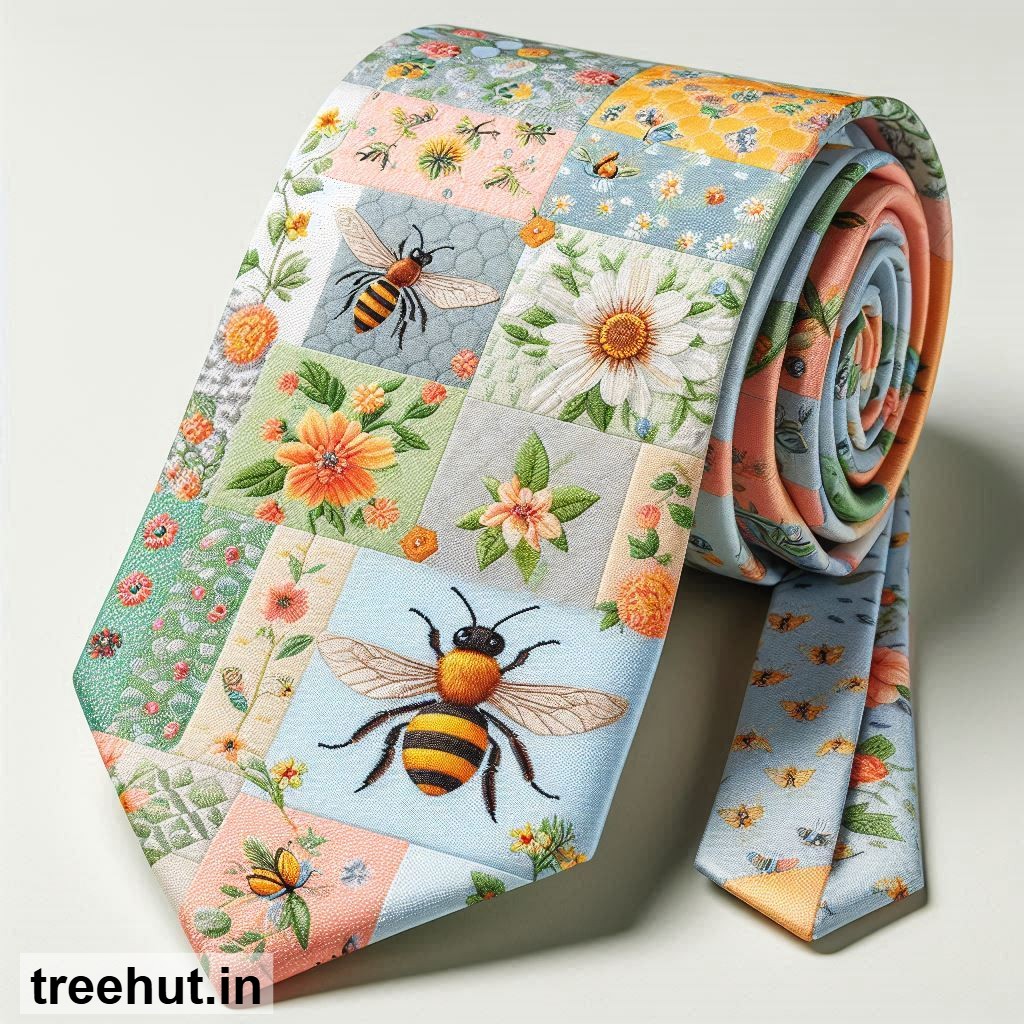
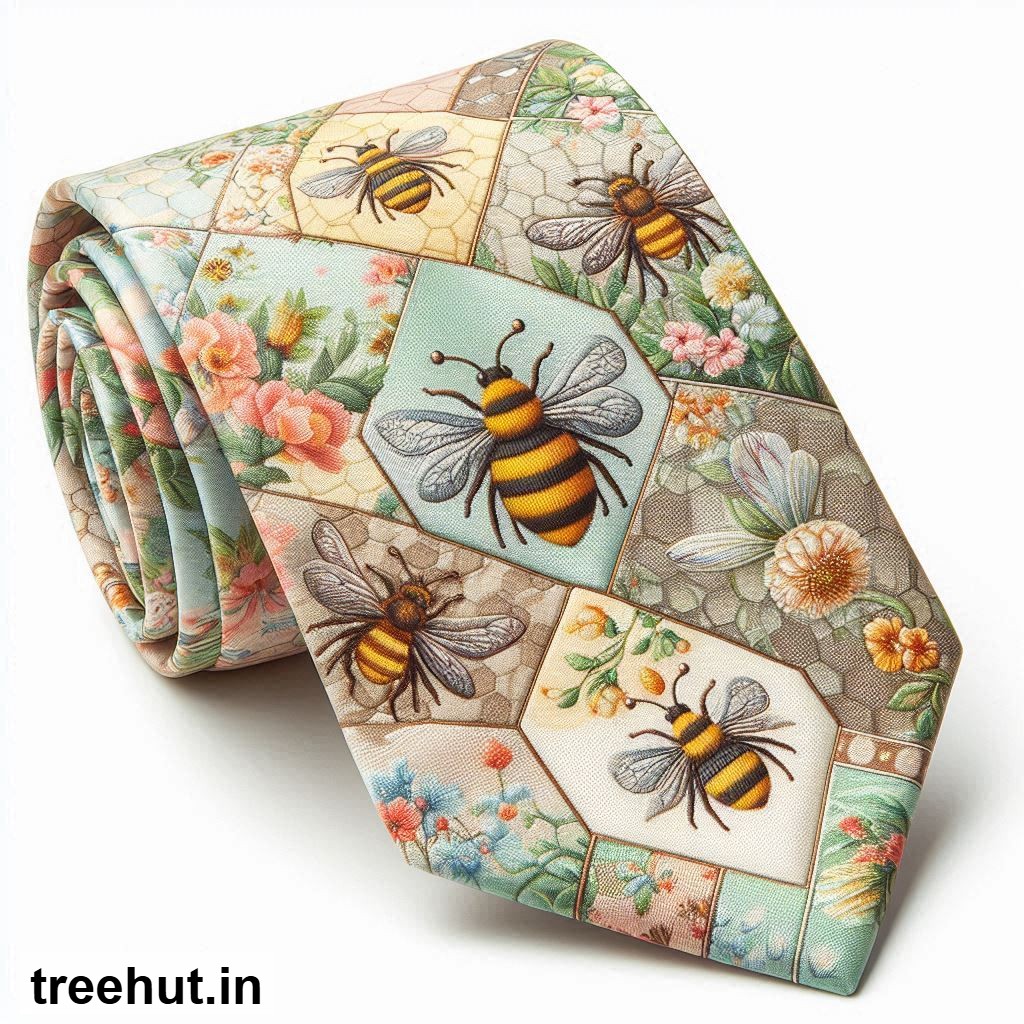
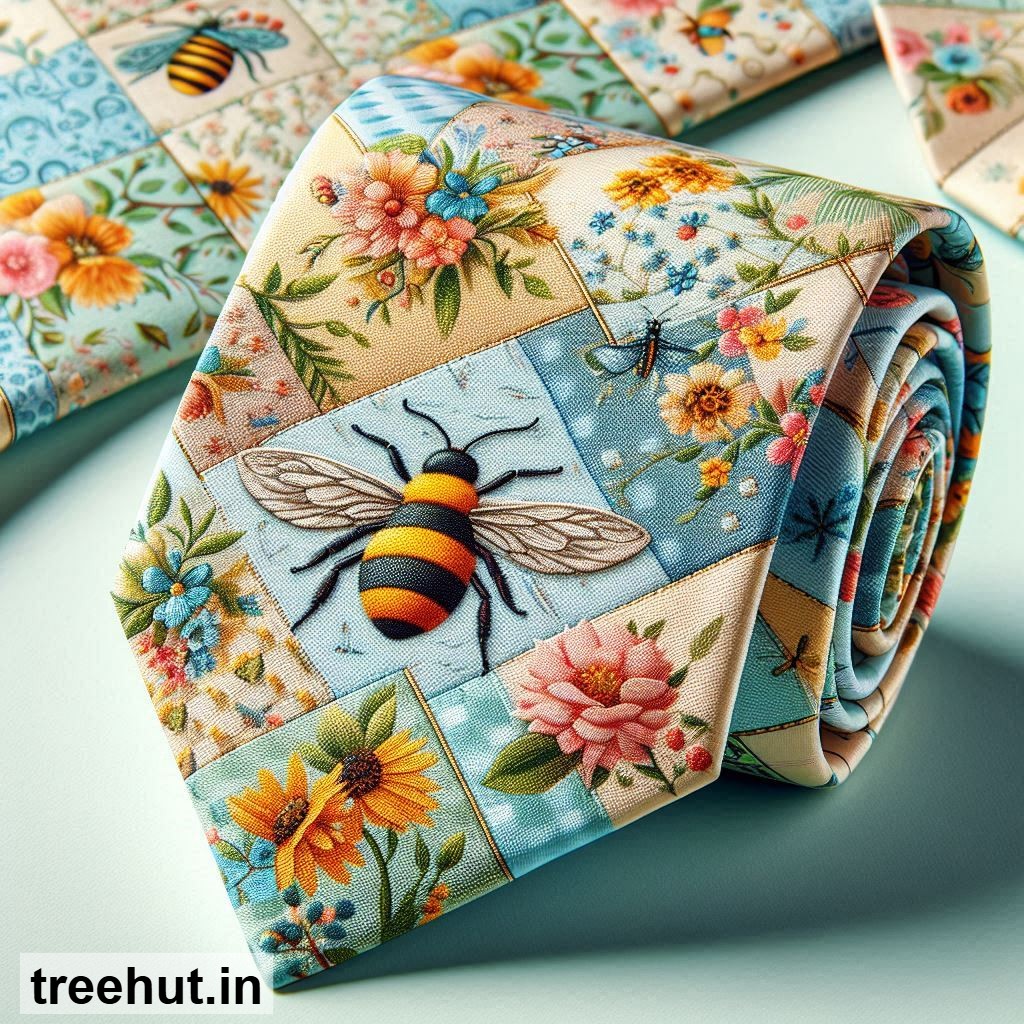
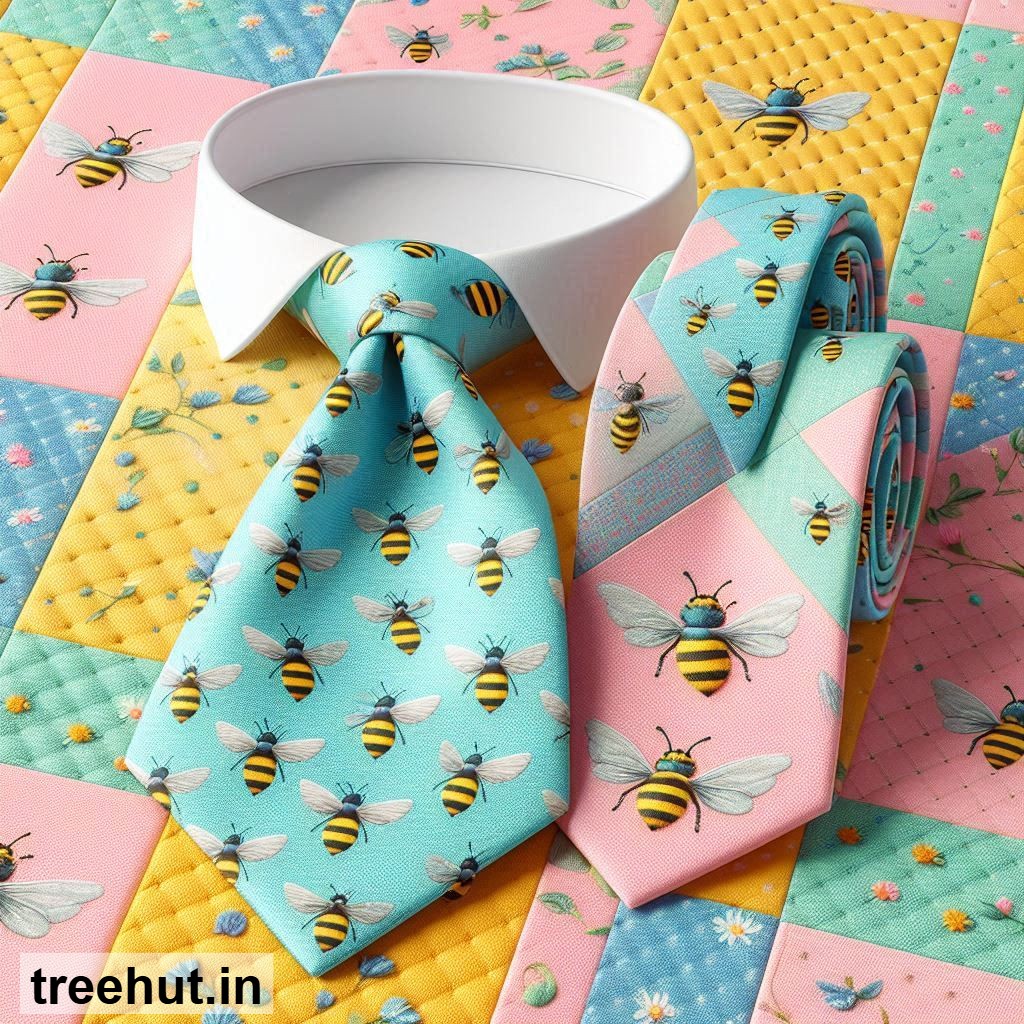
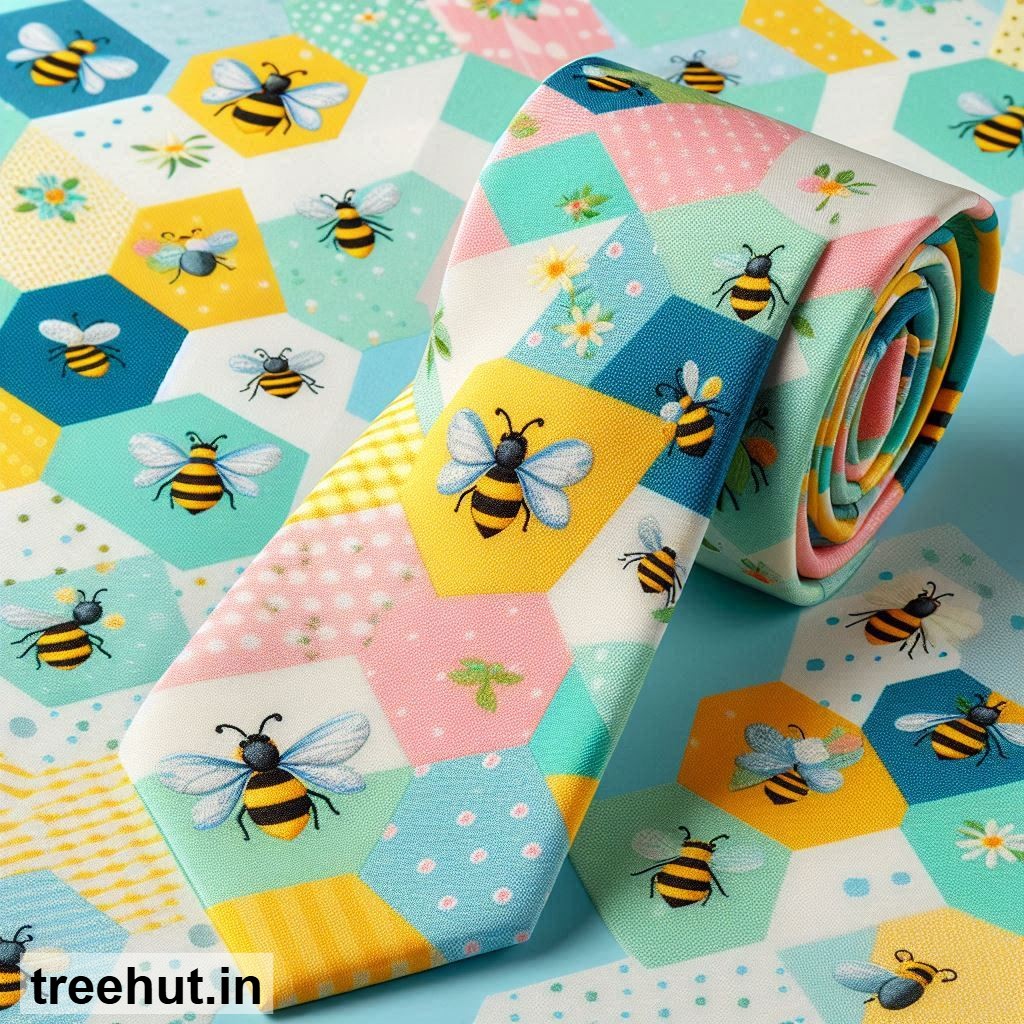
Why a Bee Pattern Necktie? Bees symbolize hard work and sweetness, making them a delightful motif for spring. Pairing them with patchwork adds texture and color, turning a simple tie into a statement piece. It’s perfect for crafters who love mixing patterns and experimenting with fabrics.
Spring Patchwork Design Ideas for Your Bee Necktie
1. Floral Garden Bee Tie: Combine tiny floral prints with a central bee motif. Use pastel fabrics like mint green, soft pink, and lavender for a fresh spring look. Add a few embroidered flowers for extra detail.
2. Honeycomb Hexagon Tie: Create a geometric patchwork using hexagon-shaped fabric pieces to mimic a honeycomb. Place a bee appliqué in the center for a clever, nature-inspired design.
3. Stripes and Bees Tie: Mix vertical or diagonal stripes with small bee prints. This design is bold yet balanced, perfect for those who love a modern twist on classic patchwork.
4. Butterfly and Bee Combo: Pair bees with butterflies for a whimsical spring theme. Use lightweight fabrics in bright colors like yellow, orange, and teal for a lively effect.
5. Vintage Bee Tie: Choose muted, vintage-inspired fabrics with small bee patterns. Add lace or embroidery for a delicate, old-world charm that’s perfect for special occasions.
6. Rainbow Patchwork Tie: Use a variety of colorful fabric scraps to create a vibrant, eye-catching tie. Place a bee appliqué near the tip for a fun, playful finish.
Step-by-Step Guide to Making Your Bee Patchwork Necktie
Materials Needed: Fabric scraps (cotton or linen work best), bee-themed fabric or appliqué, interfacing, thread, scissors, sewing machine (or needle for hand-sewing), iron, and a tie pattern template.
Measurements: A standard necktie is about 57 inches long and 3.5 inches wide at the widest point. Adjust the length based on the wearer’s height.
Making the Tie: Start by cutting your fabric into strips or shapes for the patchwork. Arrange them on a flat surface to plan your design. Sew the pieces together using a 1/4-inch seam allowance, pressing each seam flat with an iron. Once your patchwork panel is complete, cut it to match your tie pattern. Layer the patchwork fabric with interfacing for structure, then sew the tie pieces together, leaving an opening to turn it right-side out. Turn, press, and hand-stitch the opening closed. Add the bee appliqué or embroidery as a final touch.
Finishing: Give the tie a final press with an iron to smooth out any wrinkles. If desired, add a small loop at the back to keep the narrow end in place.
Practical Tips for Success
1. Choose lightweight fabrics: Cotton or linen are ideal for ties as they drape well and are easy to sew. Avoid heavy fabrics that may bulk up the seams.
2. Press as you go: Ironing seams flat after each step ensures a professional finish and makes sewing easier.
3. Use a tie template: If you’re new to tie-making, download a free template online to ensure the correct shape and size.
4. Experiment with appliqué: If sewing tiny bee prints is tricky, use iron-on or hand-sewn appliqués for a simpler approach.
5. Personalize for gifting: Add initials or a small embroidered message to make the tie extra special for birthdays, Father’s Day, or graduations.
6. Perfect for daily wear or selling: These ties are great for everyday use, especially for those who love quirky accessories. They also make excellent handmade gifts or items to sell at craft fairs.
With these ideas and steps, you’re ready to create a charming spring patchwork bee necktie that’s as fun to make as it is to wear. Happy crafting!