


Spring Crochet lightweight ponchos Ideas and how to make them
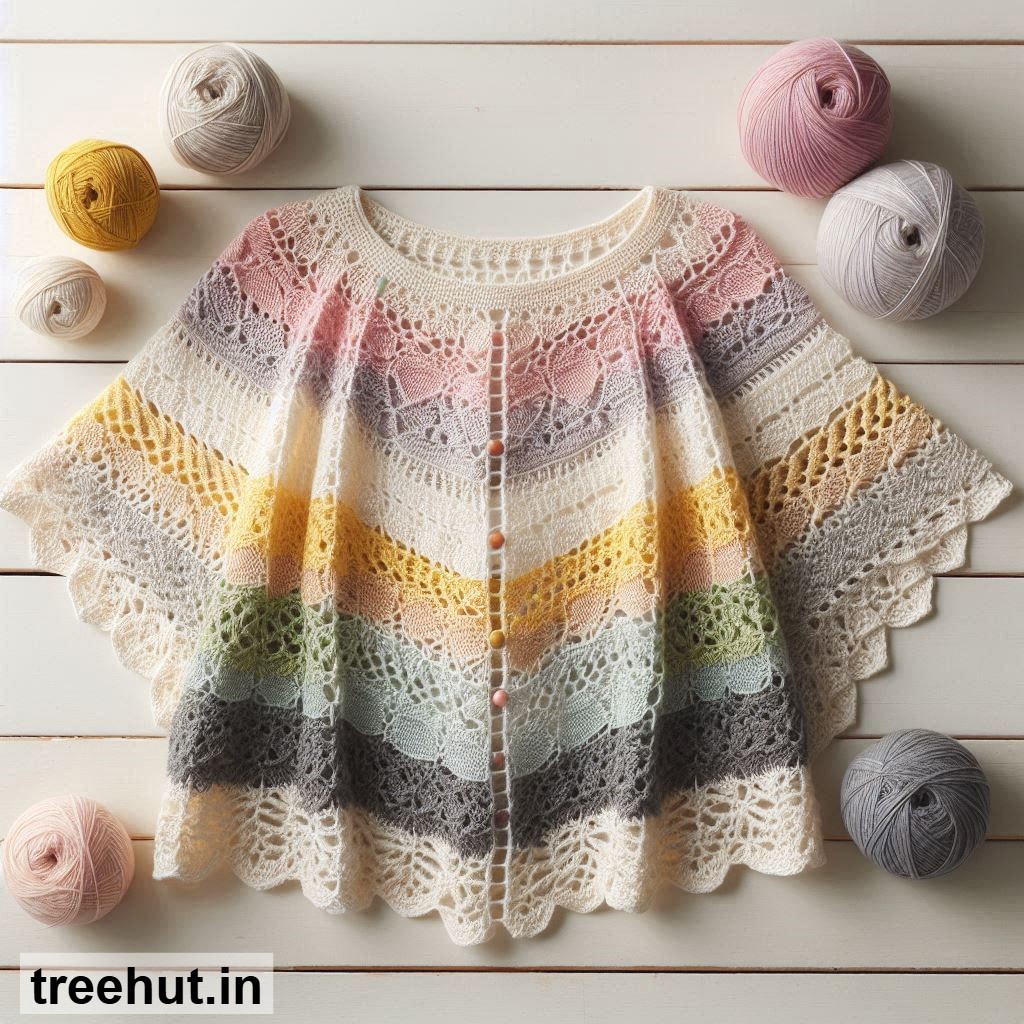
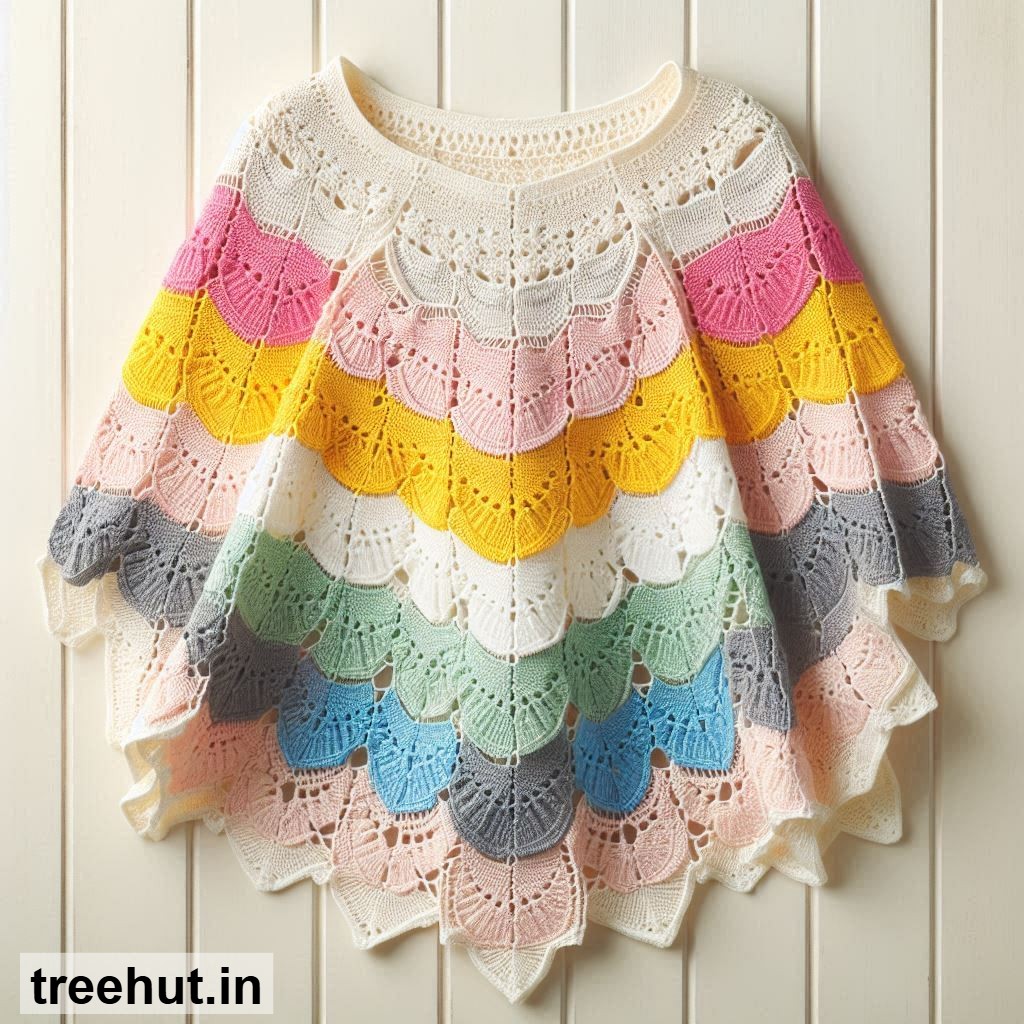
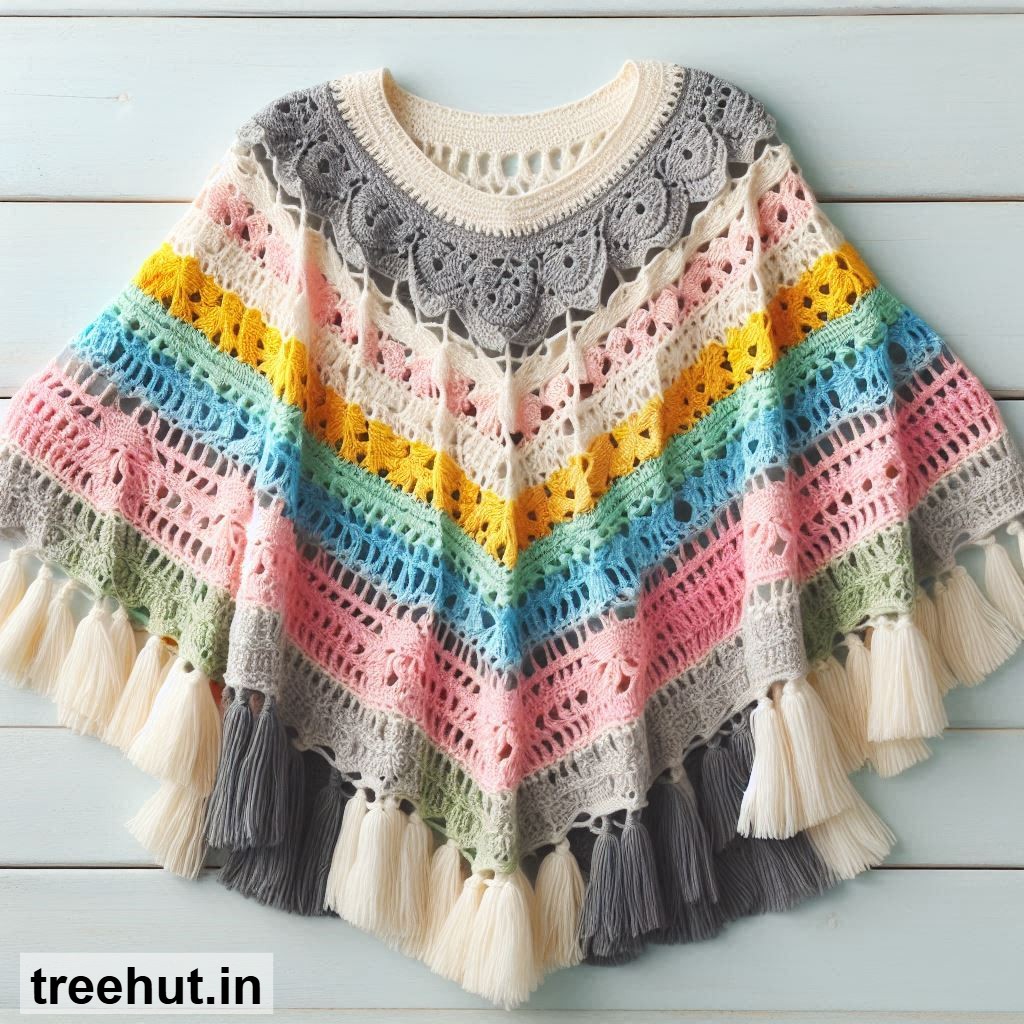
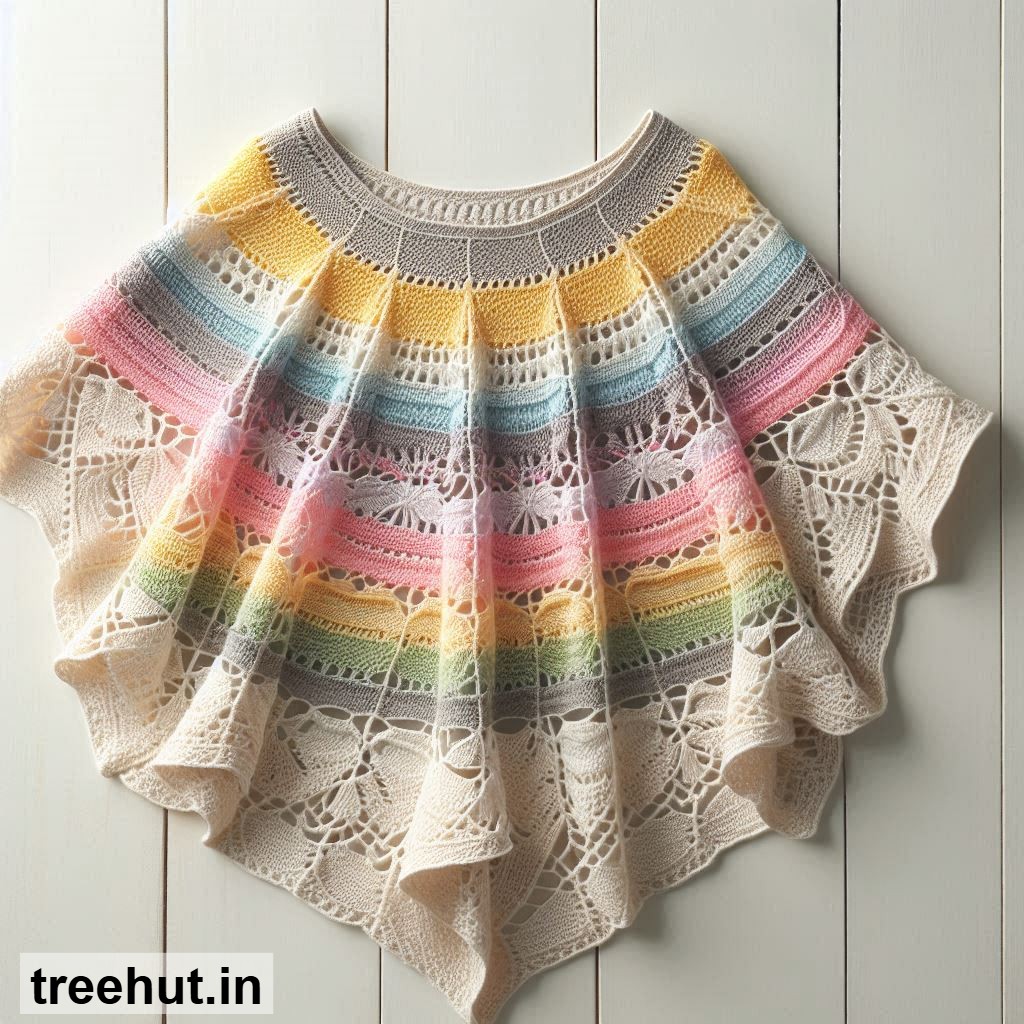
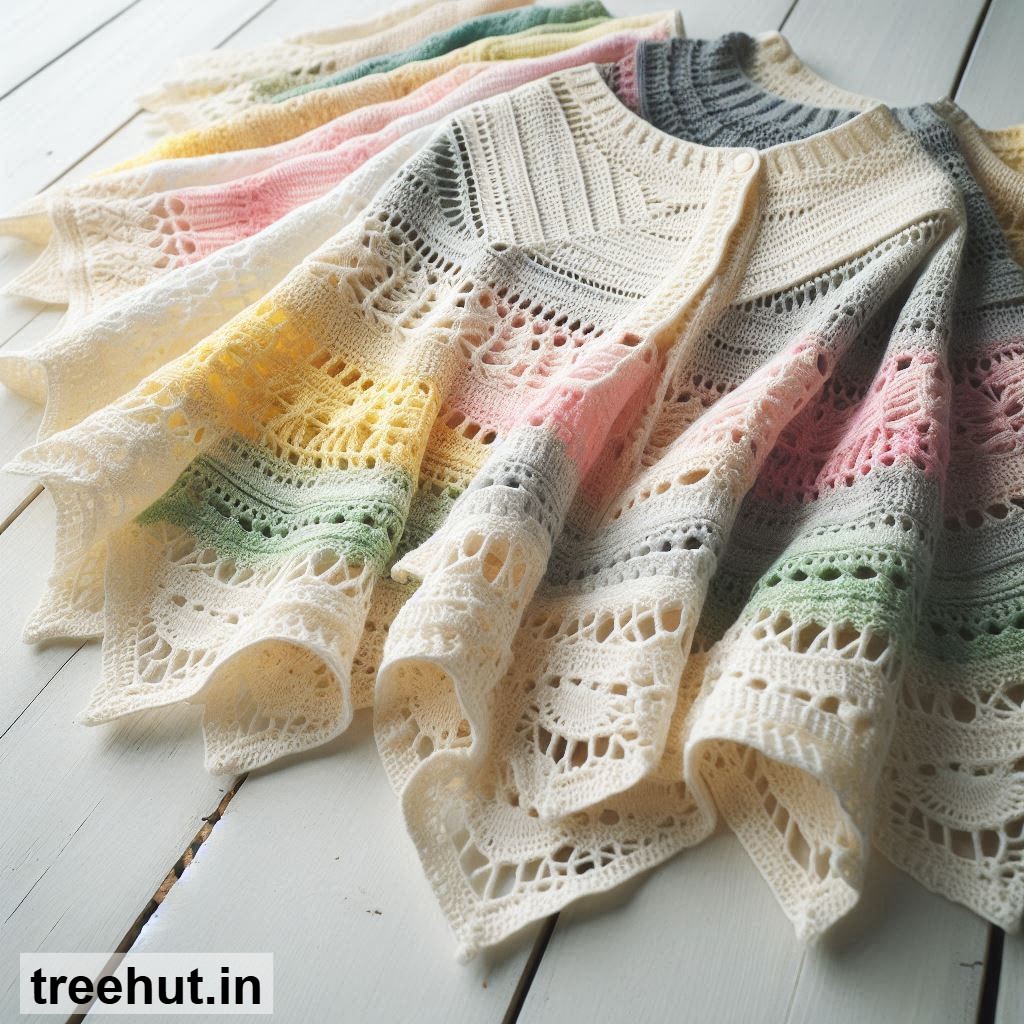
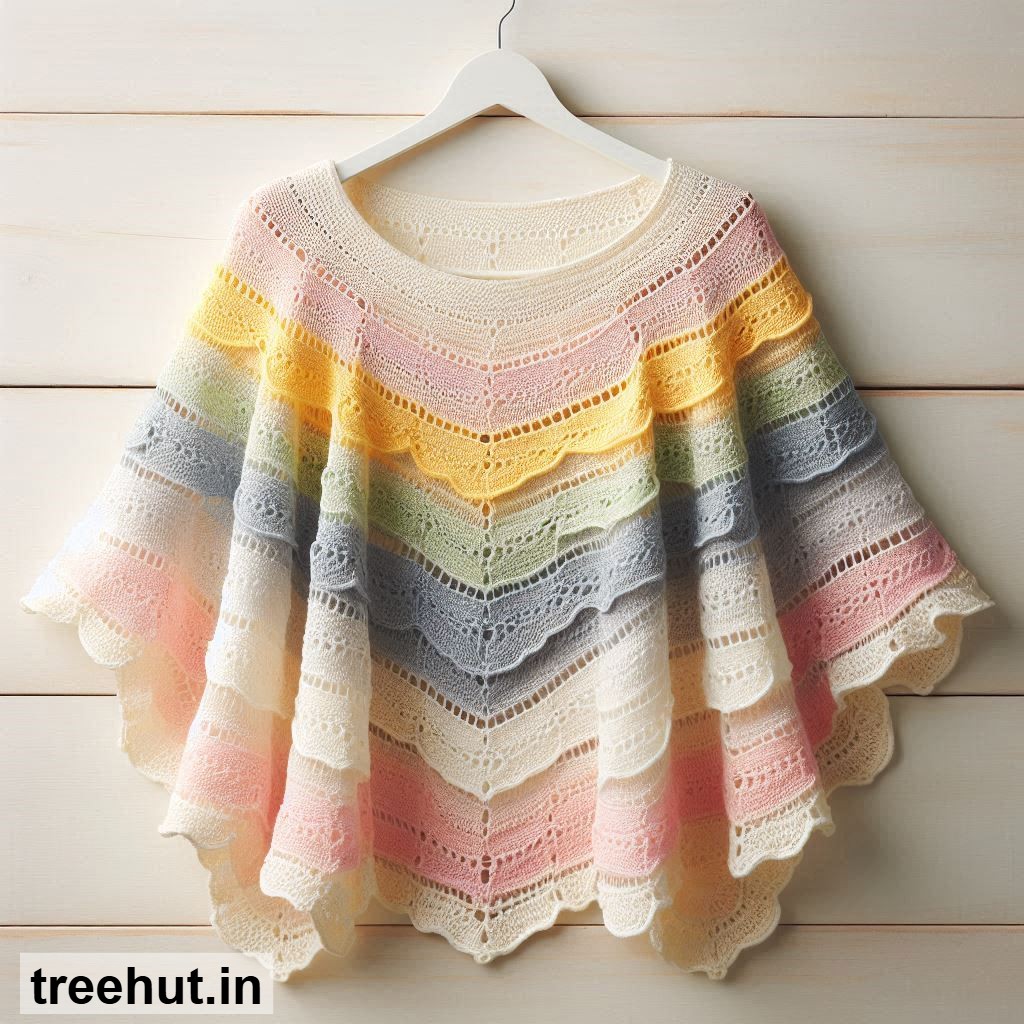
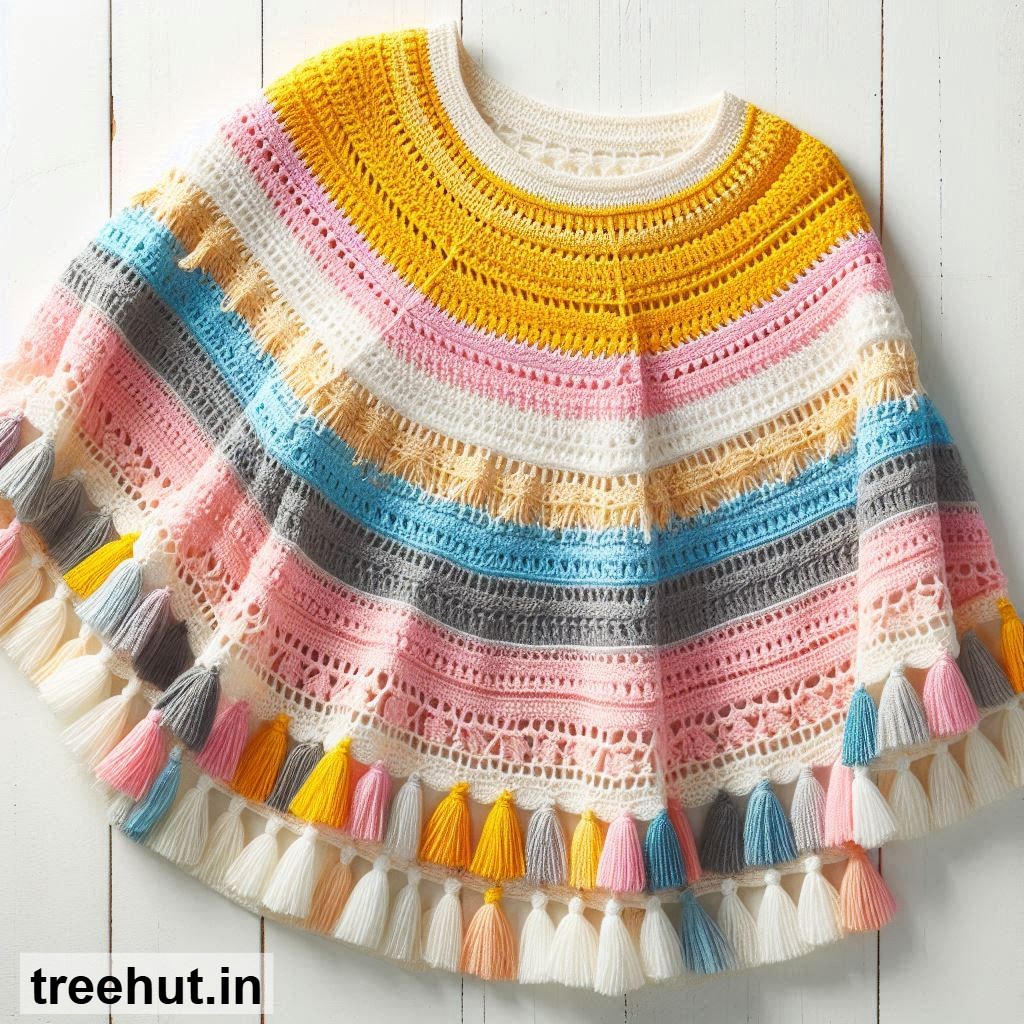
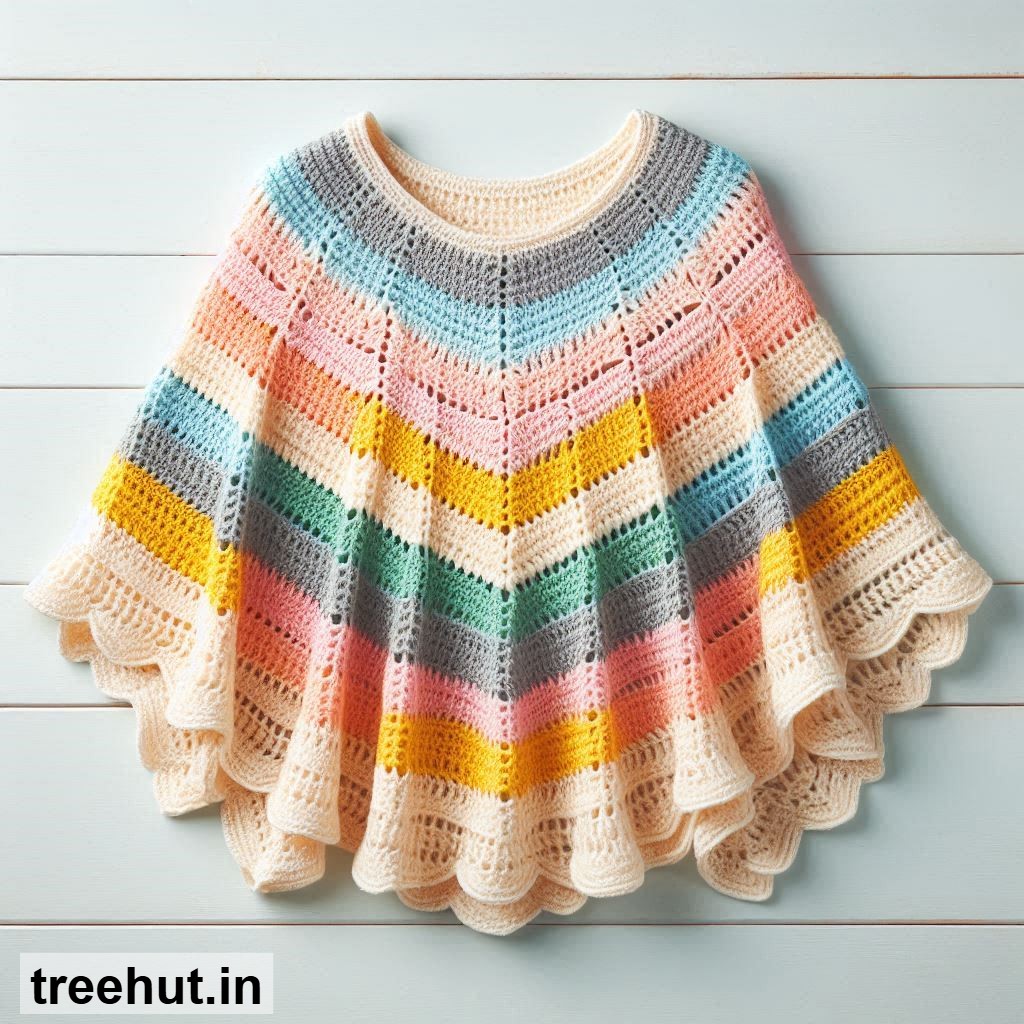
Lightweight spring crochet ponchos are the perfect blend of style and comfort. They add a cozy, fashionable layer to any outfit while keeping you warm during those breezy spring days. Whether you're lounging at home, running errands, or enjoying a picnic in the park, a crochet poncho is a versatile accessory that’s both cute and functional. Plus, they’re a fantastic project for beginners and intermediate crafters looking to expand their skills. Below, you’ll find design ideas, a simple step-by-step guide, and tips to make your poncho a success.
5 Charming Spring Crochet Poncho Design Ideas
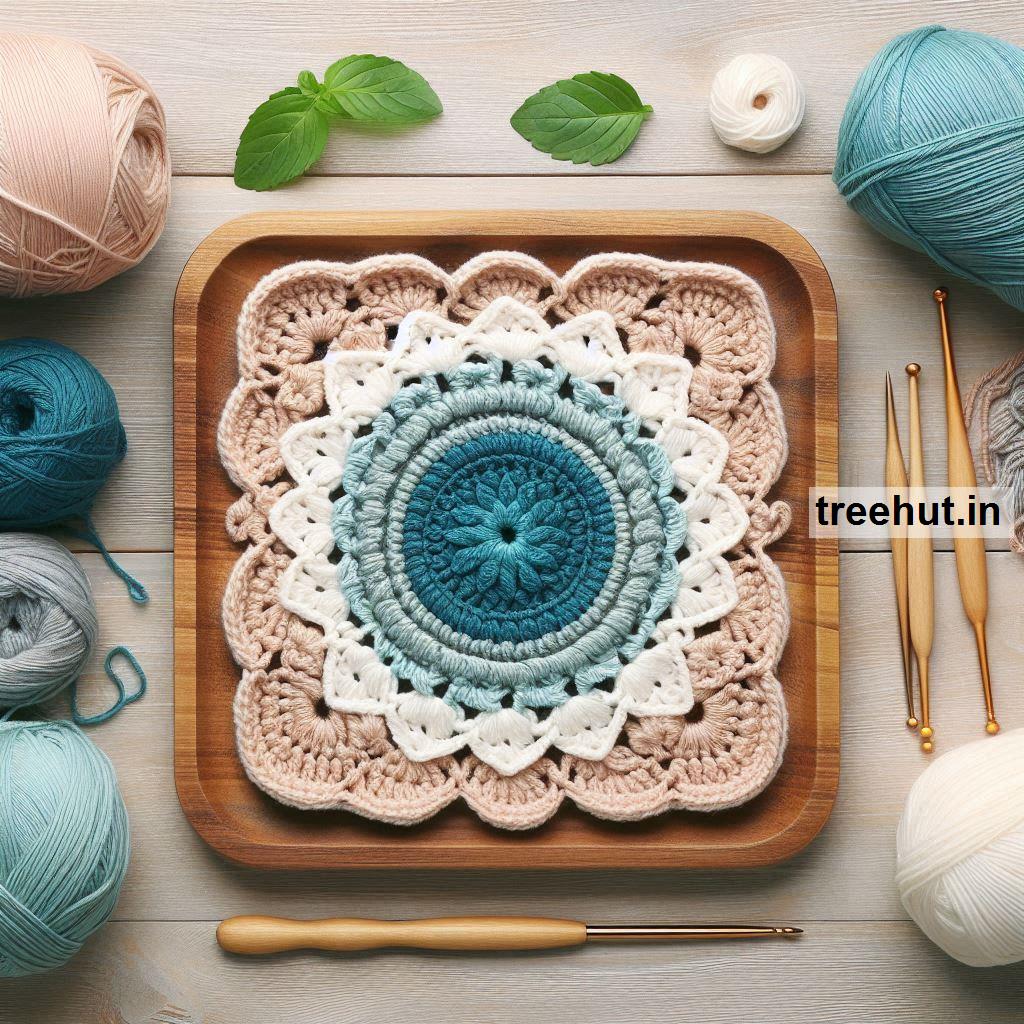
1. The Classic Granny Square Poncho: This timeless design features colorful granny squares stitched together in a relaxed, boho style. It’s great for using up scrap yarn and can be customized with your favorite colors. The openwork pattern keeps it lightweight and airy, perfect for spring.
2. The Lace-Inspired Poncho: Delicate lace stitches create an elegant, feminine look. This design is ideal for dressier occasions or adding a touch of sophistication to a casual outfit. Choose a soft cotton or bamboo yarn for a breezy feel.
3. The Striped Poncho: Horizontal or vertical stripes add a playful, modern twist. Use two or three complementary colors for a bold look, or stick to neutral tones for a subtle, chic vibe. This design is beginner-friendly and works up quickly.
4. The Hooded Poncho: Add a hood for extra warmth and a cozy, casual look. This style is perfect for cooler spring mornings or evenings. You can make the hood simple or add a fun fringe detail for extra flair.
5. The Fringed Poncho: Fringe along the edges gives this poncho a bohemian, free-spirited feel. It’s easy to make and adds movement to the design. Pair it with jeans and boots for a stylish, laid-back look.
6. The Crochet-Knit Combo Poncho: Combine crochet and knit sections for a unique texture. For example, crochet the body and add knit sleeves or a knit trim. This design is great for intermediate crafters looking to experiment with mixed techniques.
7. The Asymmetrical Poncho: An asymmetrical hem or neckline adds a modern, edgy touch. This design is perfect for those who love contemporary fashion and want something a little different.
Step-by-Step Basic Method
Materials: You’ll need a crochet hook (size H/5mm or as recommended for your yarn), lightweight yarn (cotton, bamboo, or acrylic blends work well), scissors, a yarn needle, and a measuring tape. For a standard adult-sized poncho, about 800–1000 yards of yarn should suffice.
Measurements: Decide on the length of your poncho. A typical poncho falls around mid-thigh or hip length. Measure from your shoulder to where you want the poncho to end. For the width, measure from wrist to wrist with your arms outstretched—this will give you the circumference of the poncho. Add a few extra inches for ease.
Making the Poncho: Start by chaining a foundation row based on your width measurement. For a simple rectangle poncho, chain until the row reaches your desired width, then work rows of single crochet (or your chosen stitch) until the piece reaches your length measurement. Fold the rectangle in half and sew the sides together, leaving an opening for your head. For a more fitted look, you can shape the poncho by decreasing stitches near the neckline.
Finishing: Weave in all loose ends with a yarn needle. Add any embellishments like fringe, tassels, or a decorative border. Block your poncho by lightly wetting it and laying it flat to dry—this helps even out the stitches and gives it a polished look.
Practical Tips and Uses
1. Choose the Right Yarn: Lightweight yarns like cotton or bamboo are ideal for spring ponchos. They’re breathable, soft, and easy to work with. Avoid bulky yarns, as they can make the poncho too warm for the season.
2. Keep It Simple: If you’re a beginner, stick to basic stitches like single crochet or double crochet. These are easy to master and create a clean, classic look. As you gain confidence, you can experiment with more intricate patterns.
3. Customize the Fit: Ponchos are forgiving, but you can adjust the fit by adding or reducing stitches. For a snugger fit, decrease stitches near the neckline. For a looser fit, add extra stitches or rows.
4. Perfect for Gifting: Handmade ponchos make thoughtful, personalized gifts. Choose colors and styles that suit the recipient’s taste, and pair it with a handwritten note for a special touch. They’re great for birthdays, Mother’s Day, or as a housewarming gift.
5. Sell Your Creations: If you’re looking to sell your ponchos, focus on unique designs and high-quality materials. Take clear, well-lit photos and write detailed descriptions highlighting the yarn type, size, and care instructions. Etsy, local craft fairs, and social media are great platforms to showcase your work.
6. Everyday Wear: A lightweight crochet poncho is perfect for layering over a tank top or t-shirt. It’s easy to throw on for a quick errand, a coffee date, or even a casual day at the office. Plus, it’s machine-washable (if using acrylic yarn), making it low-maintenance for daily use.
With these ideas and tips, you’re ready to create a beautiful, functional spring crochet poncho. Happy crafting!