



Spring Crochet peplum tops Ideas and how to make them
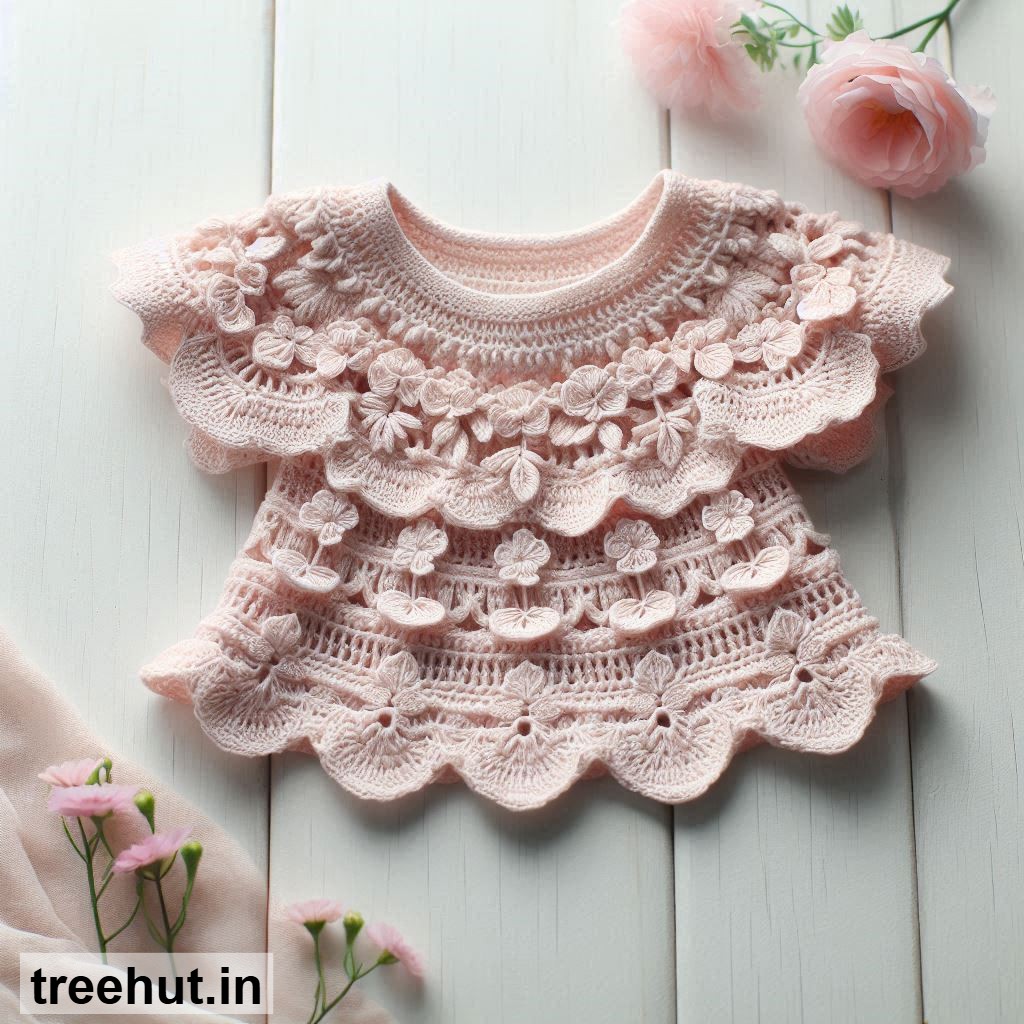
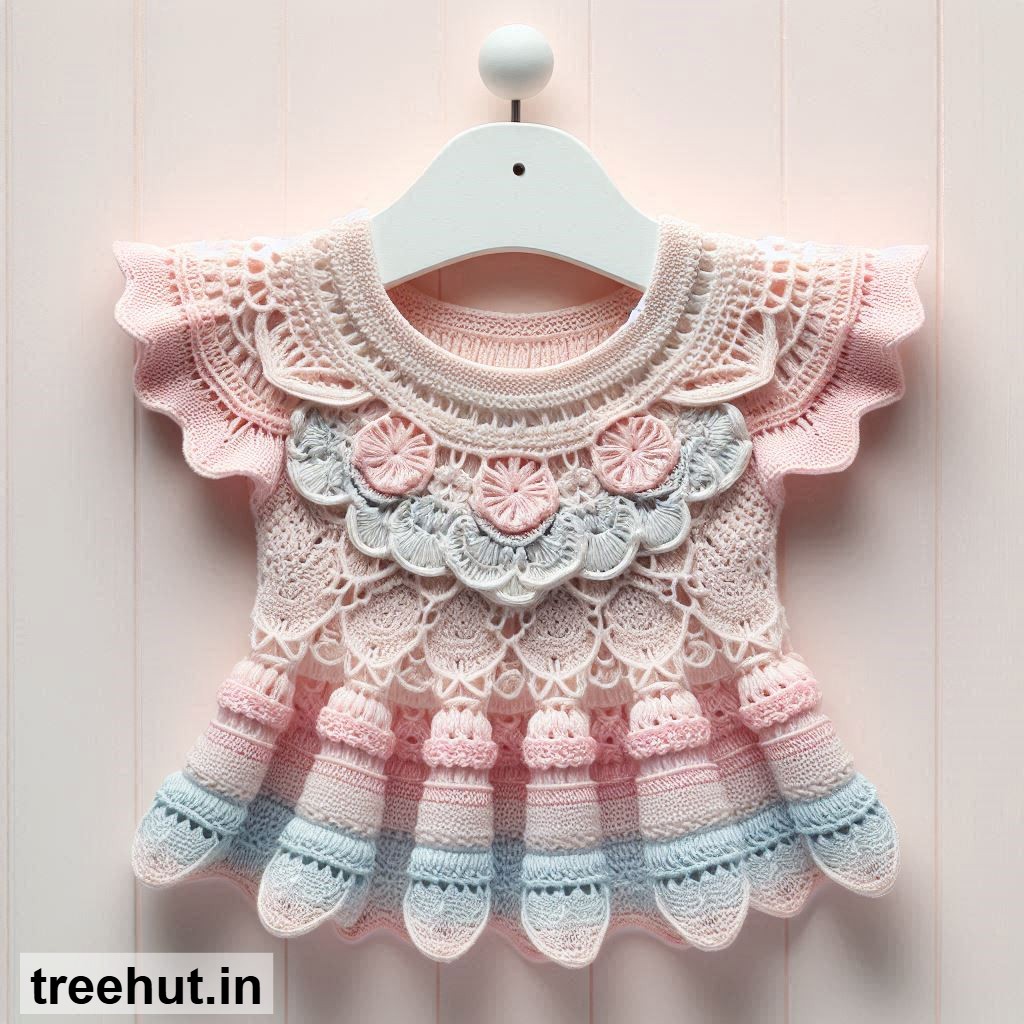
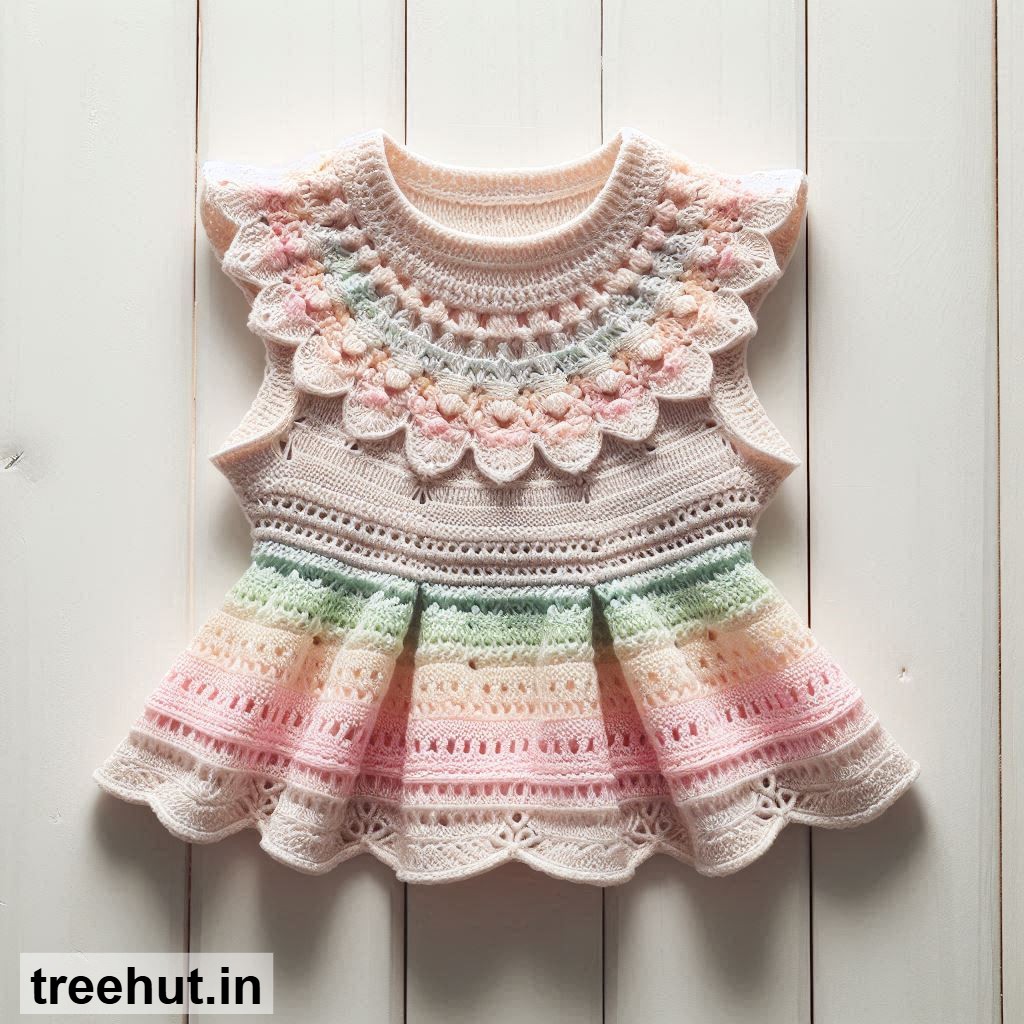
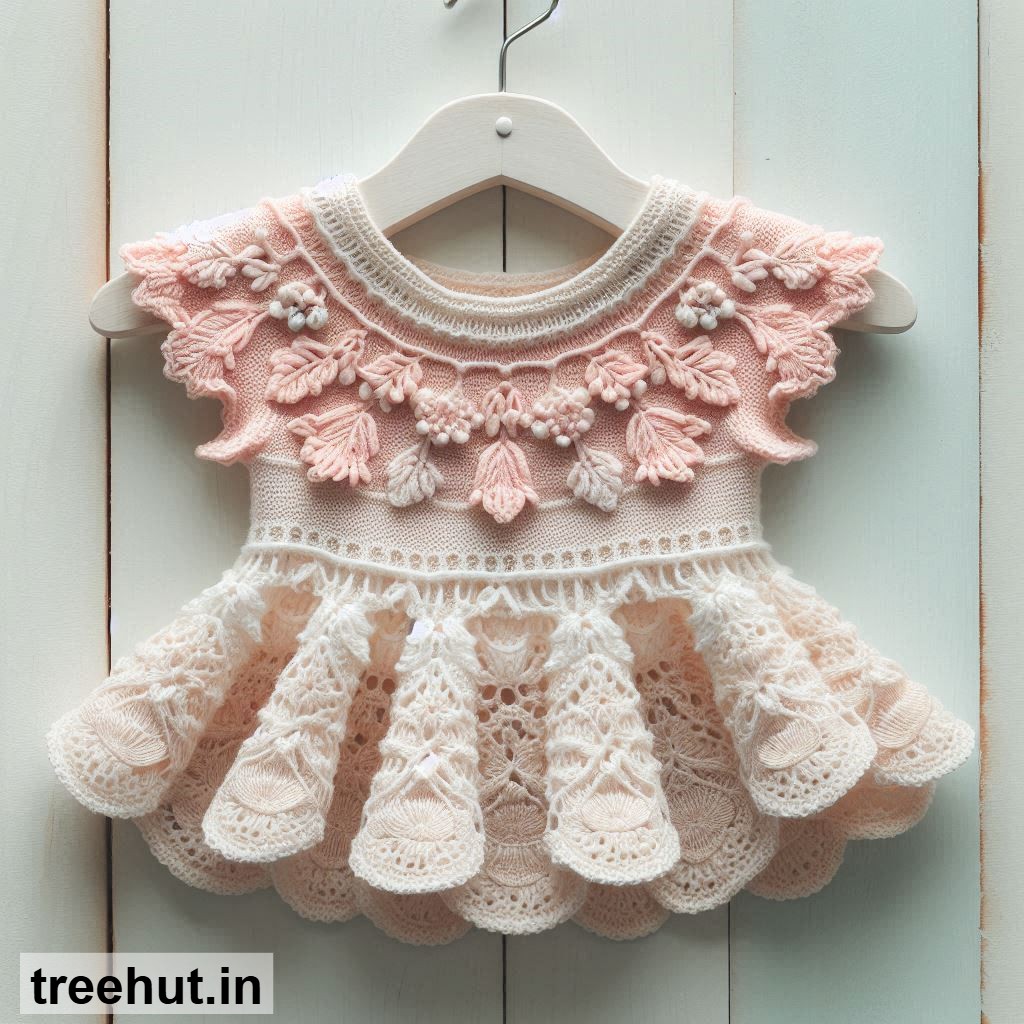
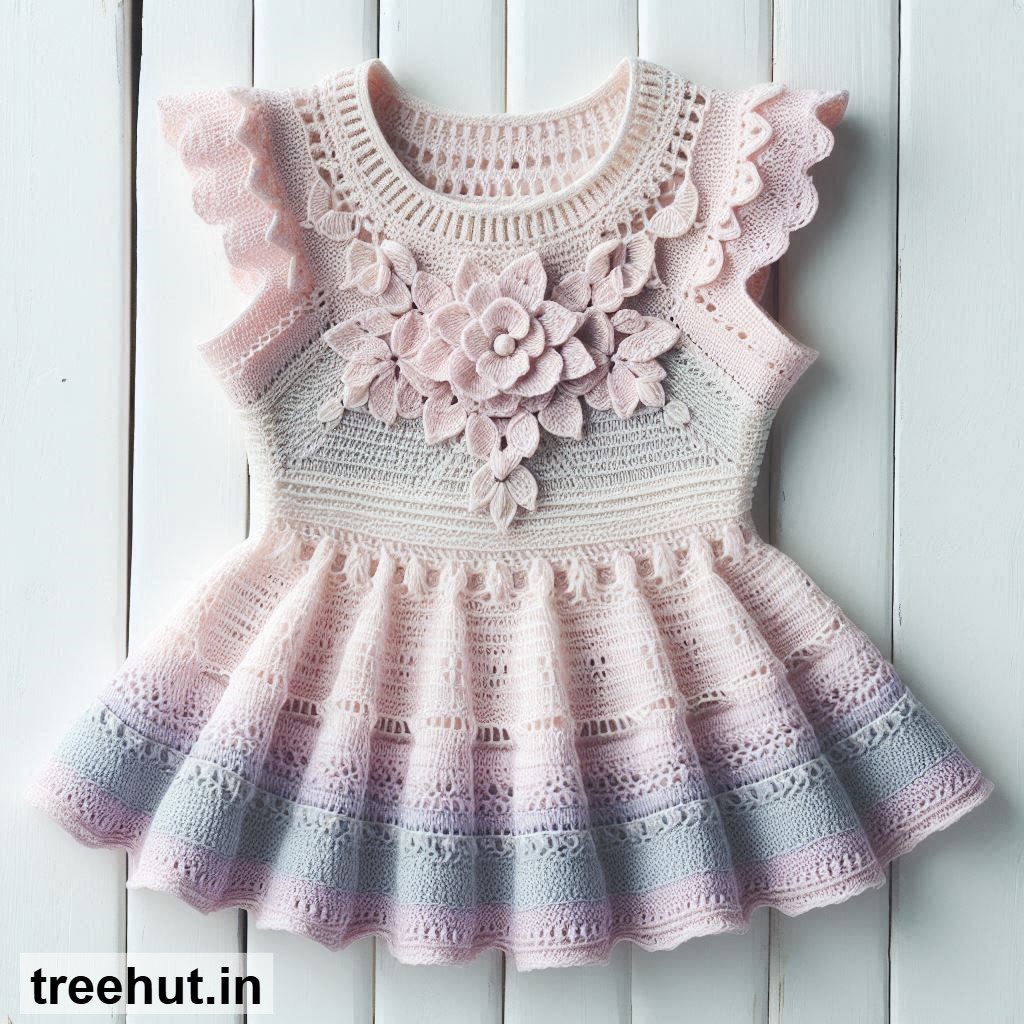
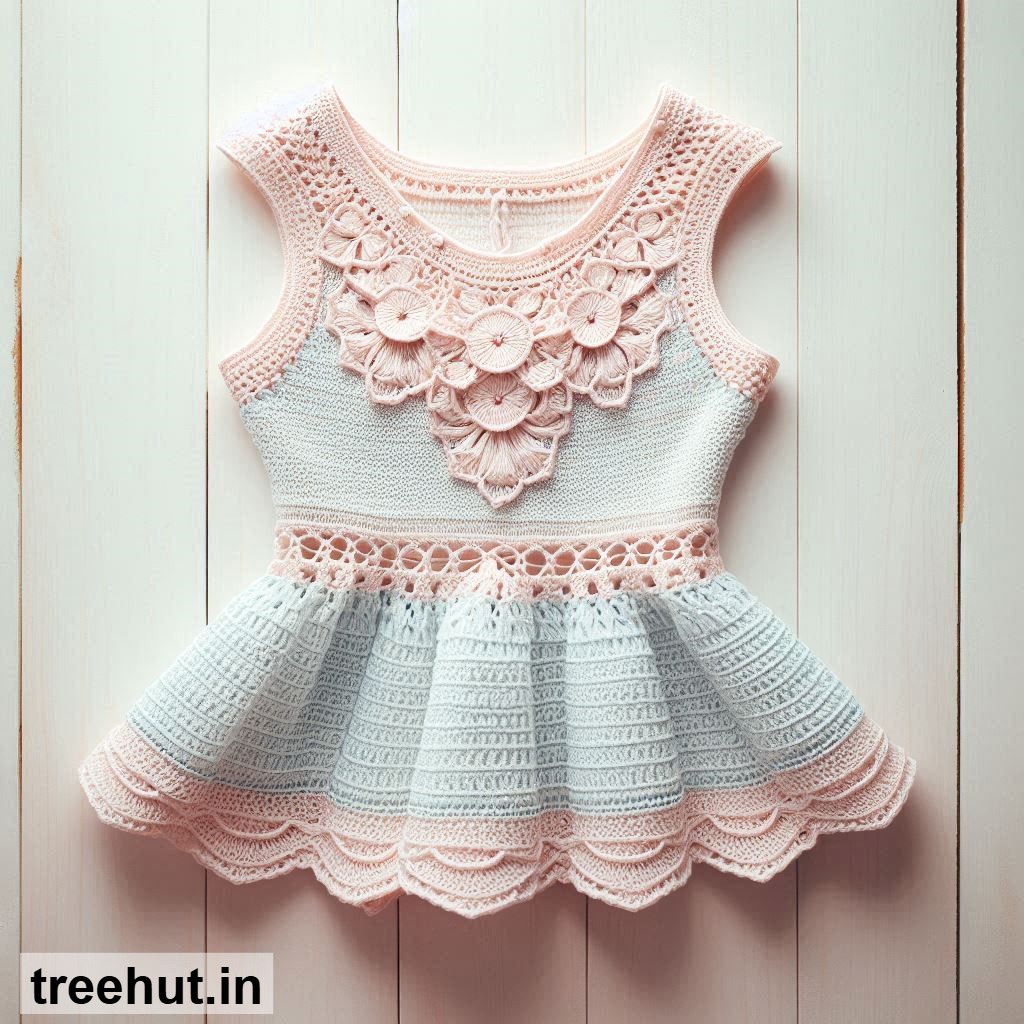
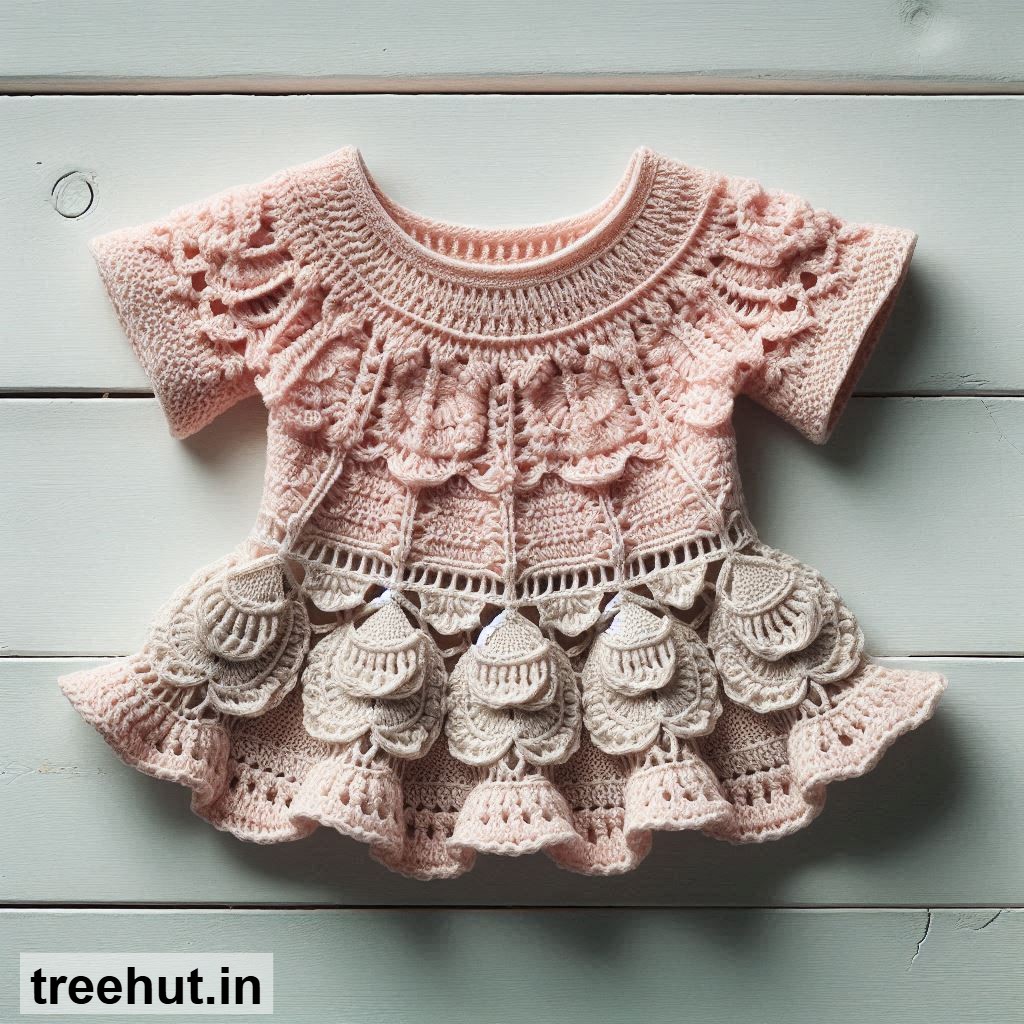
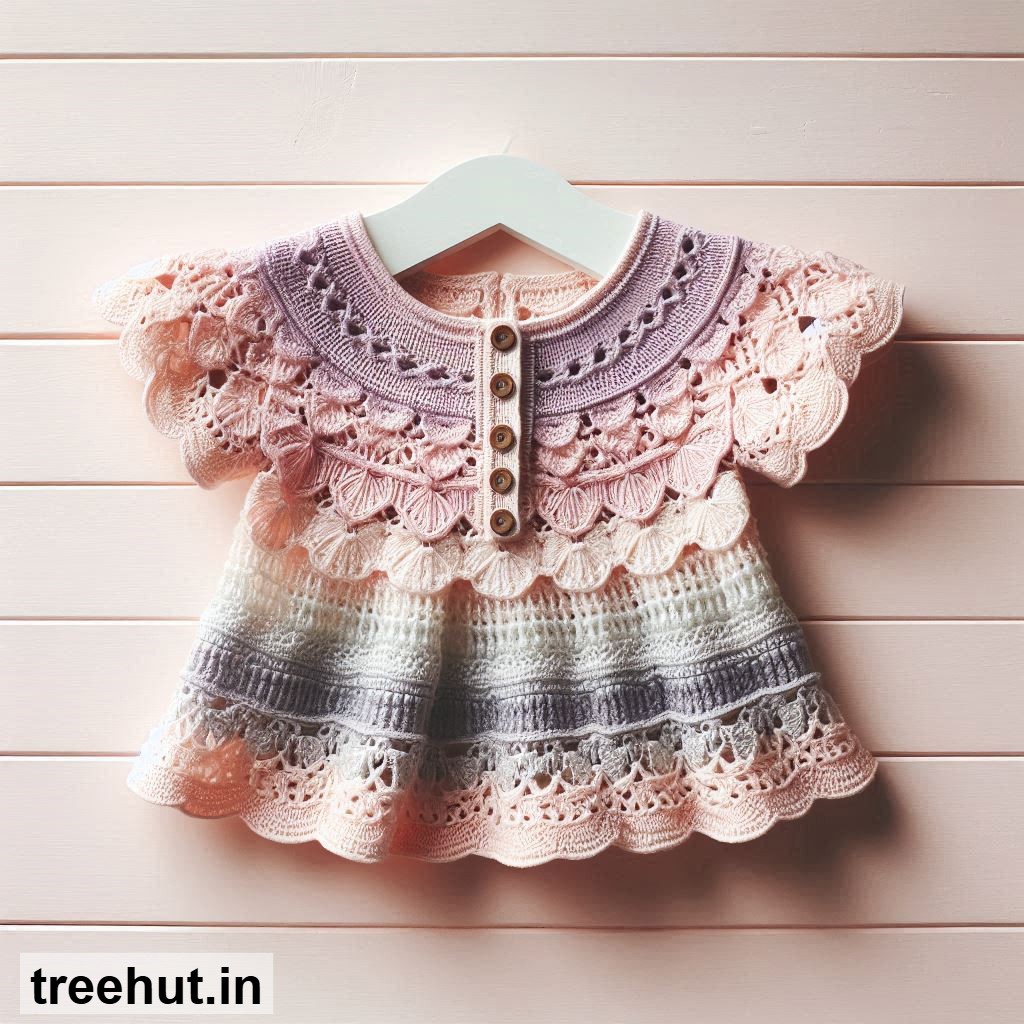
Spring crochet peplum tops are the perfect blend of cute and practical for your wardrobe. These tops add a feminine touch to any outfit while being lightweight and breathable, making them ideal for warmer weather. Whether you're dressing up for a brunch date or keeping it casual for a day out, a crochet peplum top can elevate your look effortlessly. Plus, they're a fun and rewarding project for crafters of all levels!
Design Idea Variations for Your Peplum Top
1. Classic Shell Stitch Peplum: This timeless design features a delicate shell stitch that creates a soft, flowing peplum. It’s perfect for beginners and looks elegant in pastel colors like mint green or blush pink.
2. Lace-Inspired Peplum: For a more intricate look, try a lace-inspired pattern with openwork stitches. This design is great for intermediate crocheters and adds a romantic, vintage vibe to your top.
3. Striped Peplum Top: Add a playful twist with horizontal stripes in contrasting colors. This design is simple but eye-catching and works well for both casual and dressy occasions.
4. Off-Shoulder Peplum: Combine the peplum style with an off-shoulder neckline for a trendy, boho-chic look. This variation is perfect for summer and can be customized with different sleeve lengths.
5. Crochet and Fabric Combo: Mix crochet with fabric by adding a peplum to a simple tank top. This hybrid design is great for those who want a unique piece without crocheting the entire top.
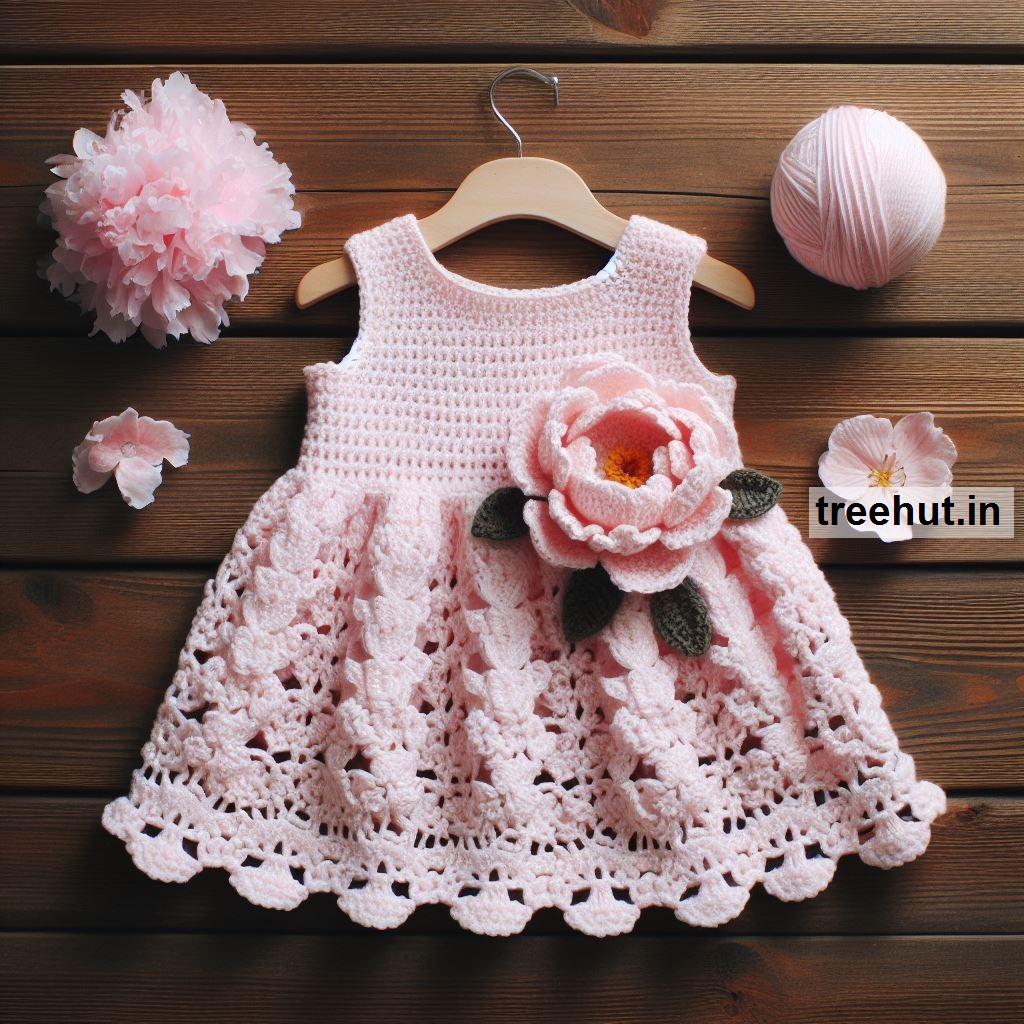
6. Floral Appliqué Peplum: Embellish your peplum top with crocheted flowers or leaves for a whimsical, garden-inspired look. This is a fun way to personalize your top and make it stand out.
Step-by-Step Basic Method
Materials: You’ll need a crochet hook (size depends on your yarn), medium-weight yarn, scissors, a tape measure, and a yarn needle for weaving in ends.
Measurements: Start by measuring your bust, waist, and the length from your waist to where you want the peplum to end. For a snug fit, subtract 1-2 inches from your bust measurement for the top part. The peplum should flare out from your waist, so add 4-6 inches to your waist measurement for the bottom edge.
Making the Top: Begin by crocheting the bodice in rounds or rows, depending on your pattern. Use a simple stitch like single crochet or half-double crochet for the main part. Once the bodice is complete, start increasing stitches gradually to create the peplum flare. Work in rounds until the peplum reaches your desired length.
Finishing: Weave in all loose ends with a yarn needle. Try on the top to check the fit and make any adjustments. You can add a simple border or edging to the neckline, sleeves, and bottom for a polished look.
Practical Tips and Uses
Crochet peplum tops are perfect for daily wear, especially in spring and summer. They pair well with high-waisted jeans, skirts, or shorts, making them versatile for any occasion. If you're gifting one, choose a neutral color or a design that matches the recipient’s style. These tops also make great items to sell at craft fairs or online, as they’re trendy and customizable. For beginners, start with a simple stitch and focus on getting the fit right before trying more complex designs. Always use a stitch marker to keep track of your rounds, and don’t be afraid to experiment with colors and textures!