
Spring Crochet scrunchies Ideas and how to make them
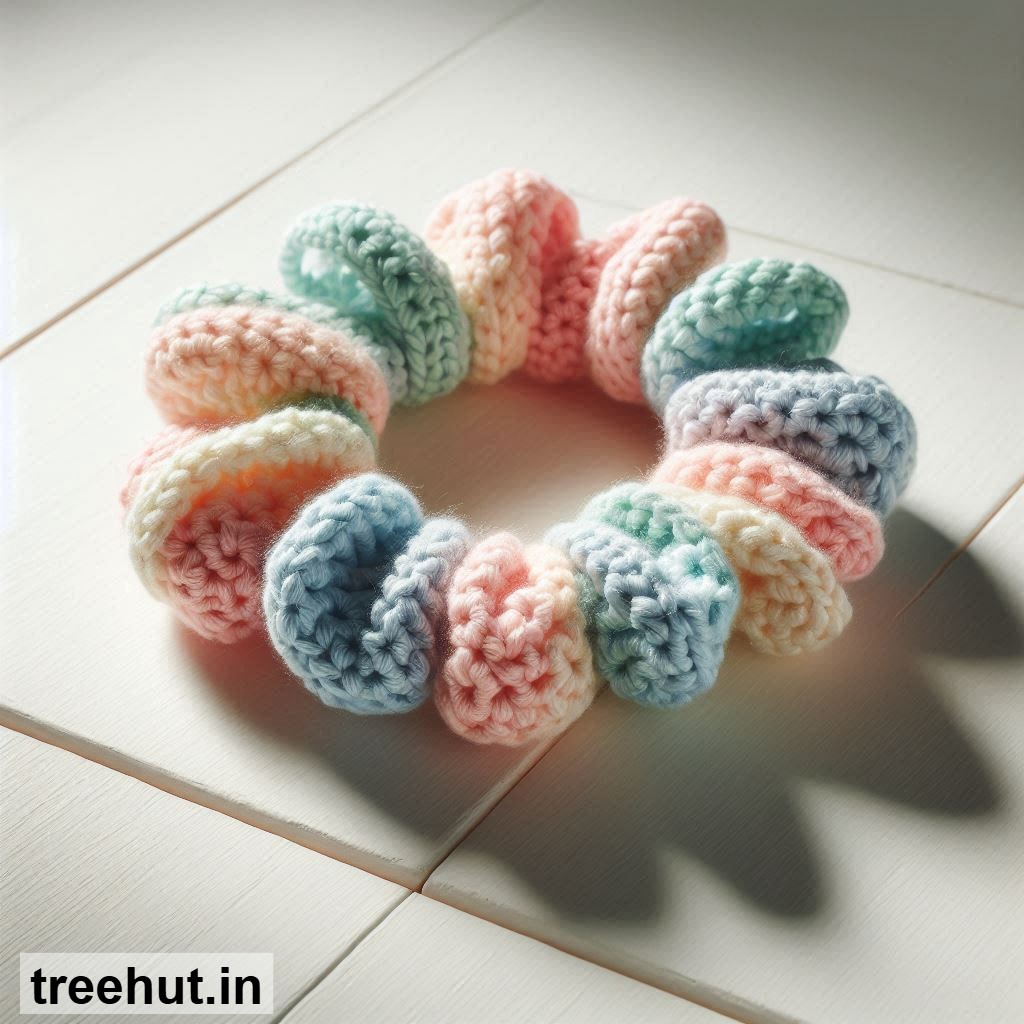
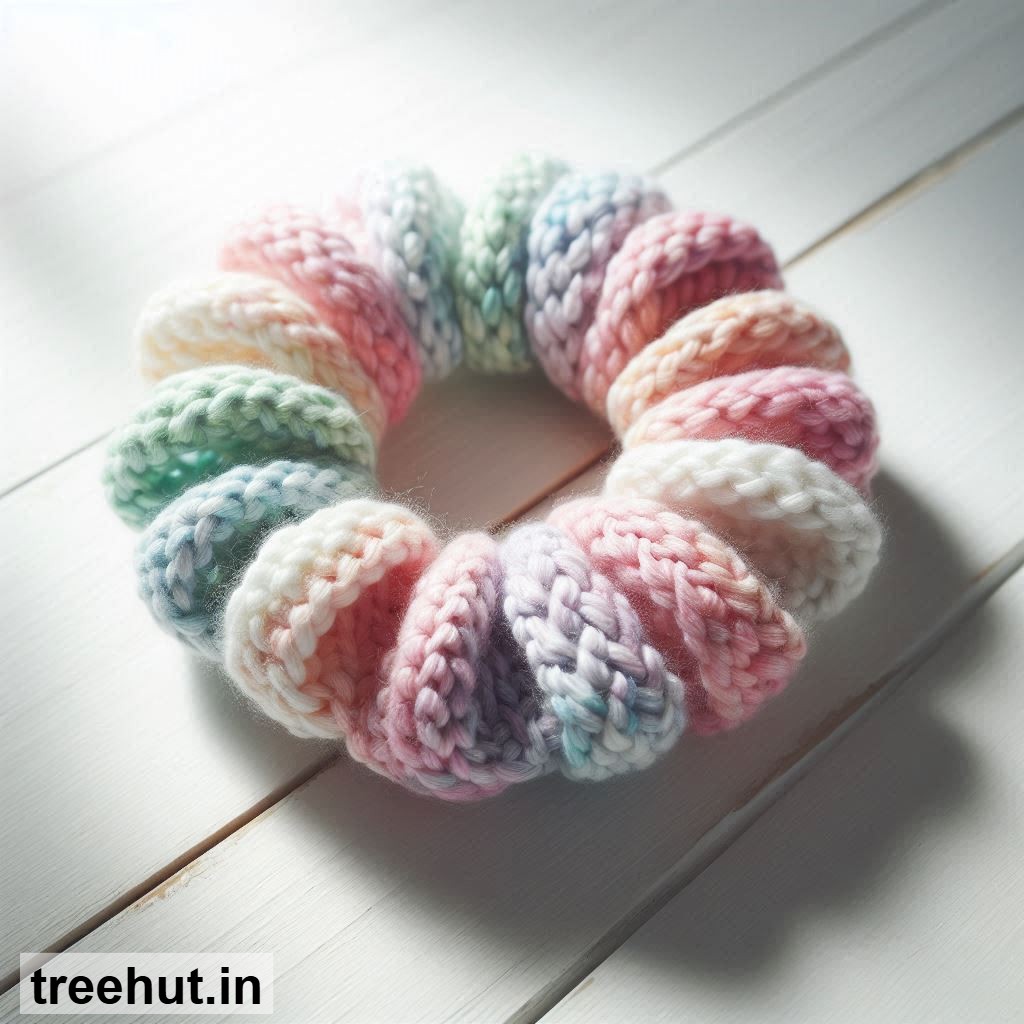
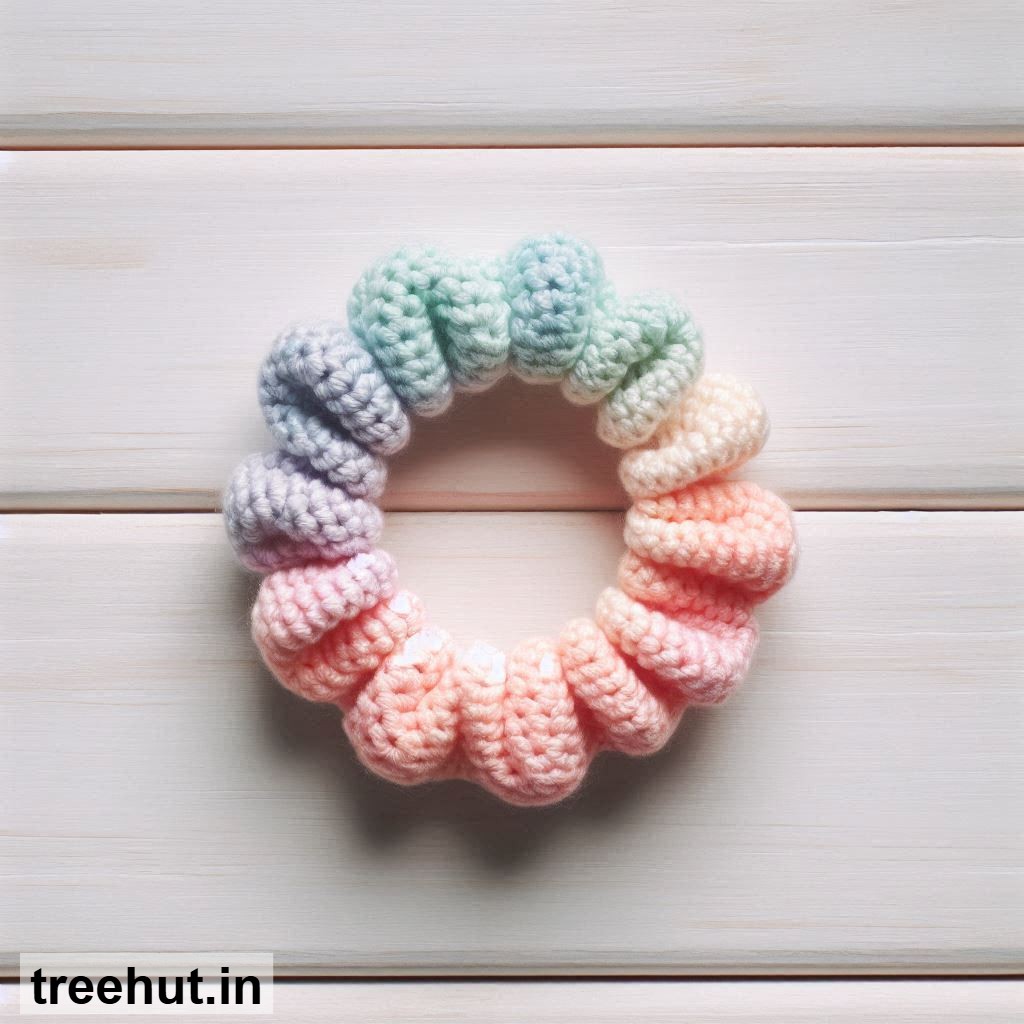
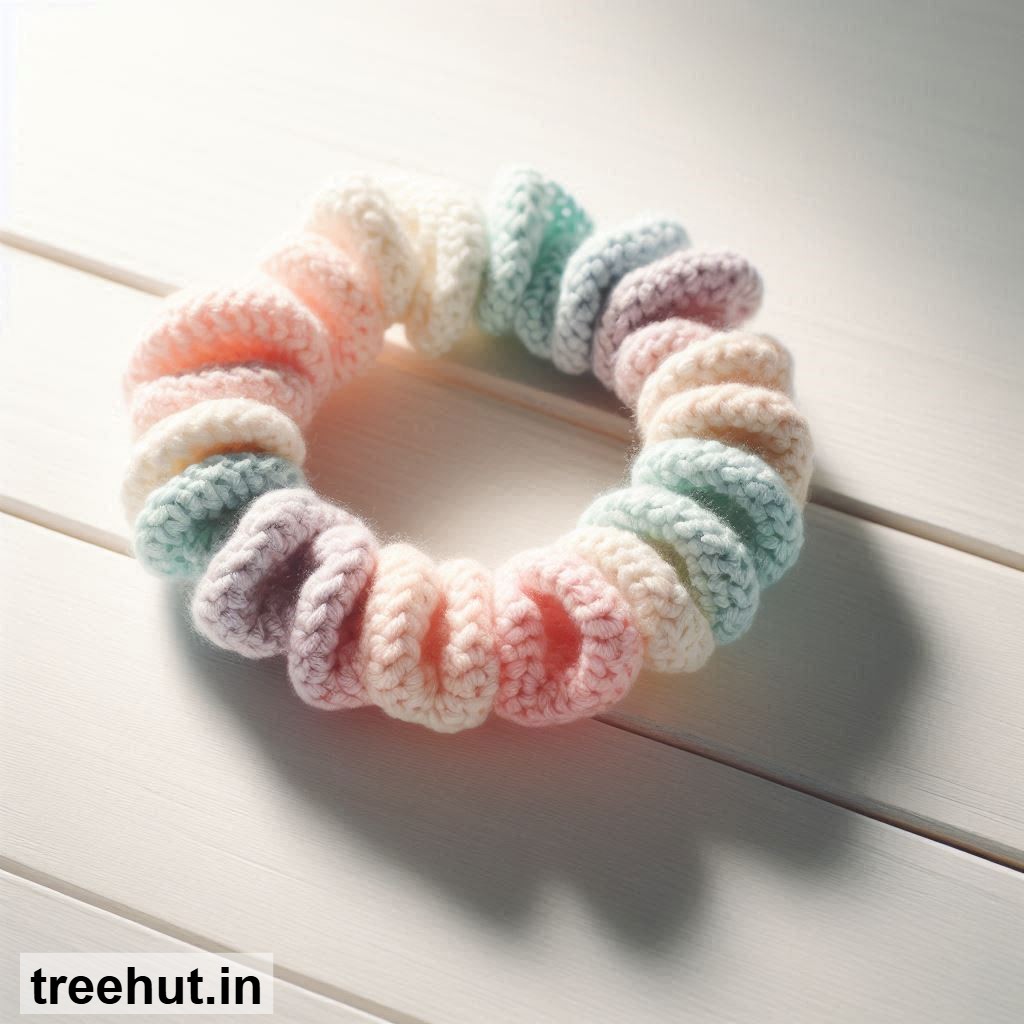
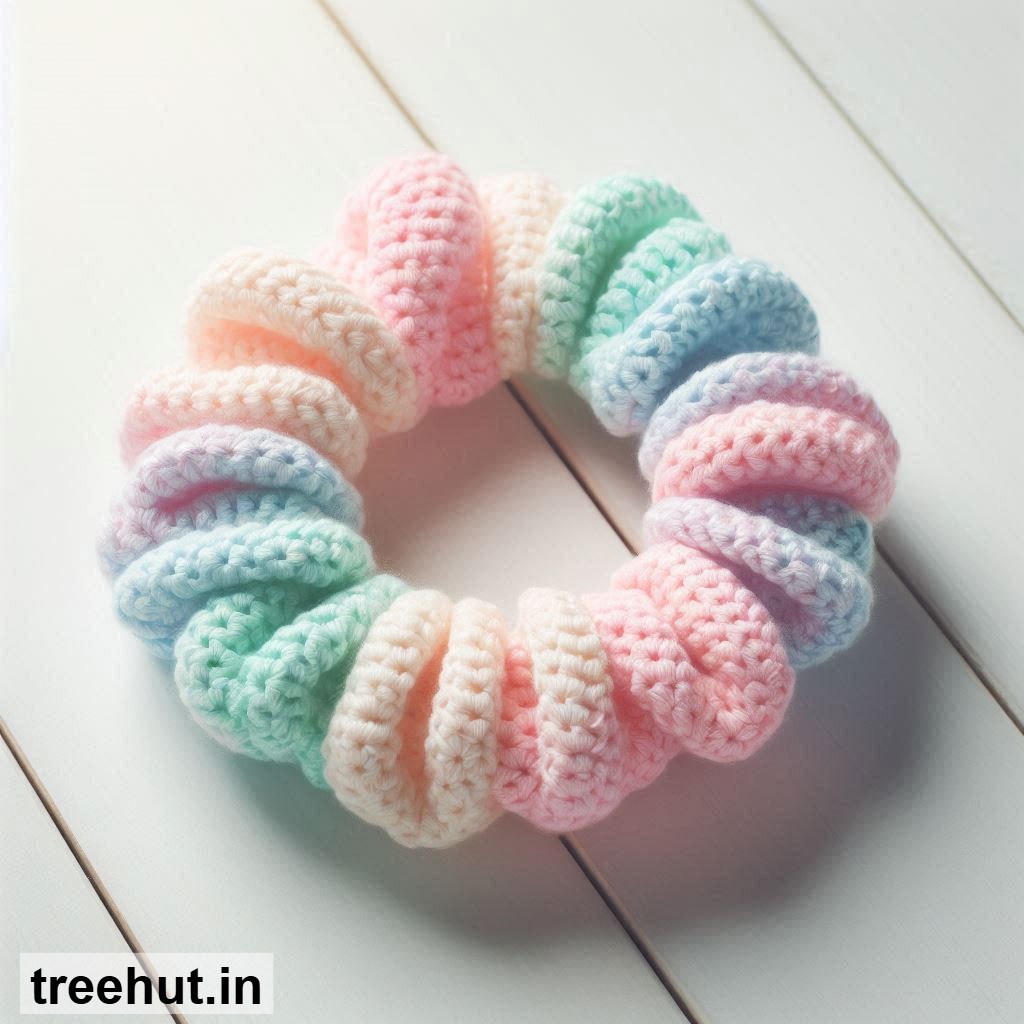
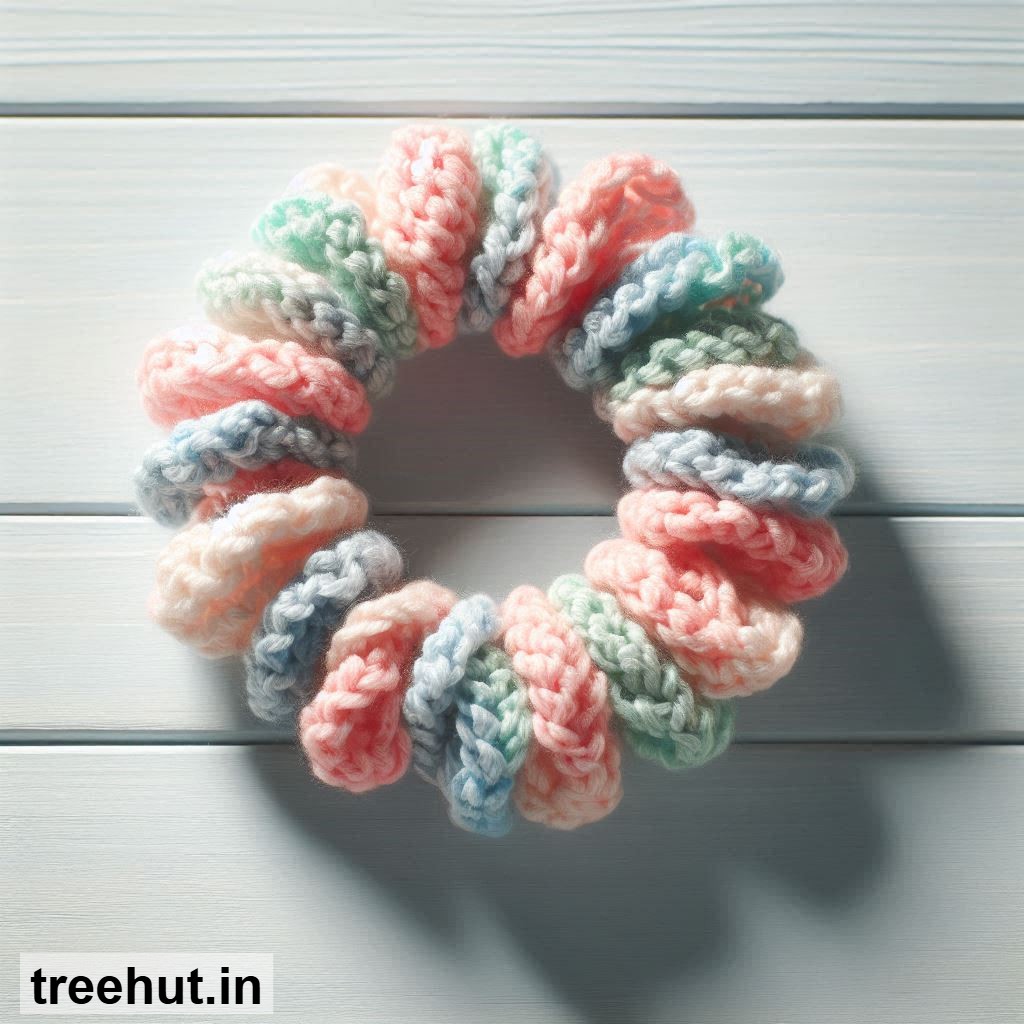
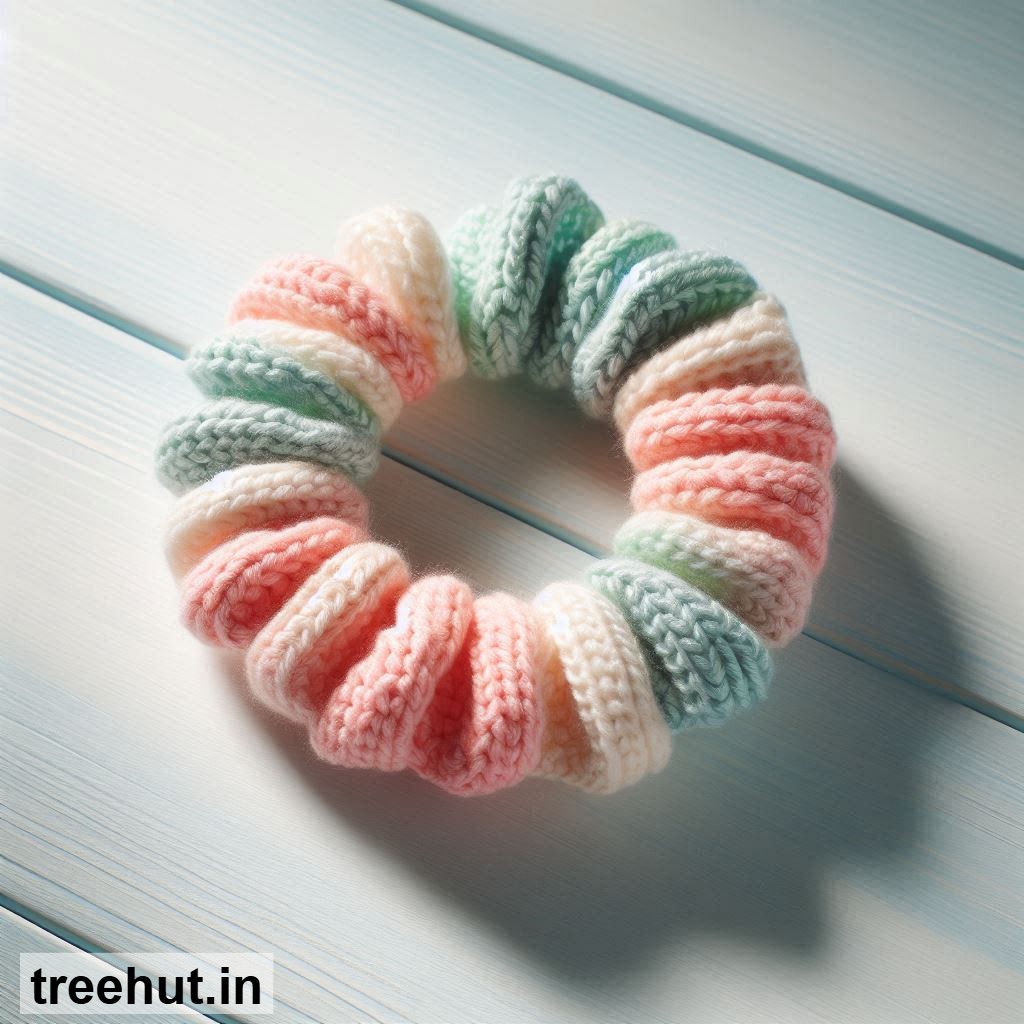
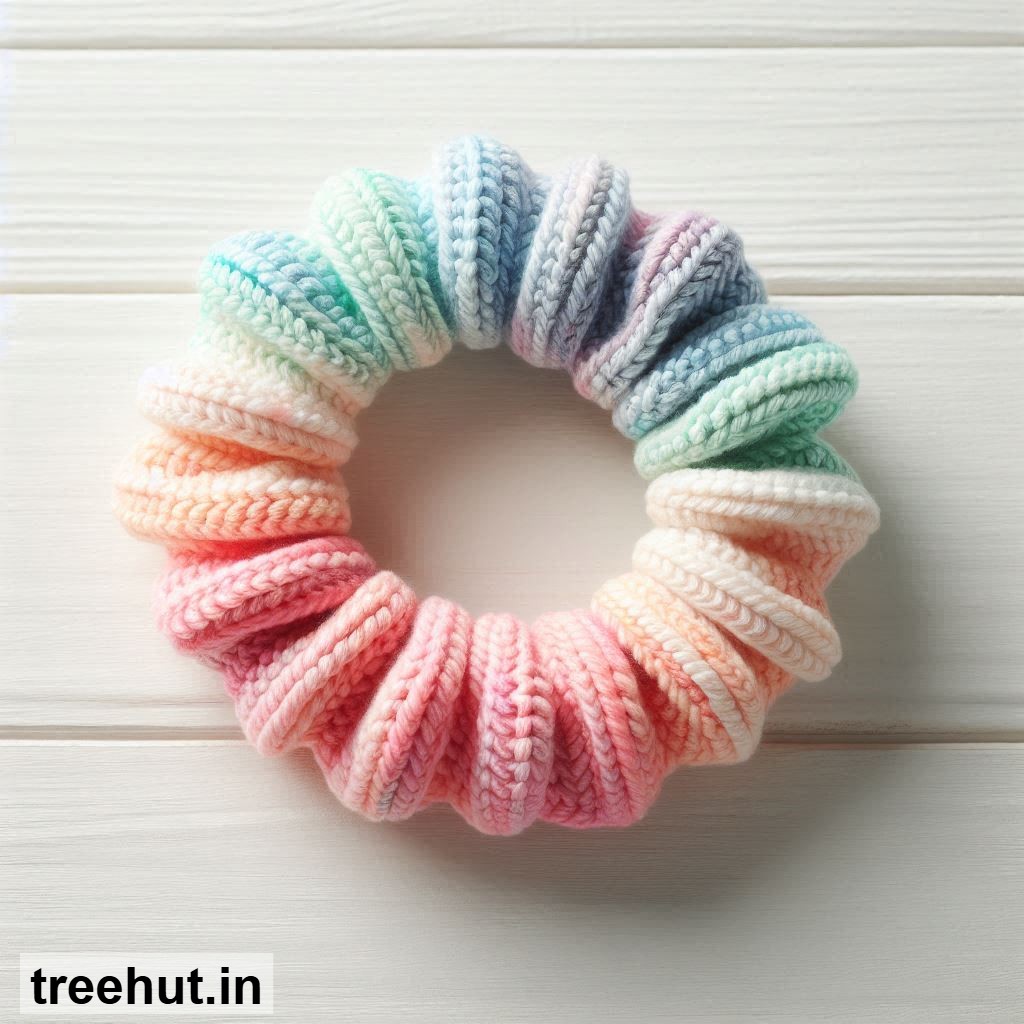
Spring is the perfect time to refresh your hair accessories with something fun, functional, and handmade! Crochet scrunchies are a delightful project for crafters of all levels. They’re quick to make, use minimal yarn, and add a charming touch to any hairstyle. Whether you want to gift them, sell them, or keep them for yourself, these scrunchies are a fantastic way to practice new stitches and experiment with colors. Let’s dive into some creative ideas and a simple step-by-step guide to make your own!
Why Crochet Scrunchies Are So Great
Crochet scrunchies are not only adorable but also practical. They’re gentle on hair, prevent breakage, and can be customized to match any outfit or mood. Plus, they’re a great way to use up leftover yarn from other projects. With endless design possibilities, you can create scrunchies that are boho-chic, elegant, playful, or minimalist—whatever suits your style!
5 Fun Spring Crochet Scrunchie Ideas
1. Floral Delight Scrunchie: Use pastel yarns and add tiny crocheted flowers or embroidered details for a fresh, springtime look. Perfect for bridesmaids or Easter gifts!
2. Boho Tassel Scrunchie: Incorporate tassels or fringe along the edges for a free-spirited, festival-ready vibe. Pair it with loose waves or braids for a boho-chic look.
3. Stripes and Dots Scrunchie: Play with bold stripes or polka dots using contrasting colors. This design is great for adding a pop of color to any hairstyle.
4. Lace-Inspired Scrunchie: Use a delicate lace stitch to create an elegant, vintage-inspired scrunchie. Ideal for weddings, proms, or everyday sophistication.
5. Rainbow Ombré Scrunchie: Blend multiple colors in an ombré effect for a vibrant, eye-catching accessory. This design is perfect for brightening up your spring wardrobe.
How to Make a Basic Crochet Scrunchie
Materials You’ll Need: A small amount of yarn (cotton or acrylic works well), a crochet hook (size 3.5mm or 4mm), a hair elastic, a yarn needle, and scissors.
Measurements: Cut a piece of yarn about 12–15 inches long to sew the scrunchie together later. For the crochet part, you’ll need a strip that’s roughly 4–5 inches wide and 12–14 inches long when stretched slightly.
Step-by-Step Instructions:
Start by making a slip knot and chaining 25–30 stitches, depending on how thick you want your scrunchie. Single crochet (sc) into the second chain from the hook and continue across the row. Chain one and turn your work. Repeat the single crochet row until your strip is about 12–14 inches long. Fasten off, leaving a tail for sewing.
Fold the strip in half lengthwise, with the wrong sides facing out. Use your yarn needle to whipstitch the long edges together, leaving a small opening to insert the hair elastic. Slide the elastic inside, then sew the opening closed. Weave in any loose ends, and your scrunchie is ready to wear!
Practical Tips and Ideas
Gifting: Crochet scrunchies make thoughtful, personalized gifts for friends, family, or teachers. Pair them with a handwritten note or a small haircare product for a complete package.
Selling: If you’re looking to sell your creations, offer a variety of colors and designs to appeal to different tastes. Bundle them in sets of three or five for a cute, marketable product.
Daily Use: Keep a few scrunchies in your bag, car, or desk drawer for quick hair fixes. They’re perfect for bad hair days, workouts, or adding a touch of style to a simple ponytail.
Yarn Choices: For durability, use cotton or acrylic yarn. Cotton is breathable and great for sensitive scalps, while acrylic is stretchy and comes in a wide range of colors.
Experiment with Stitches: Try different stitches like half-double crochet (hdc) or double crochet (dc) to create texture and variety in your scrunchies.
Customize: Add beads, buttons, or embroidery to make each scrunchie unique. This is a great way to use up small embellishments from other projects.
With these ideas and tips, you’re ready to create beautiful, functional crochet scrunchies that are perfect for spring. Happy crafting!