





Spring Crochet tulip patterns Ideas and how to make them
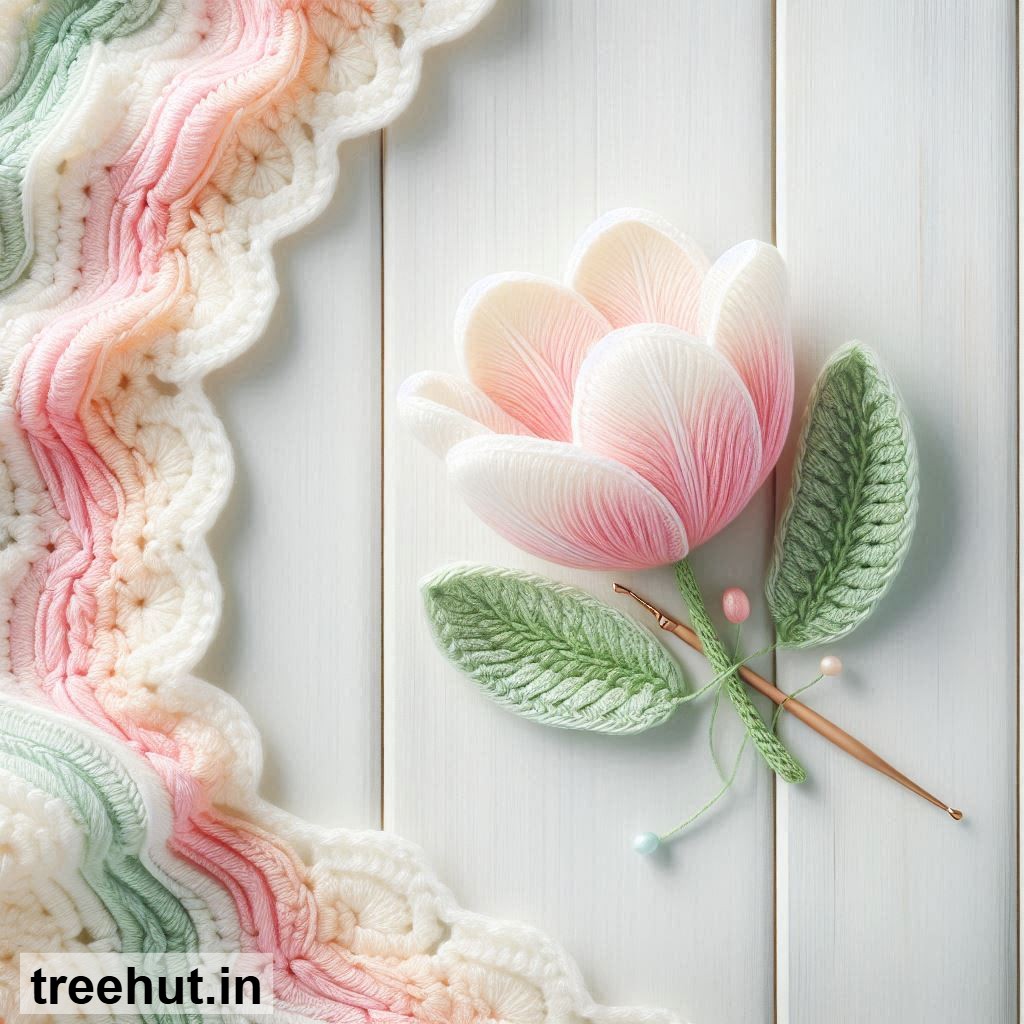
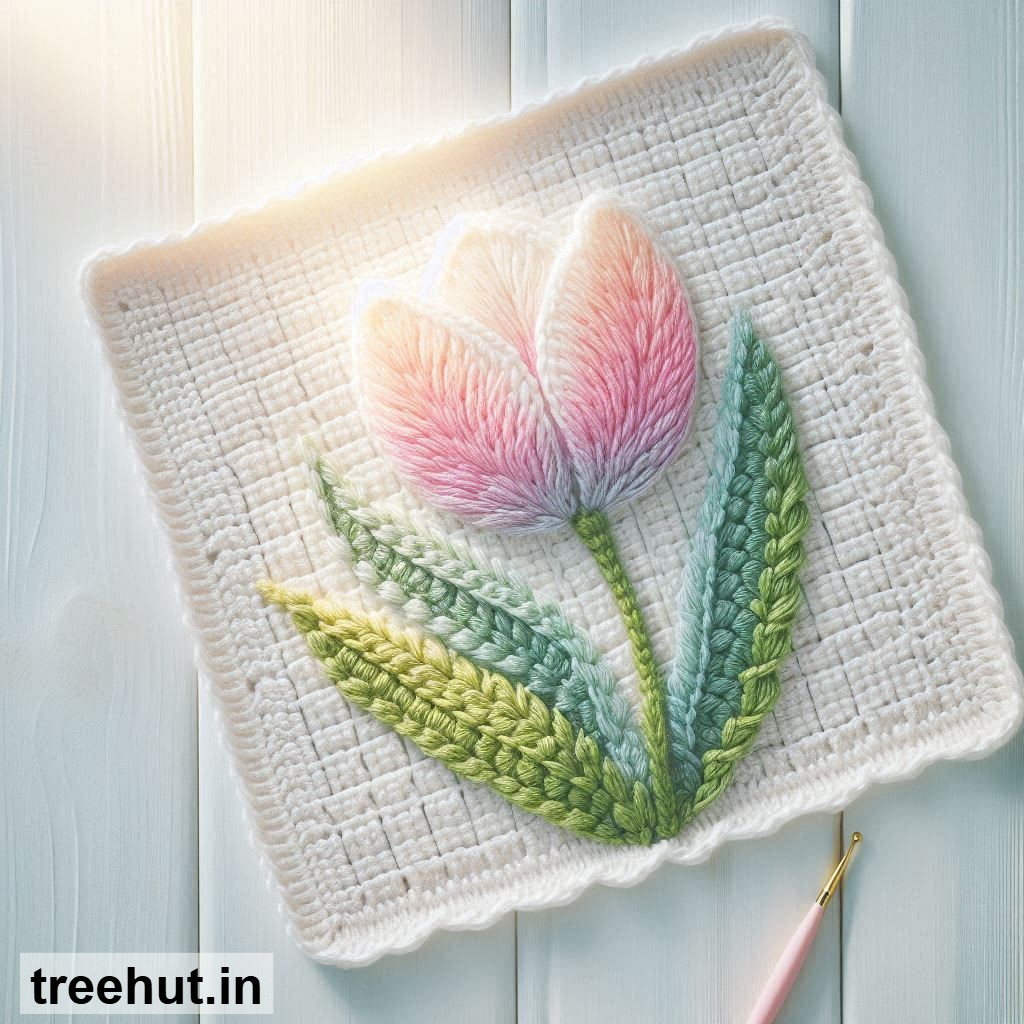
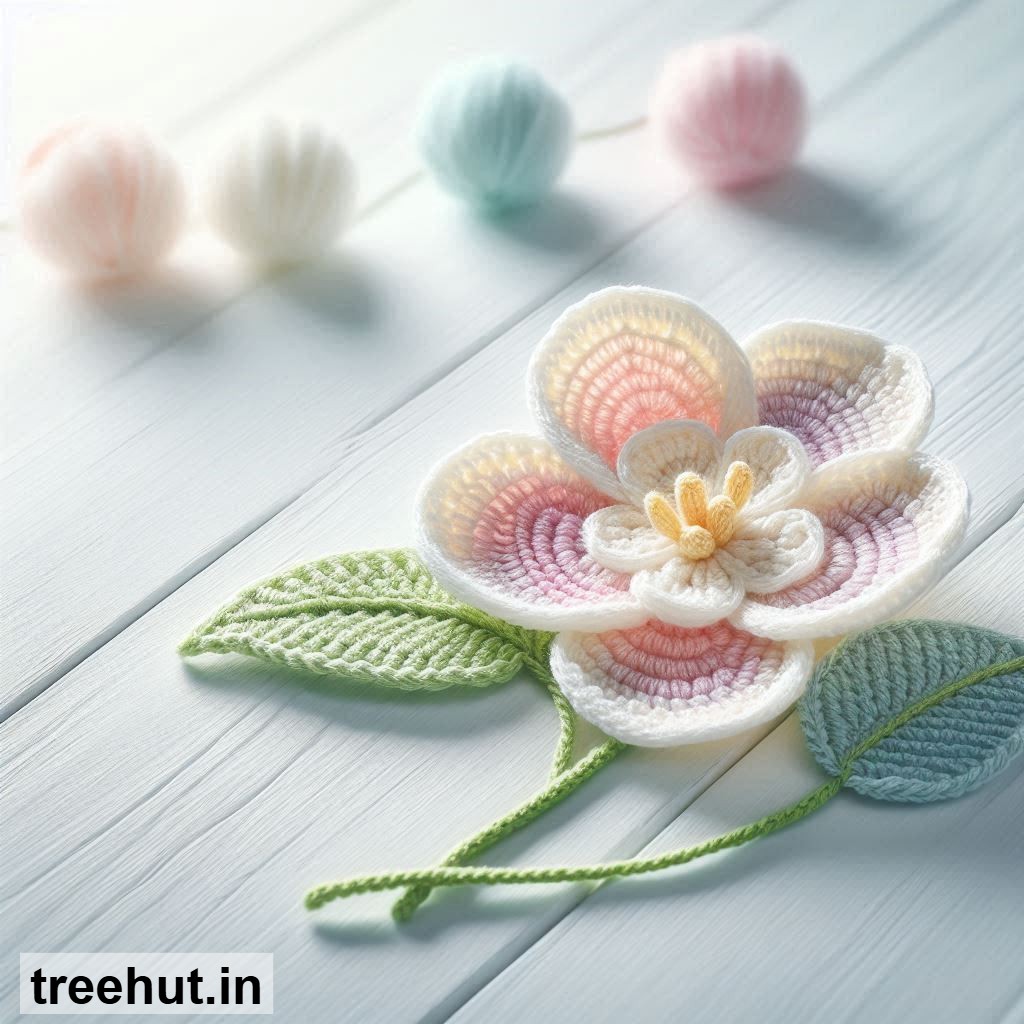
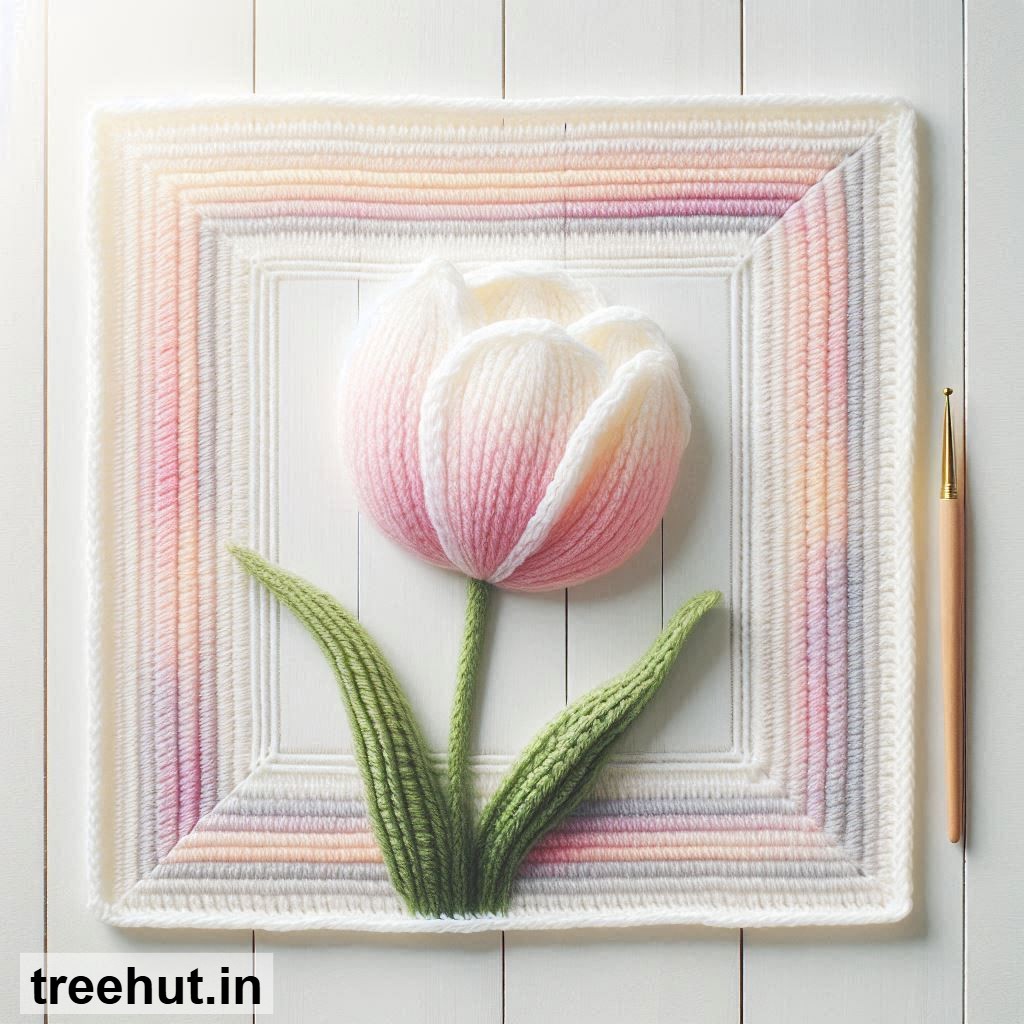
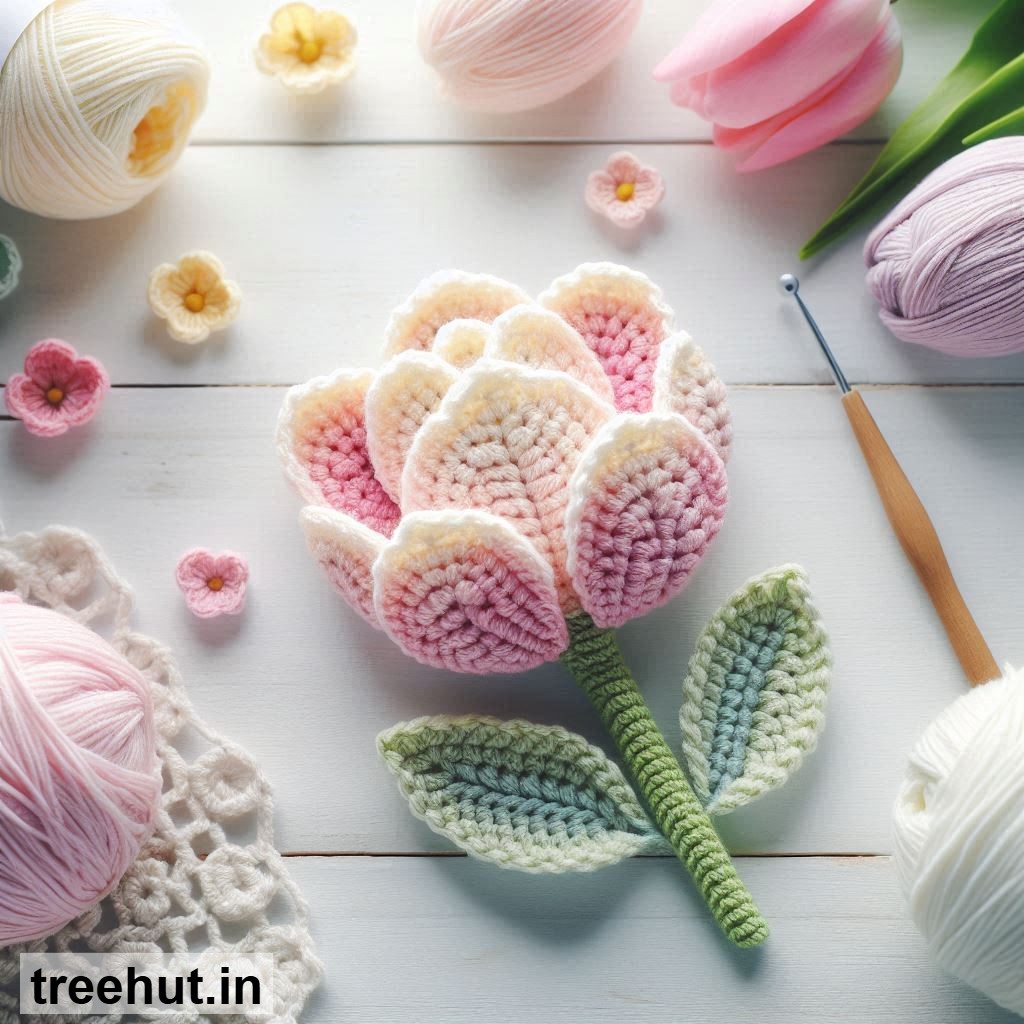
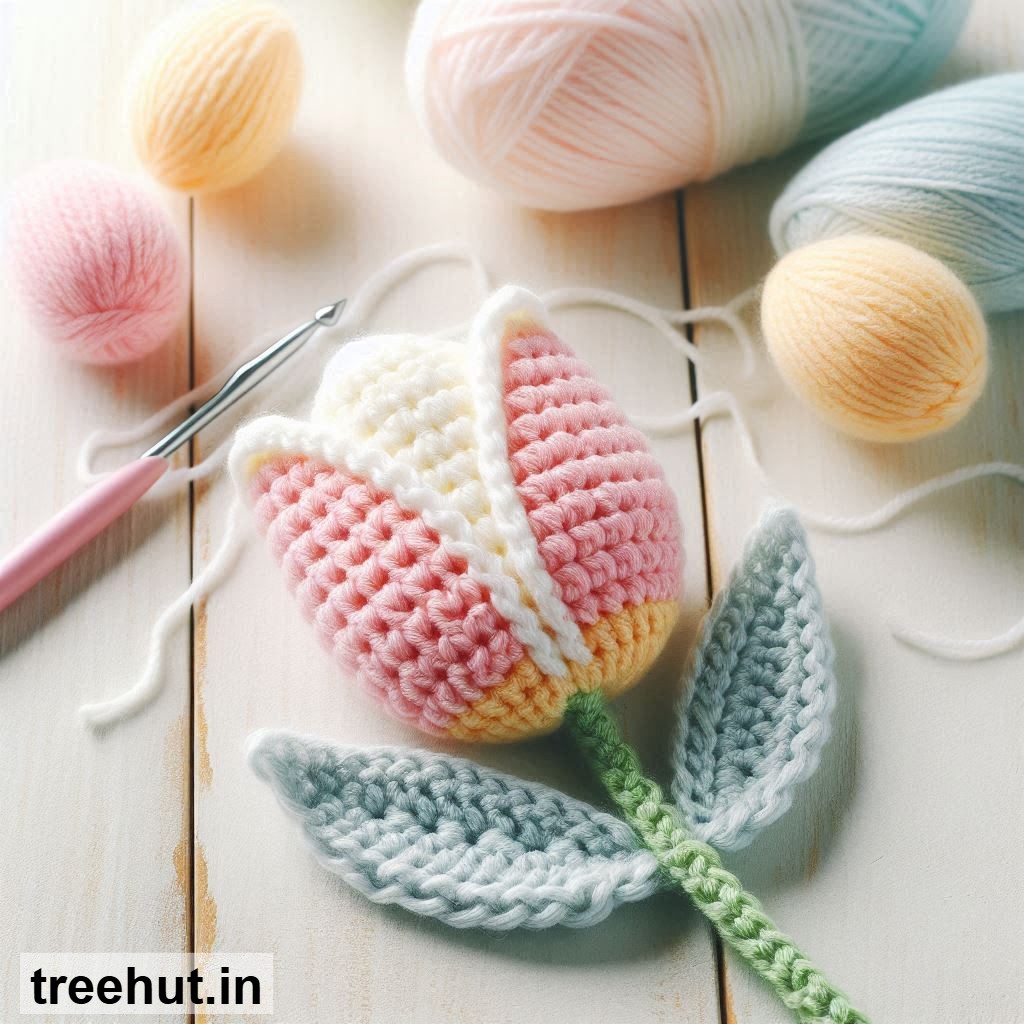
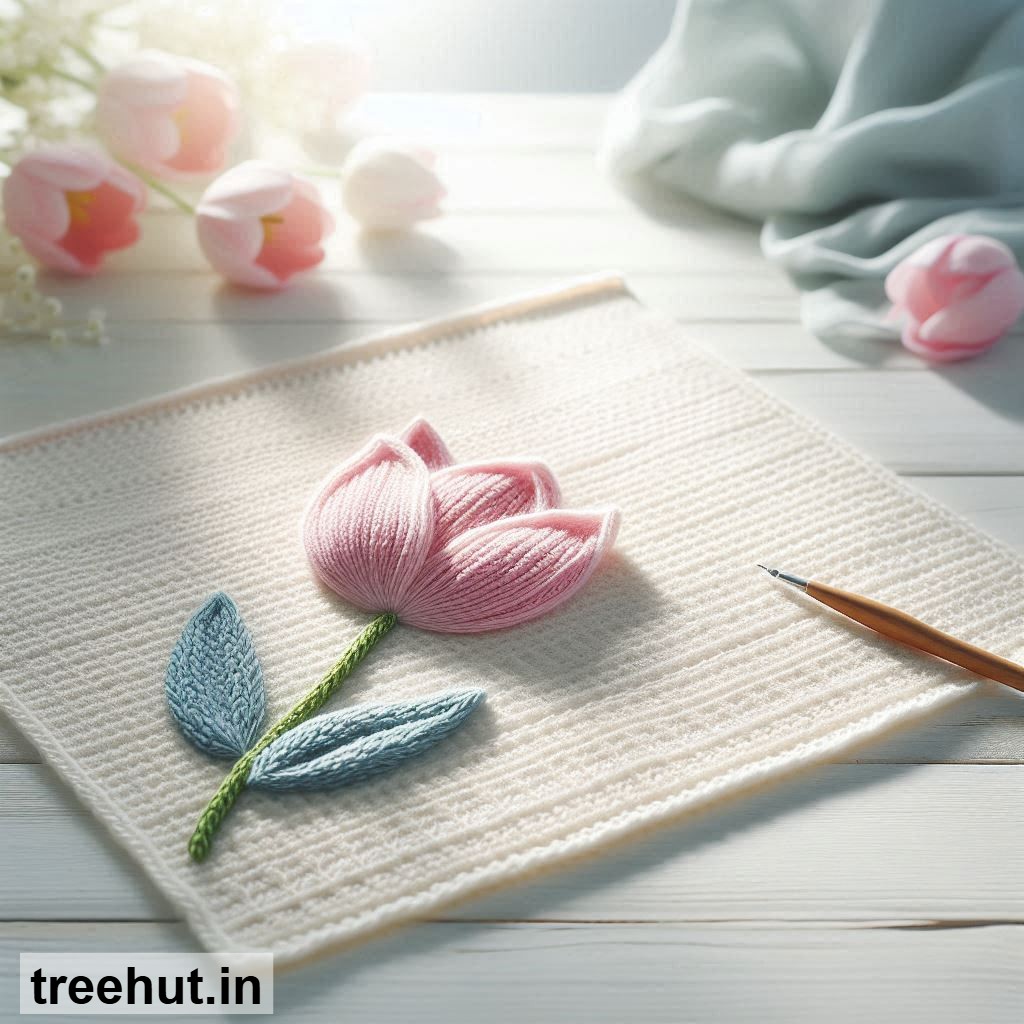
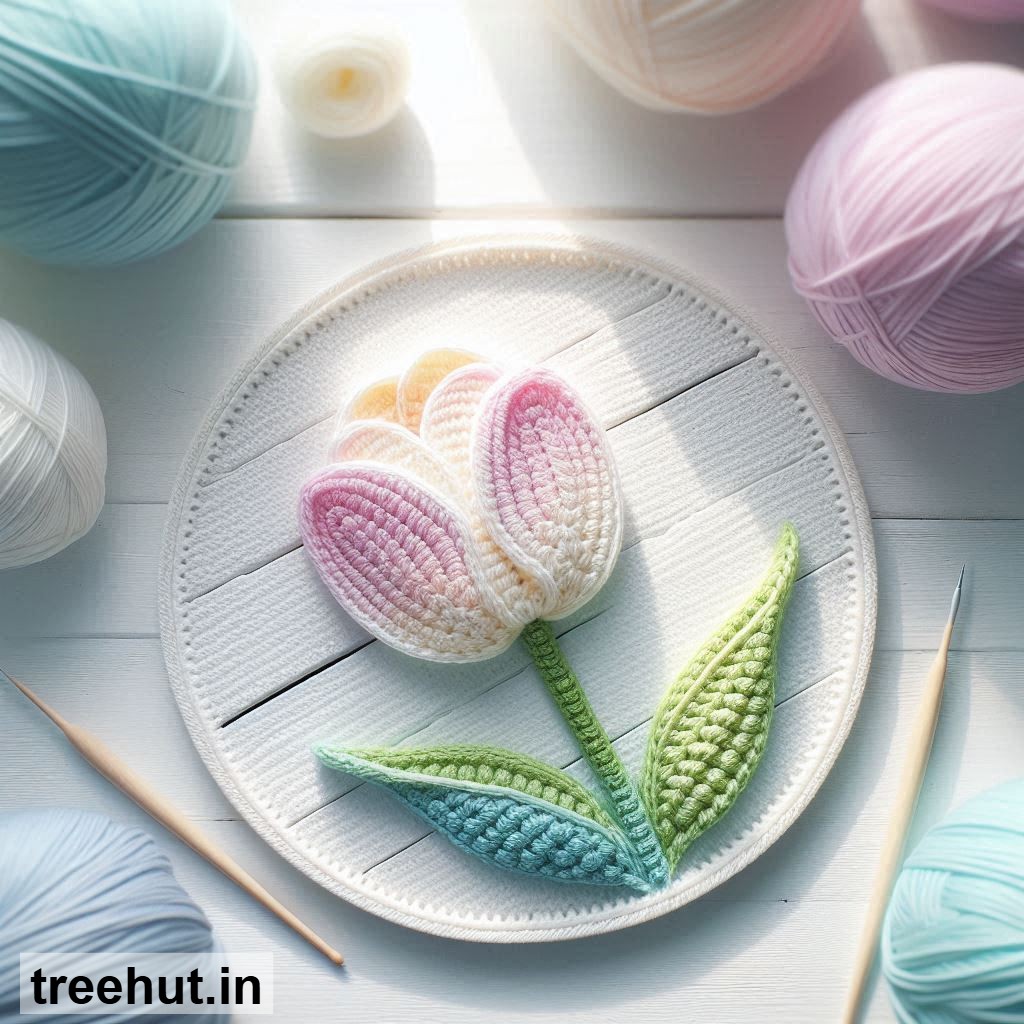
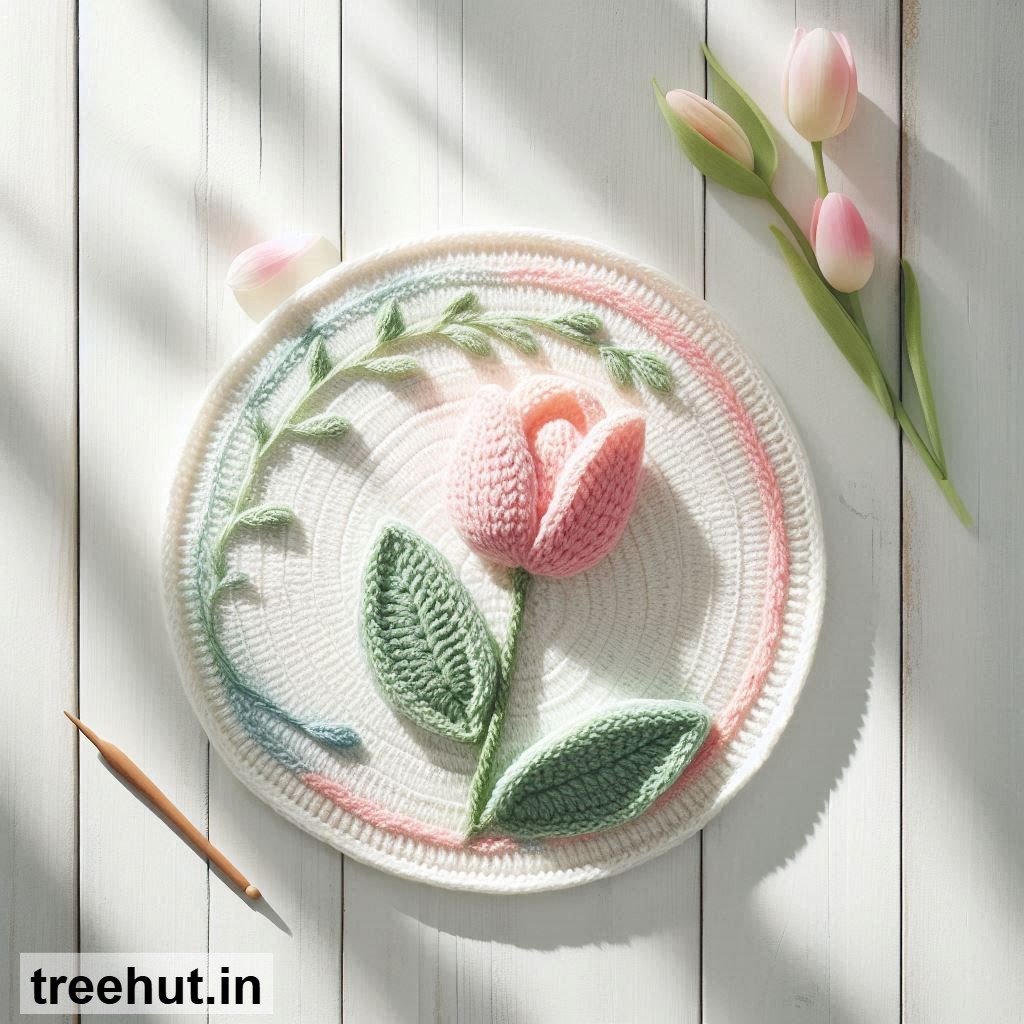
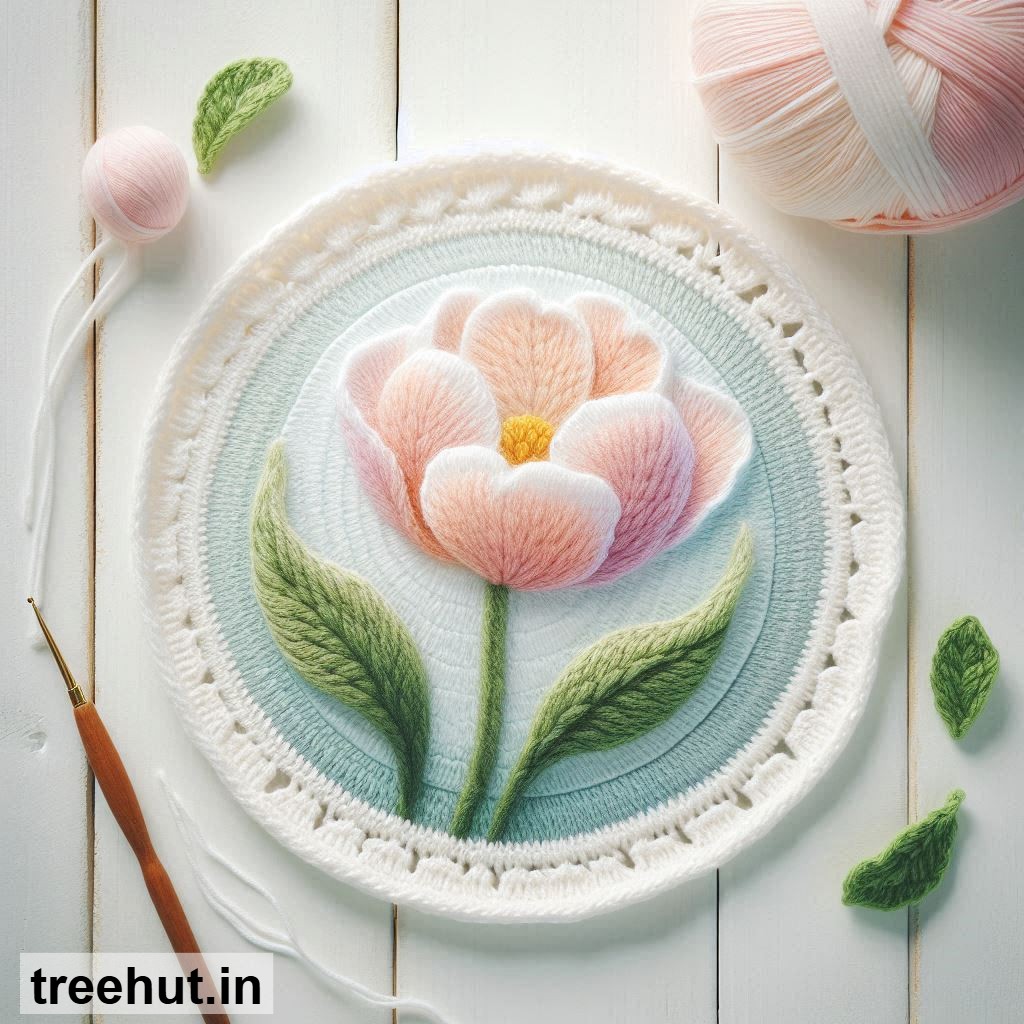
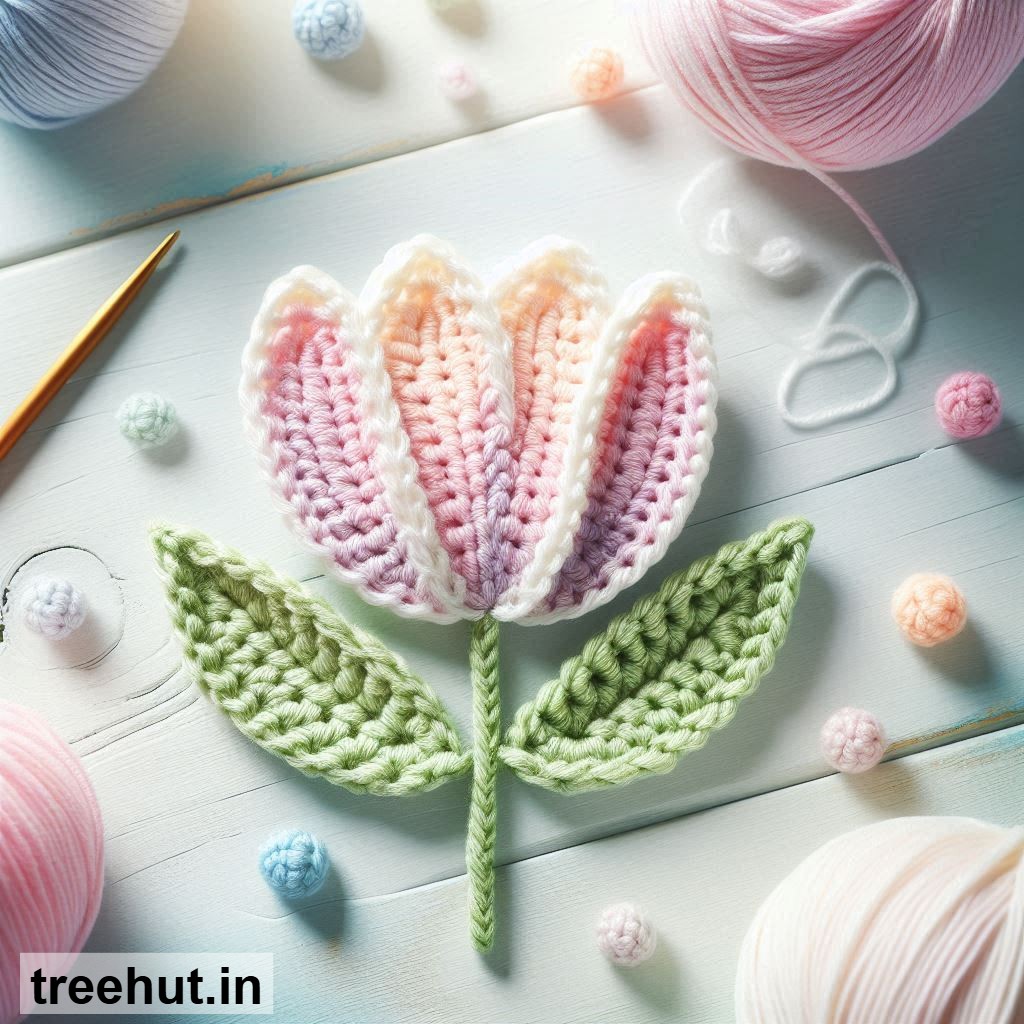
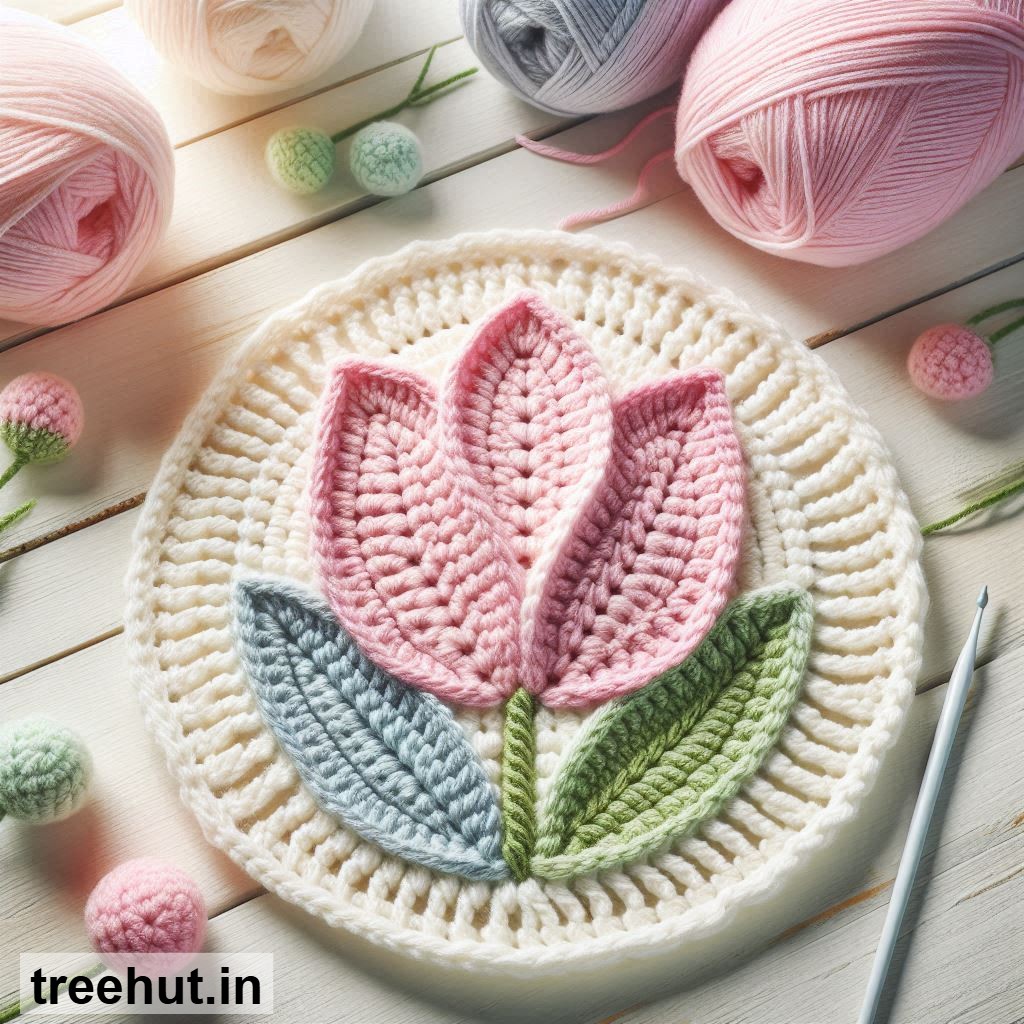
Spring is the perfect time to bring a touch of nature indoors, and what better way to do that than with adorable crochet tulips? These charming little flowers are not only cute but also incredibly versatile. Whether you want to brighten up your home, create heartfelt gifts, or even sell your handmade creations, crochet tulips are a fantastic project for crafters of all levels. They’re quick to make, require minimal materials, and can be customized in endless ways. Let’s explore some delightful spring crochet tulip pattern ideas and learn how to make them step by step!
Why Crochet Tulips Are So Lovely
Crochet tulips are a wonderful way to celebrate the arrival of spring. They never wilt, can be made in any color, and add a cozy, handmade touch to any space. Plus, they’re a great way to practice basic crochet stitches while creating something beautiful. Whether you’re a beginner or an intermediate crafter, these patterns are simple enough to follow but offer plenty of room for creativity.
5 Charming Crochet Tulip Pattern Ideas
1. Classic Single-Stem Tulip: This is the simplest design, featuring a single tulip with a green stem and leaves. It’s perfect for beginners and can be used in bouquets or as a standalone decoration.
2. Mini Tulip Bouquet: Create a small cluster of tulips in different colors for a vibrant, springtime arrangement. These look adorable in tiny vases or attached to gifts.
3. Tulip Appliqué: Flatten your tulip into an appliqué to decorate hats, bags, or blankets. This is a great way to add a floral touch to other crochet projects.
4. Hanging Tulip Garland: String several tulips together with a crochet chain to make a cheerful garland. Hang it on a wall, above a doorway, or around a mirror for instant spring vibes.
5. Tulip Coasters: Crochet small tulips and attach them to round or square bases to create unique, floral coasters. These are practical and make lovely gifts.
6. Tulip Hair Clips: Make tiny tulips and attach them to bobby pins or hair clips for a cute, wearable accessory. These are especially popular for spring weddings or festivals.
7. Tulip Bookmark: Crochet a single tulip and attach it to a ribbon or crochet chain to create a pretty bookmark. This is a thoughtful gift for book lovers.
Step-by-Step Guide to Making a Basic Crochet Tulip
Materials You’ll Need: Yarn in your chosen colors (typically pink, red, yellow, or white for the petals, and green for the stem and leaves), a crochet hook (size will depend on your yarn weight—check the label for recommendations), scissors, and a yarn needle for weaving in ends.
Measurements: For a standard-sized tulip, aim for petals that are about 2–3 inches tall. The stem can be as long or short as you like, but 4–6 inches is a good starting point.
Making the Tulip Petals: Start by making a magic ring. Chain 3 (counts as your first double crochet), then work 11 more double crochets into the ring. Pull the ring tight to close it, and slip stitch to join. This forms the base of your tulip. Next, chain 3 and work 2 double crochets into the same stitch. In the next stitch, work 3 double crochets. Repeat this pattern around the circle, alternating between 2 and 3 double crochets in each stitch. Slip stitch to join, then fasten off, leaving a tail for sewing.
Making the Stem and Leaves: With green yarn, chain 15–20 stitches (depending on how long you want your stem). Single crochet in the second chain from the hook and in each chain across. Fasten off, leaving a tail. For the leaves, chain 8, then single crochet in the second chain from the hook. Work 1 half-double crochet, 2 double crochets, 1 half-double crochet, and 1 single crochet in the last chain. Turn and work back down the chain to create a leaf shape. Fasten off, leaving a tail.
Assembling the Tulip: Use your yarn needle to sew the petals together at the base, shaping them into a tulip. Attach the stem by sewing it to the bottom of the petals. Finally, sew the leaves onto the stem, positioning them near the base of the petals.
Finishing Touches: Weave in any loose ends with your yarn needle. You can also lightly steam or block your tulip to help it hold its shape.
Practical Tips for Crochet Tulips
Use lightweight yarn for delicate, realistic tulips, or try bulky yarn for a chunky, textured look. If you’re making a bouquet, vary the colors and sizes of your tulips for a more natural appearance. For gifts, pair your tulips with a small vase or attach them to a handmade card. If you’re selling your creations, consider offering custom colors or bundling them into sets. Crochet tulips are also perfect for adding a springtime touch to weddings, baby showers, or home decor. Don’t be afraid to experiment with different stitches or embellishments like beads or embroidery to make your tulips truly unique!