



Spring Crochet floral granny squares Ideas and how to make them
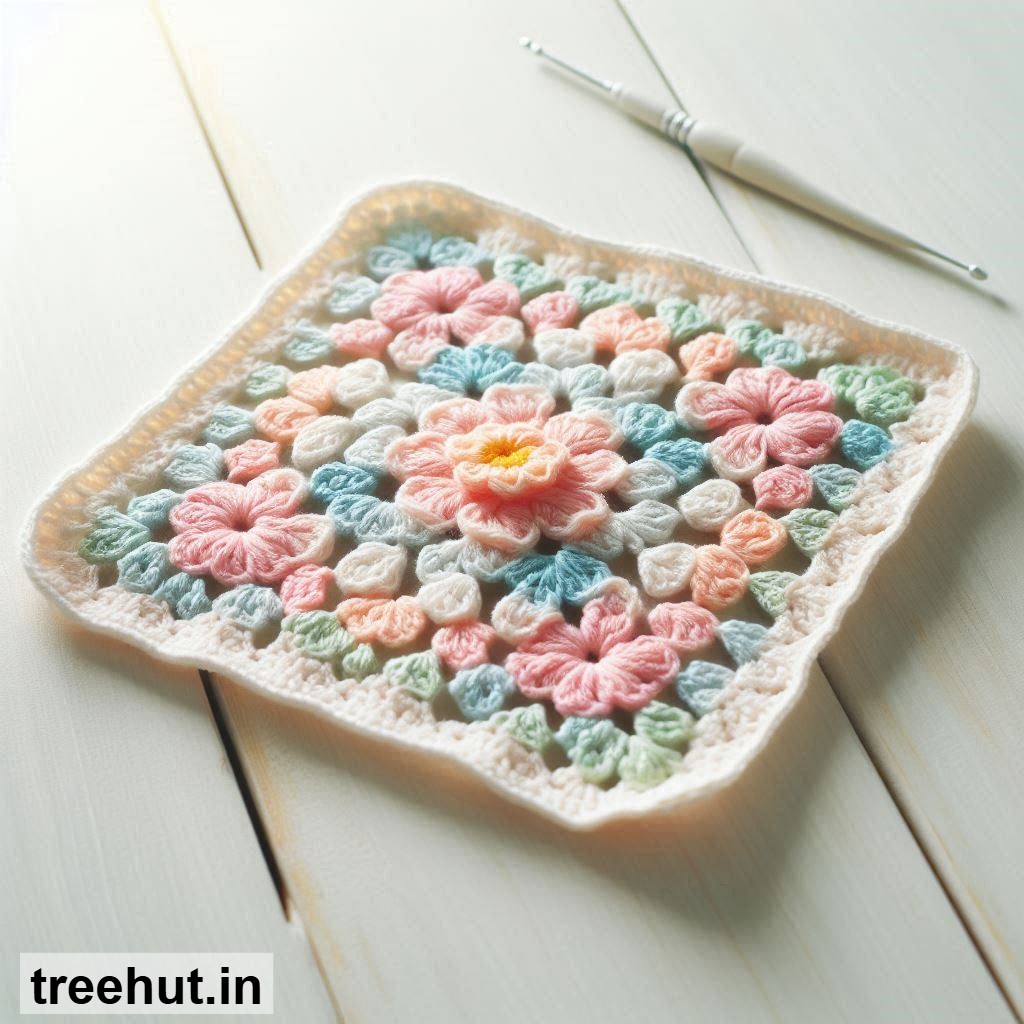
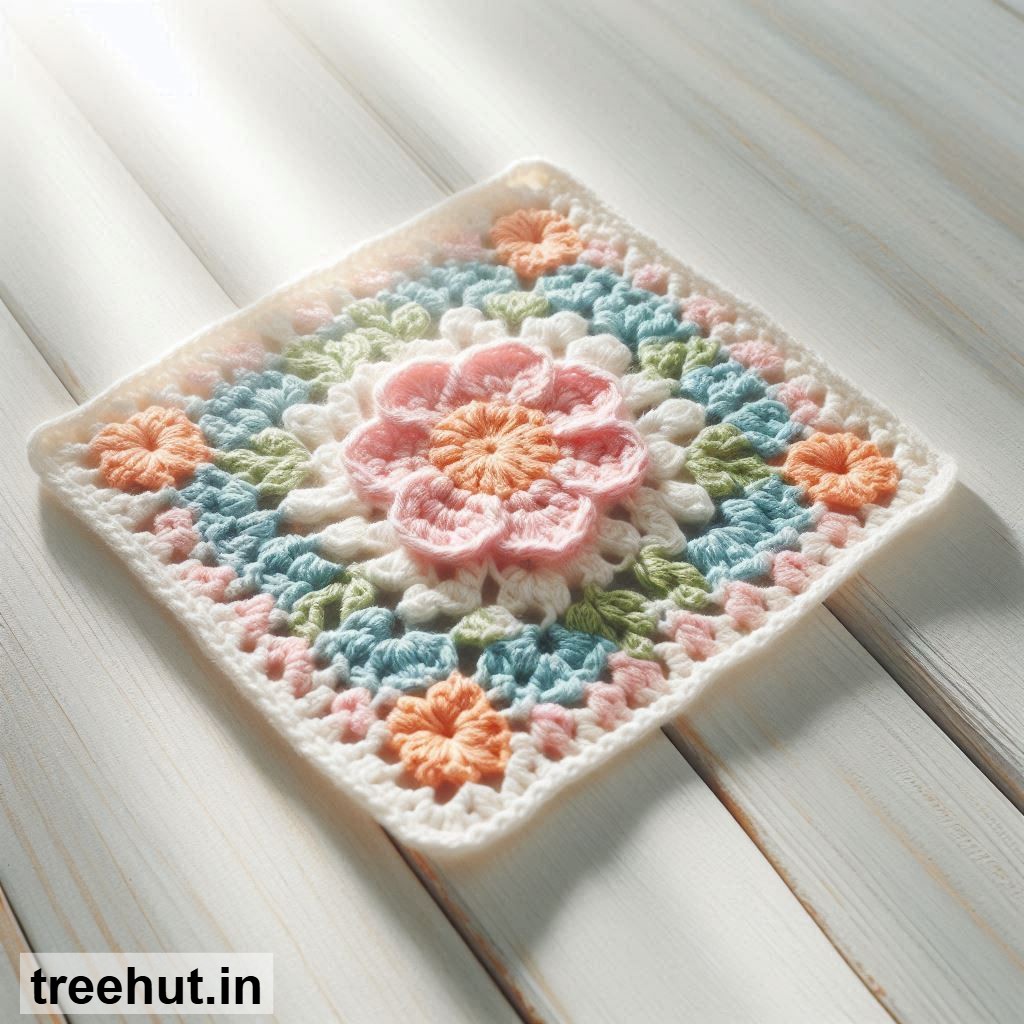
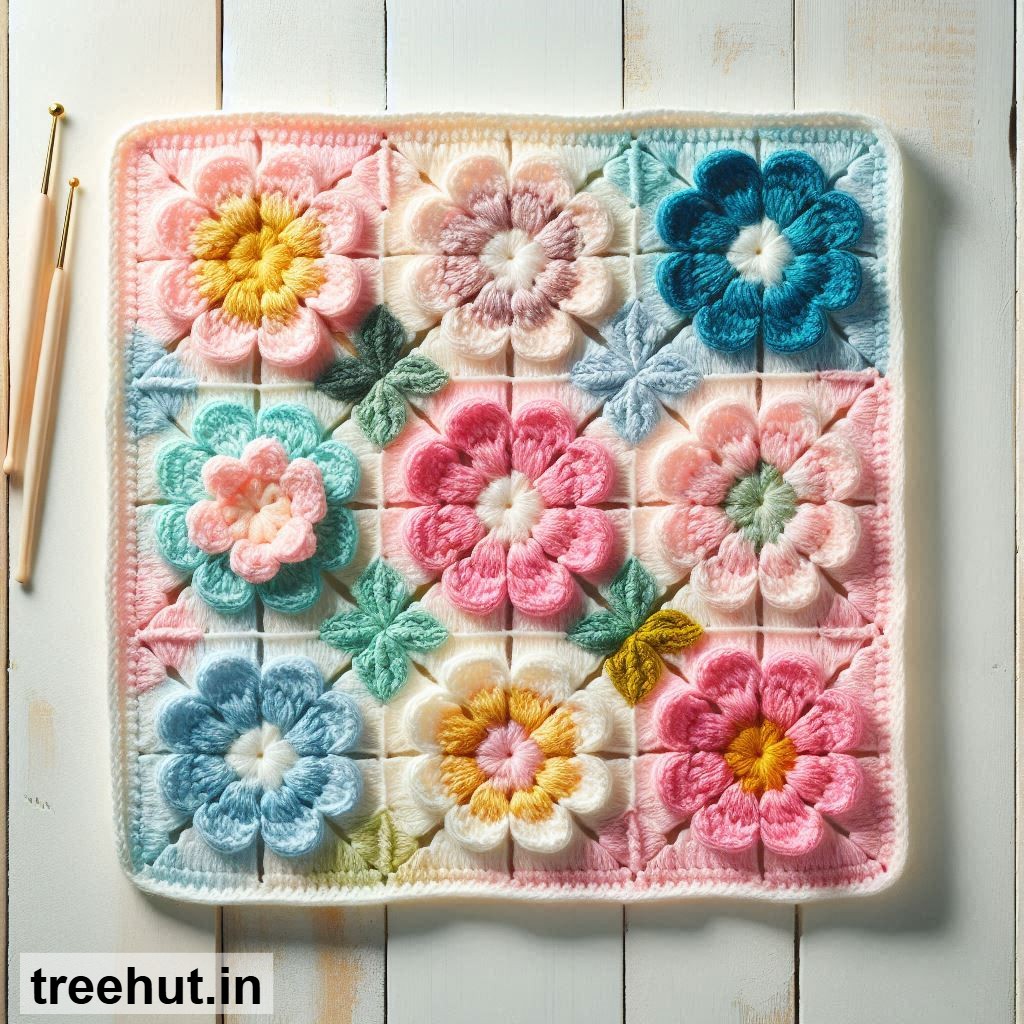
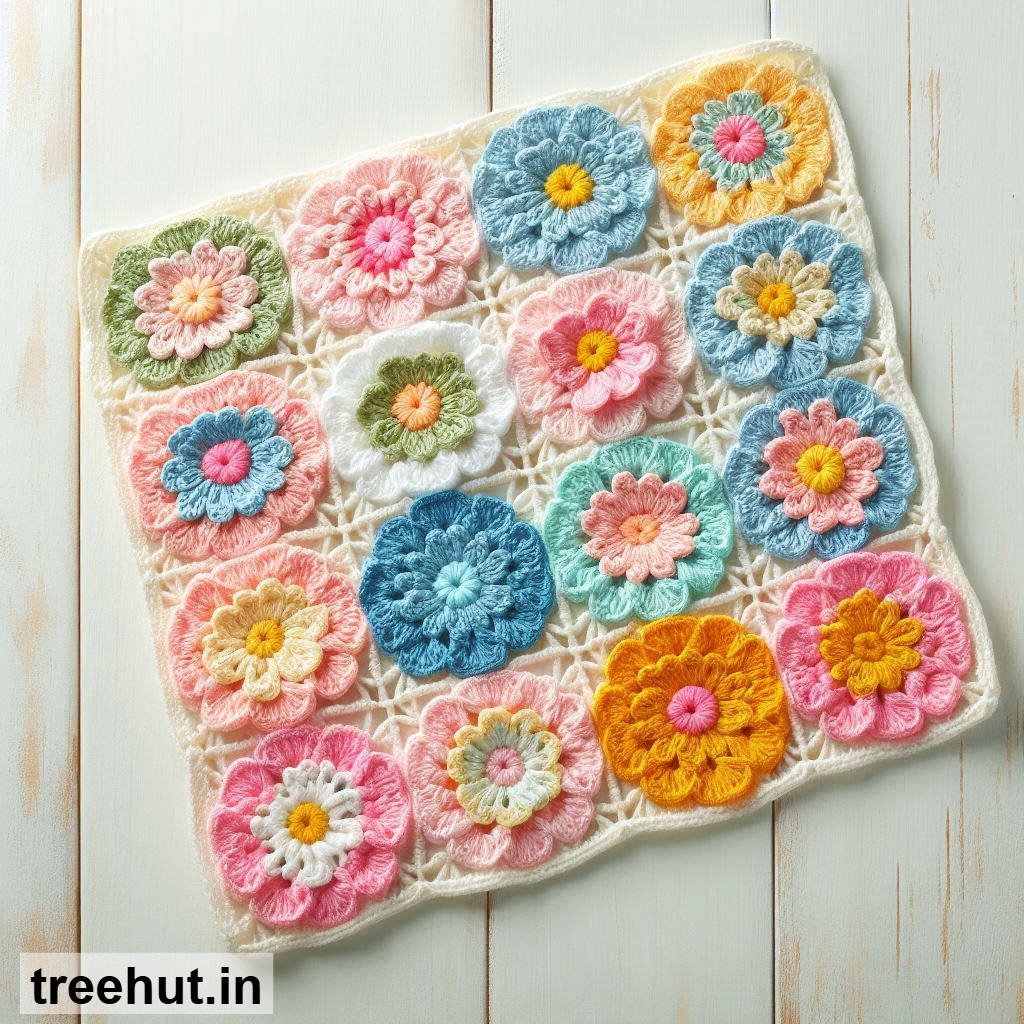
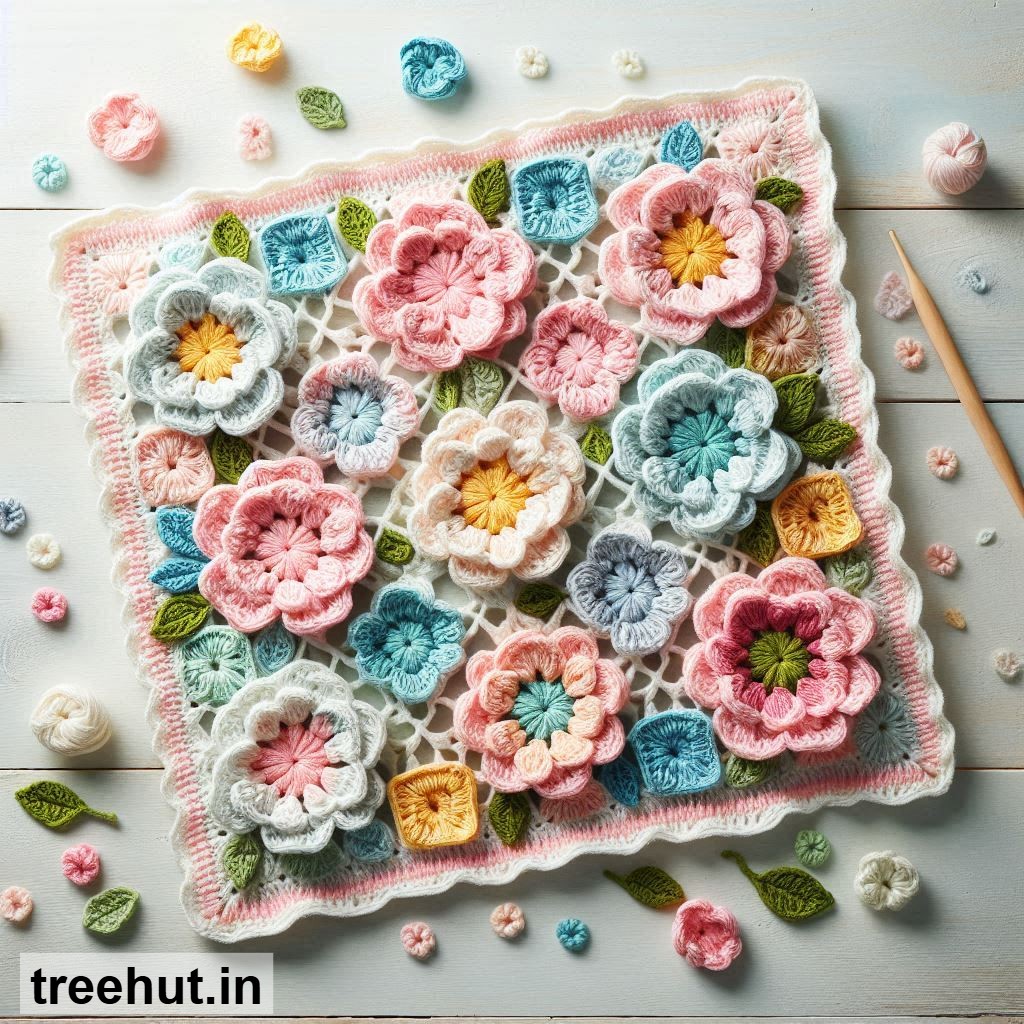
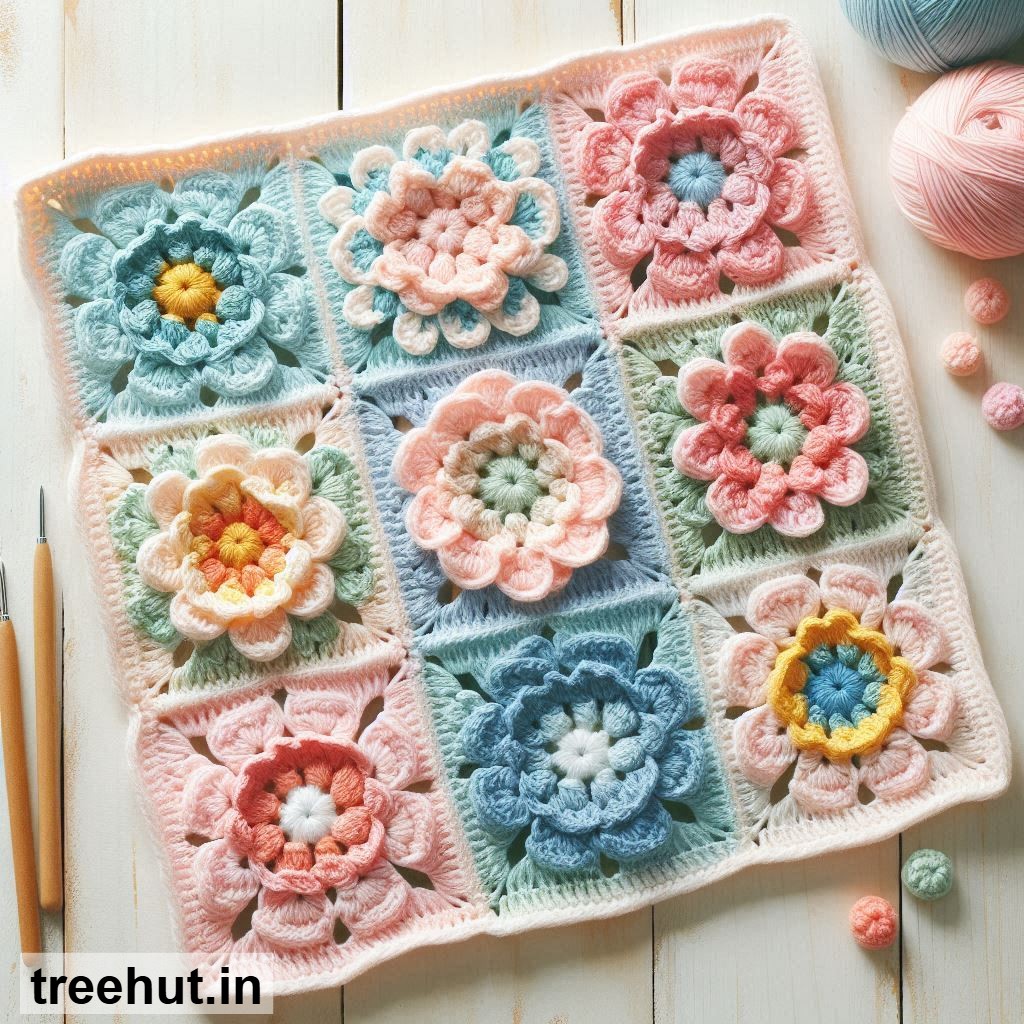
Spring Crochet Floral Granny Square Ideas
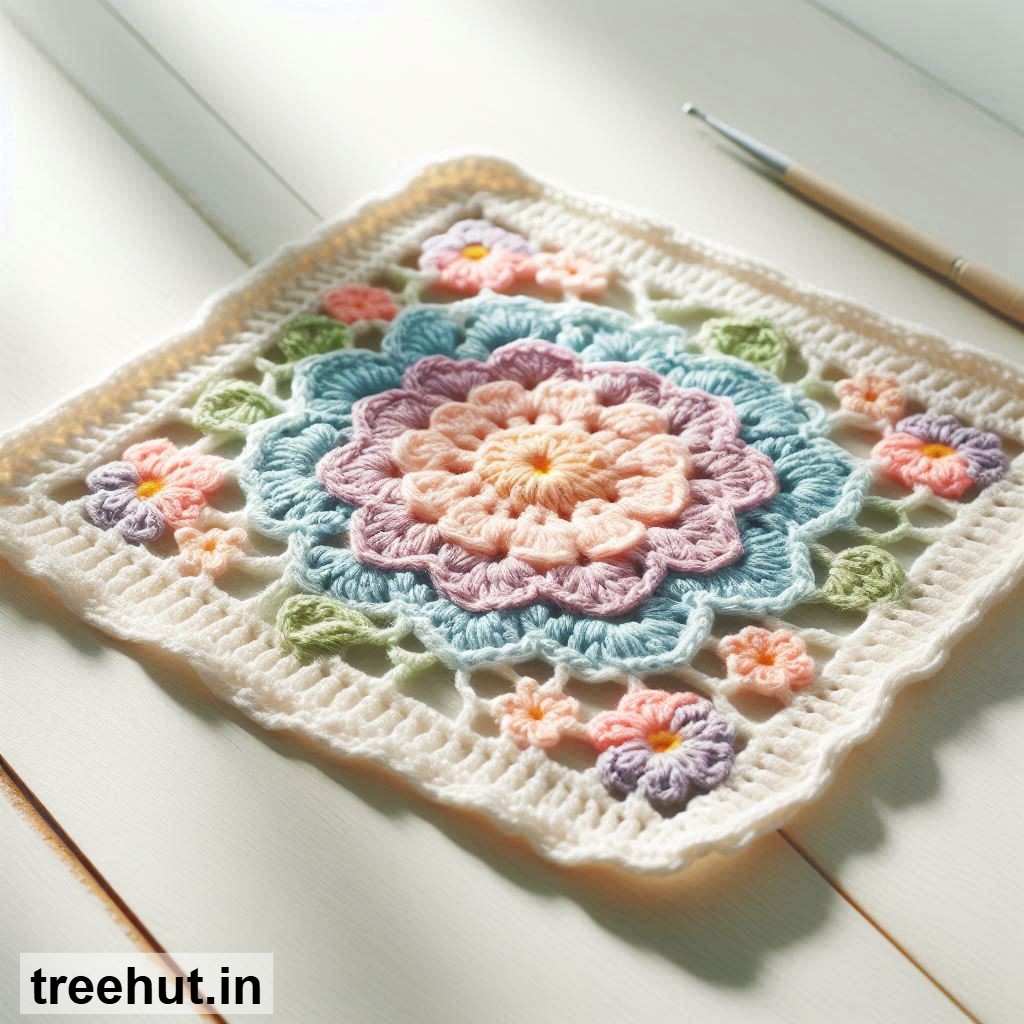
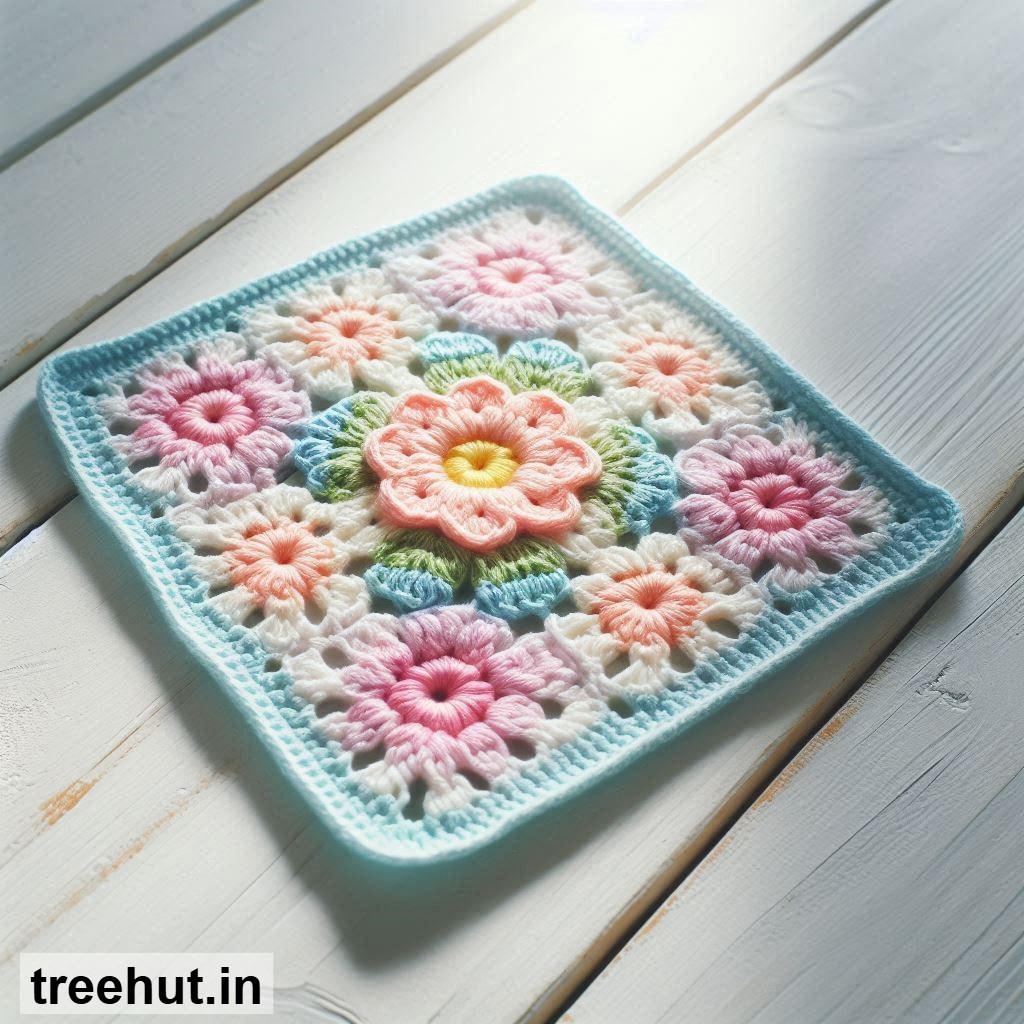
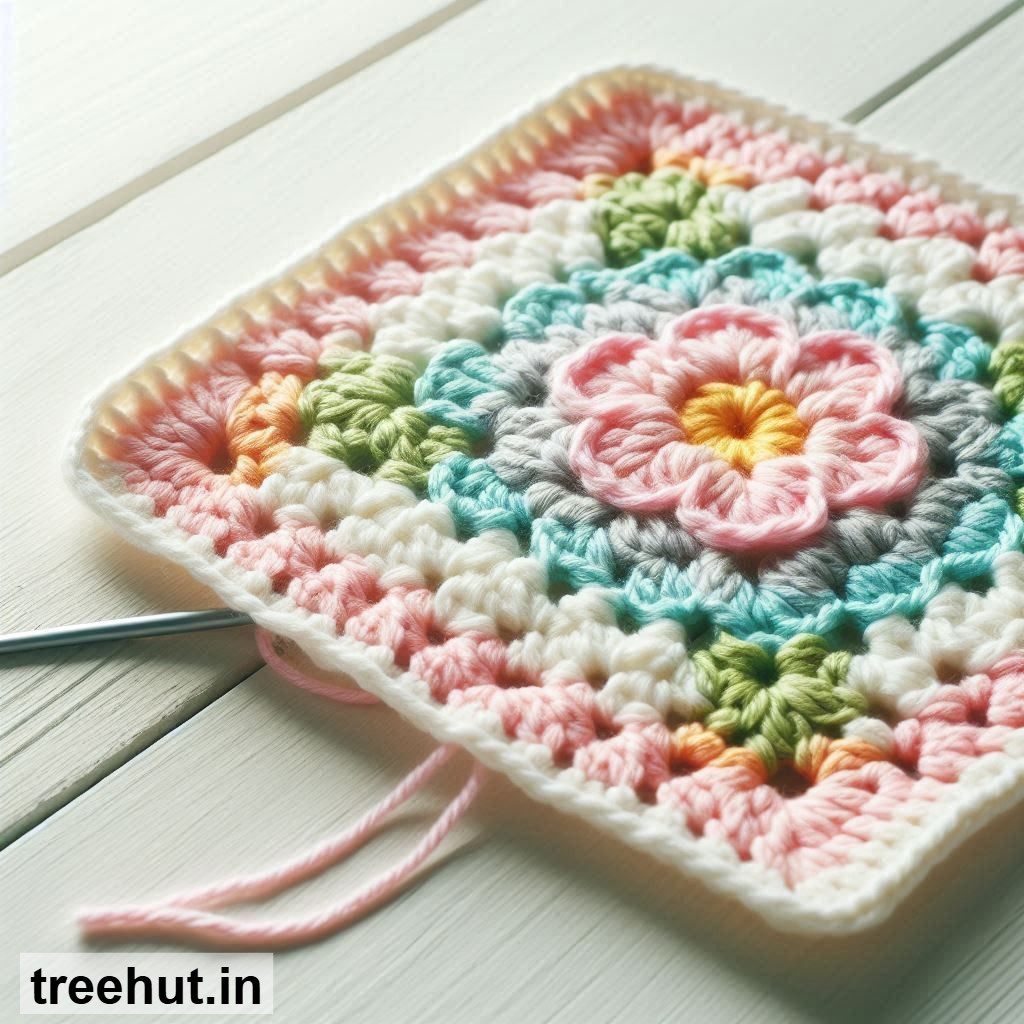
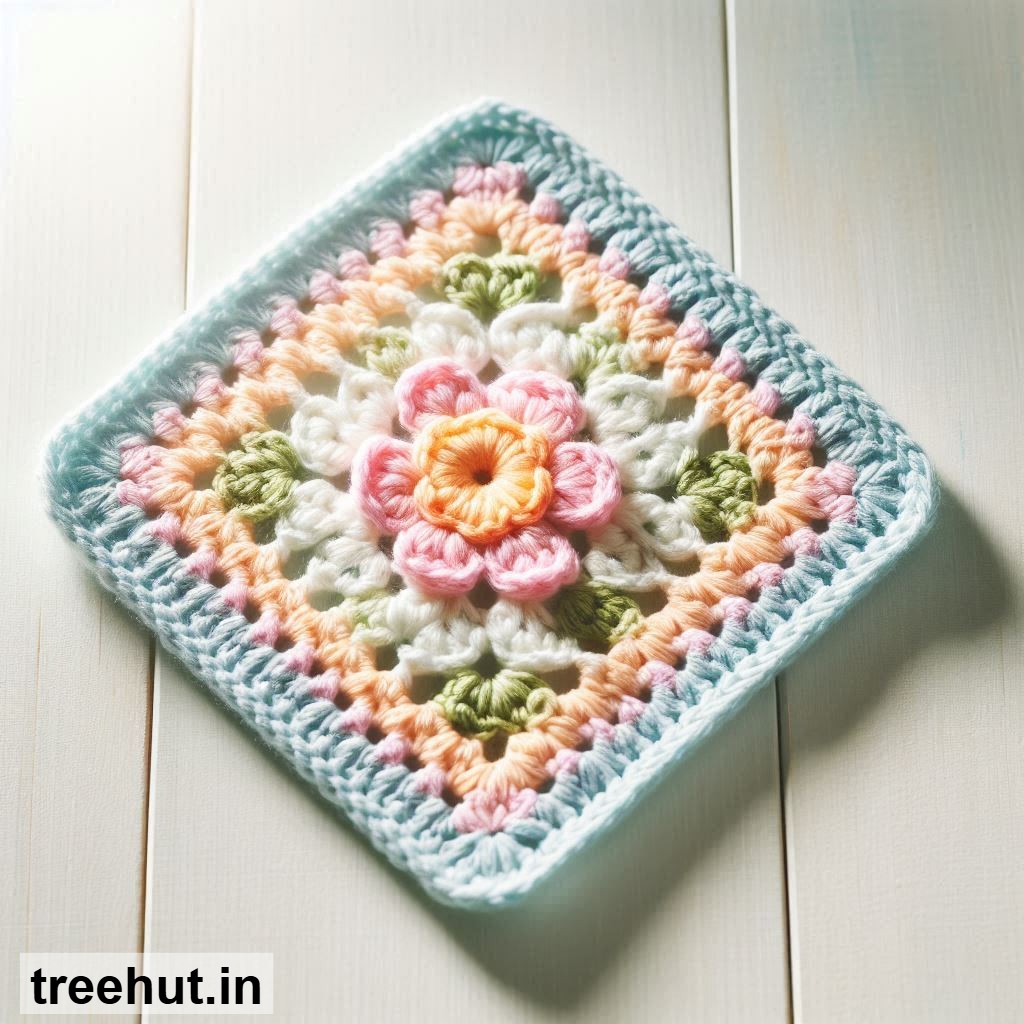
Classic Flower Granny Square: A central flower motif surrounded by a square border. Use bright centers and pastel outer layers for a fresh spring look.
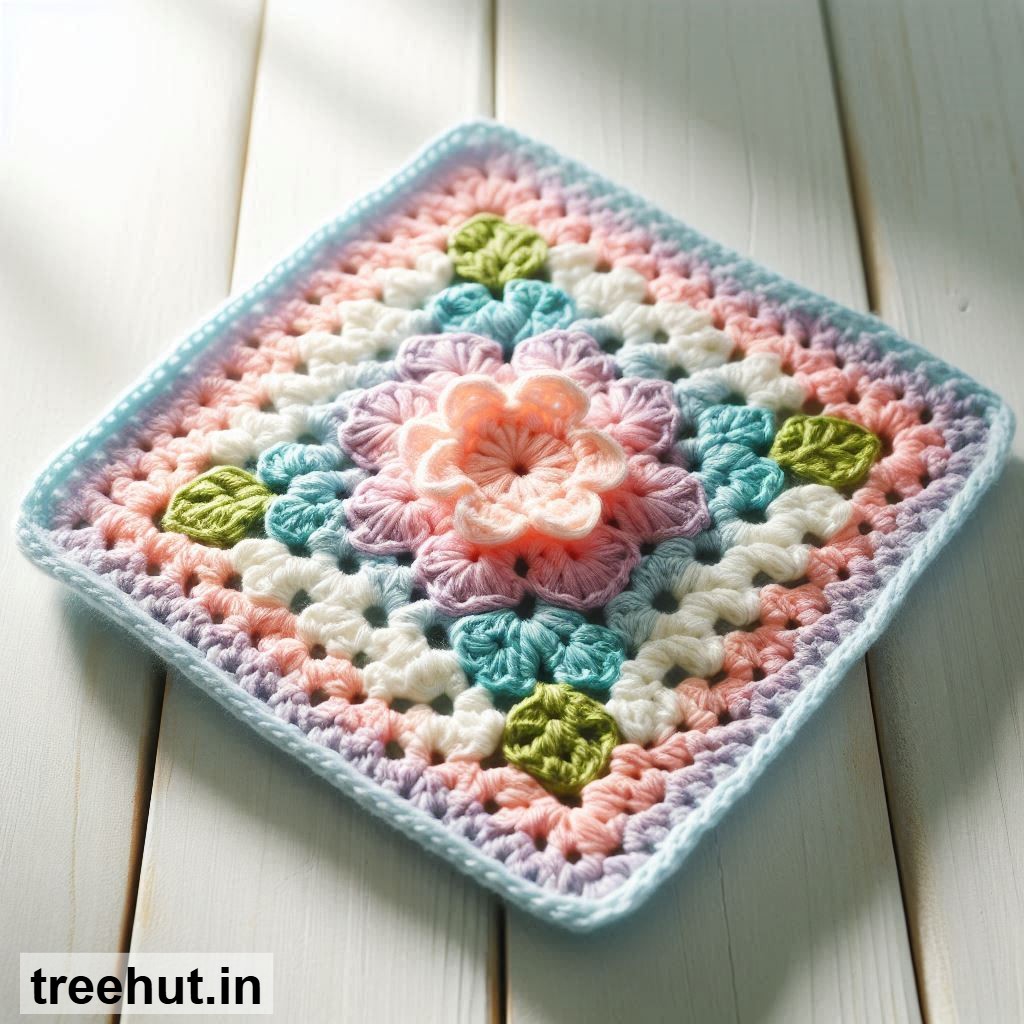
3D Puff Flower Squares: Create raised flowers using puff or bobble stitches to give a textured, three-dimensional effect.
Rose Granny Squares: Crochet spiral roses in the center and build a square around them for a romantic and elegant design.
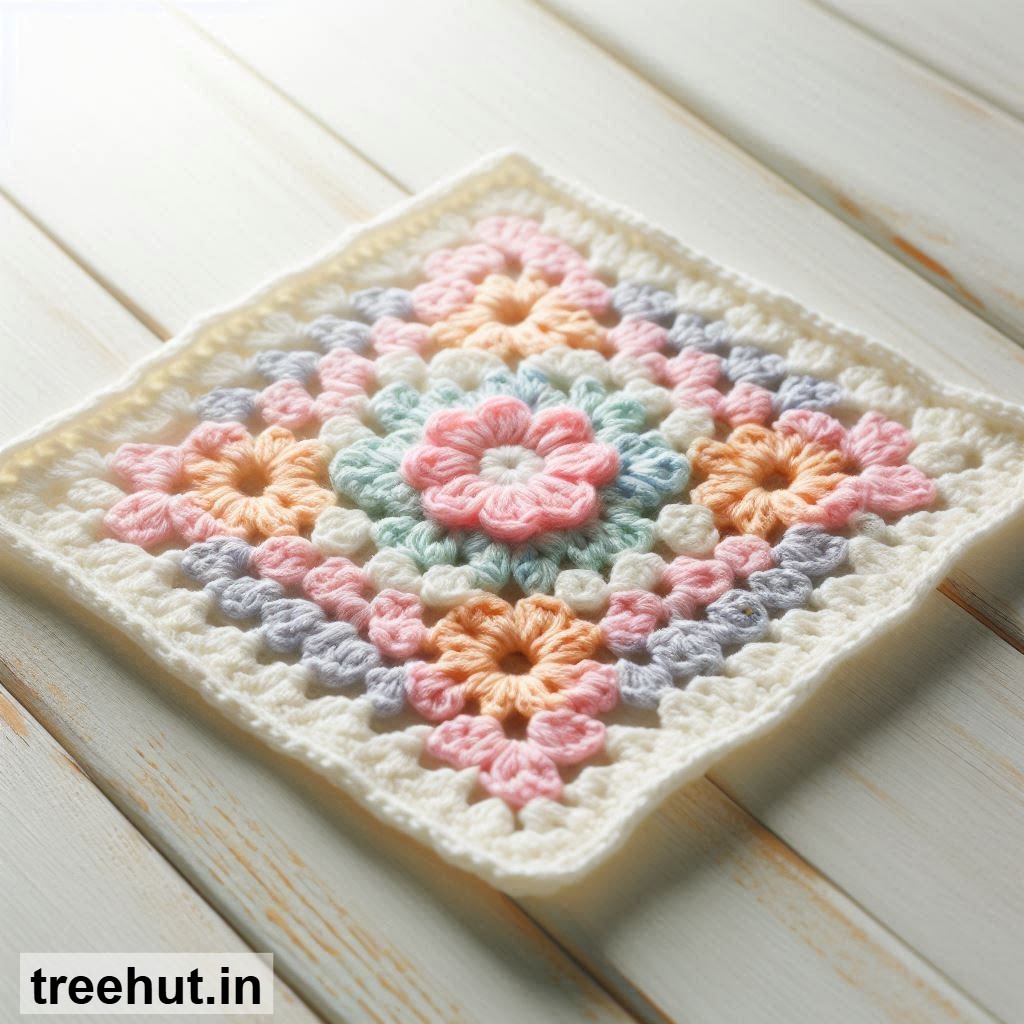
Multi-Color Floral Squares: Use different colors for petals, centers, and borders to create vibrant and eye-catching combinations.
Minimal Floral Squares: Keep the design simple with a small flower and clean square edges for a modern spring style.
How to Make a Basic Crochet Floral Granny Square
Materials: Cotton yarn in multiple colors, crochet hook (4–5 mm), yarn needle, and scissors.
Step 1 - Center: Start with a magic ring and crochet a small circle using the center color.
Step 2 - Flower: Switch yarn and create petals using stitches like double crochet, puff stitches, or clusters around the center.
Step 3 - Form the Square: Attach a new color and begin shaping the square by creating corners using chain spaces and groups of stitches.
Step 4 - Build Layers: Continue crocheting in rounds, adding stitches along the sides and corners to expand the square.
Step 5 - Edging: Add a final round of single crochet or decorative stitches for a neat finish.
Step 6 - Finishing: Weave in all loose ends and block the square to shape it evenly.
Tips: Keep tension consistent, choose harmonious spring color palettes, and block squares before joining for best results.
Customization Ideas: Join multiple squares to create blankets, bags, cushions, or garments. Mix different floral square designs for a unique spring crochet project.