


Spring Crochet basket organizers Ideas and how to make them
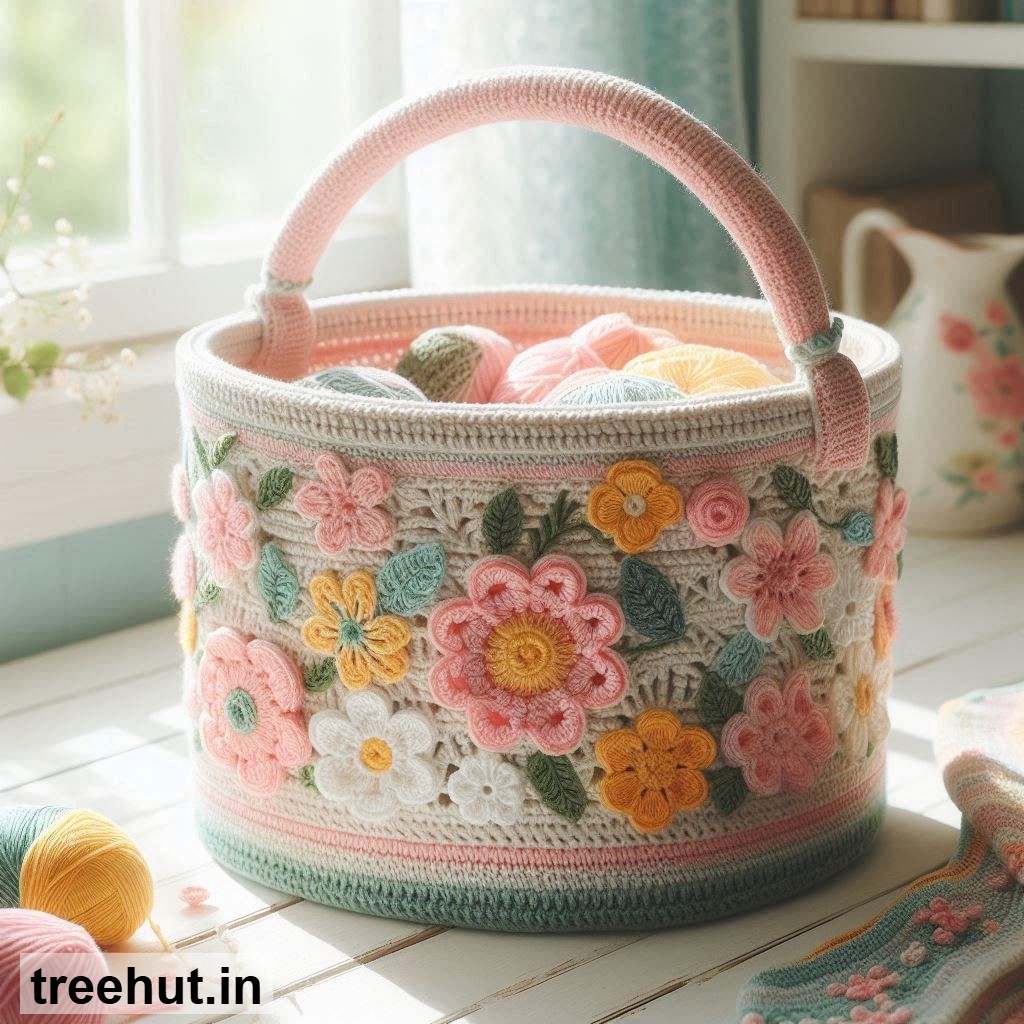
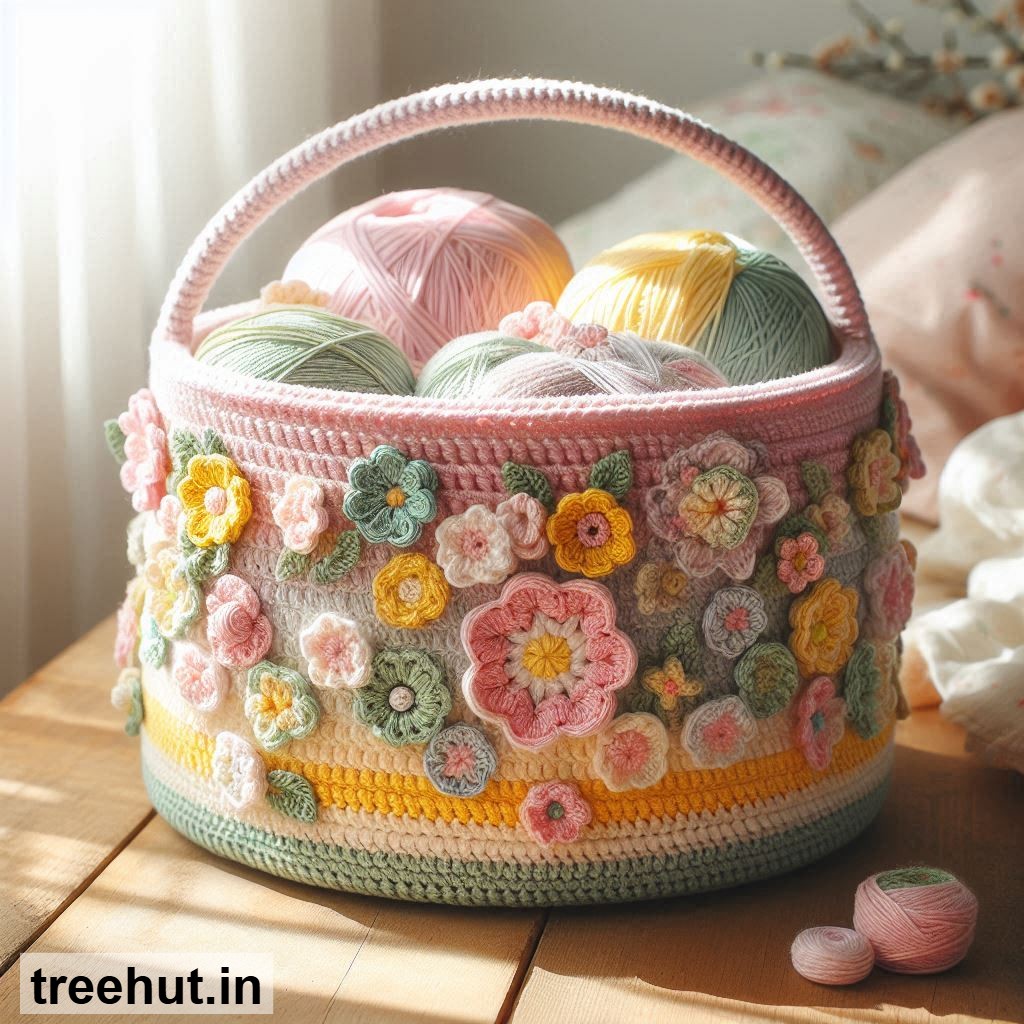
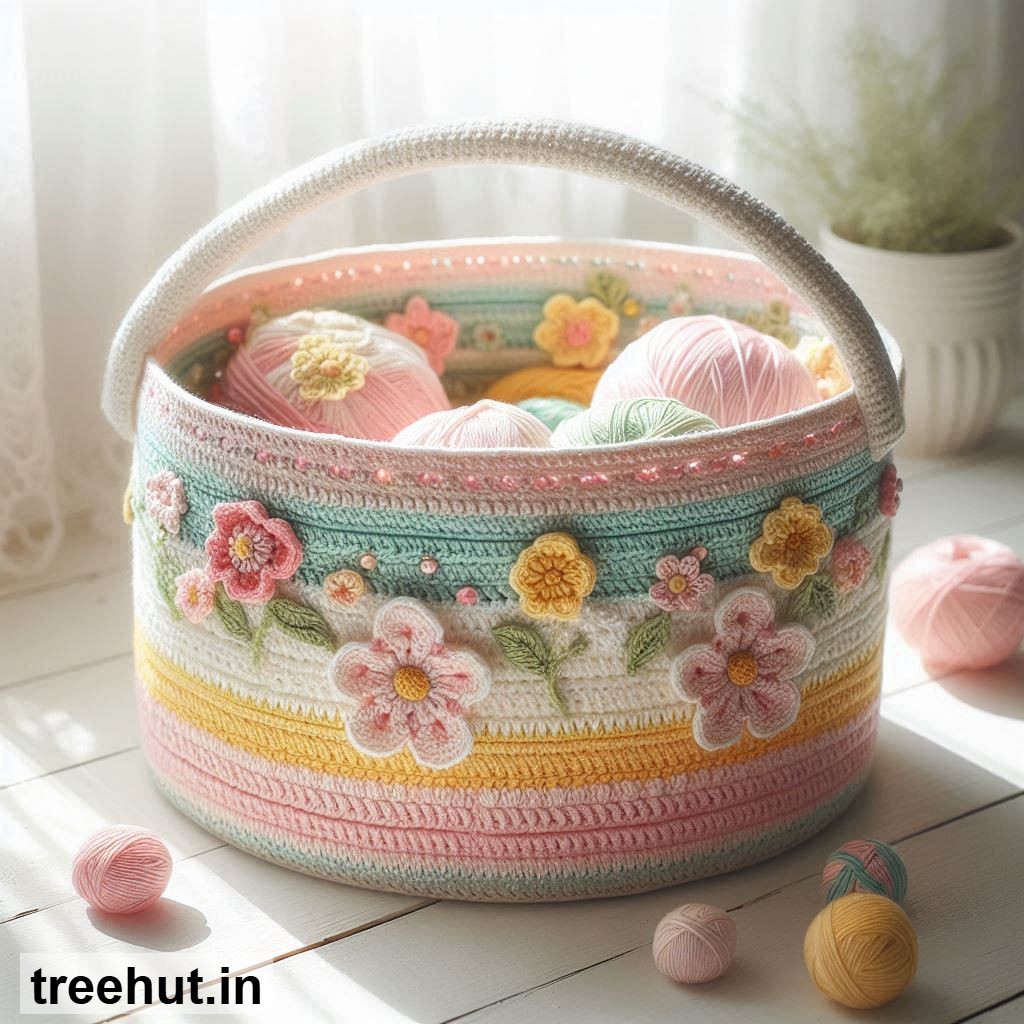
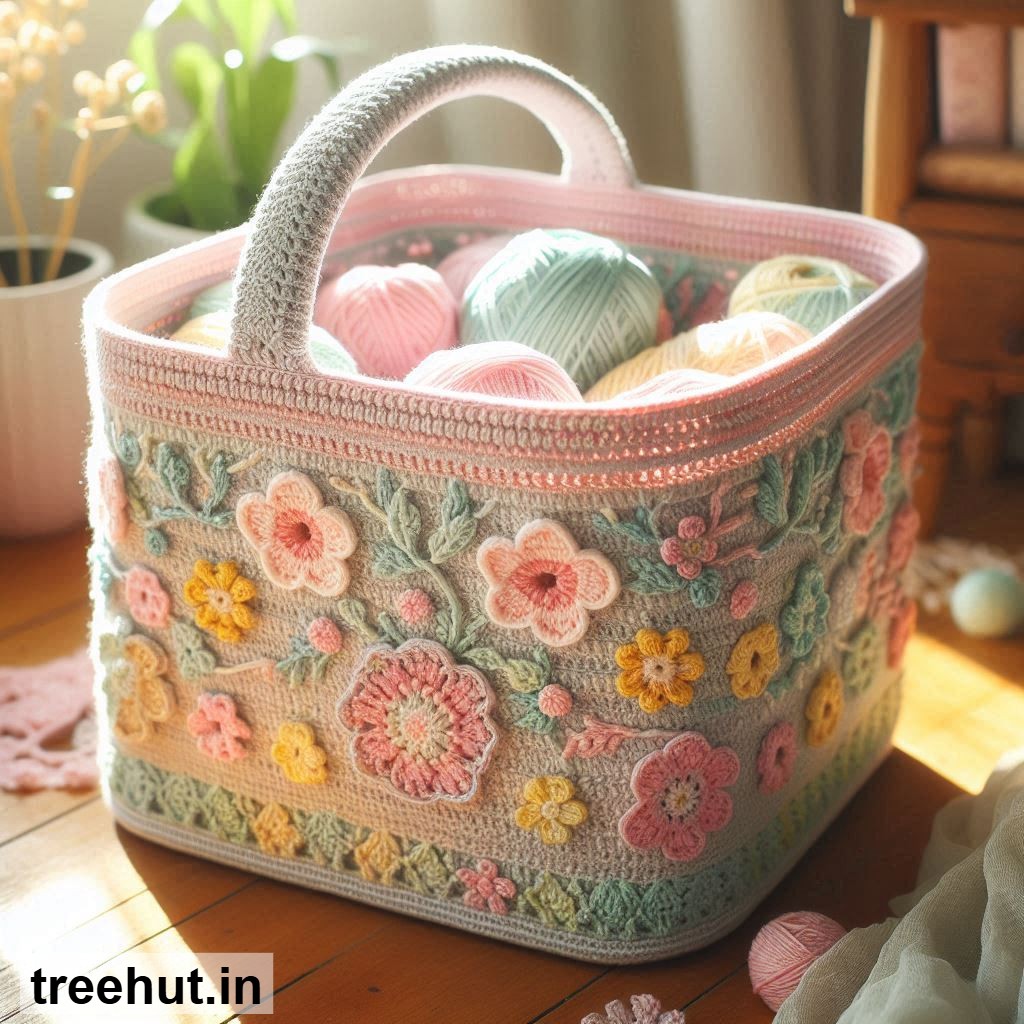
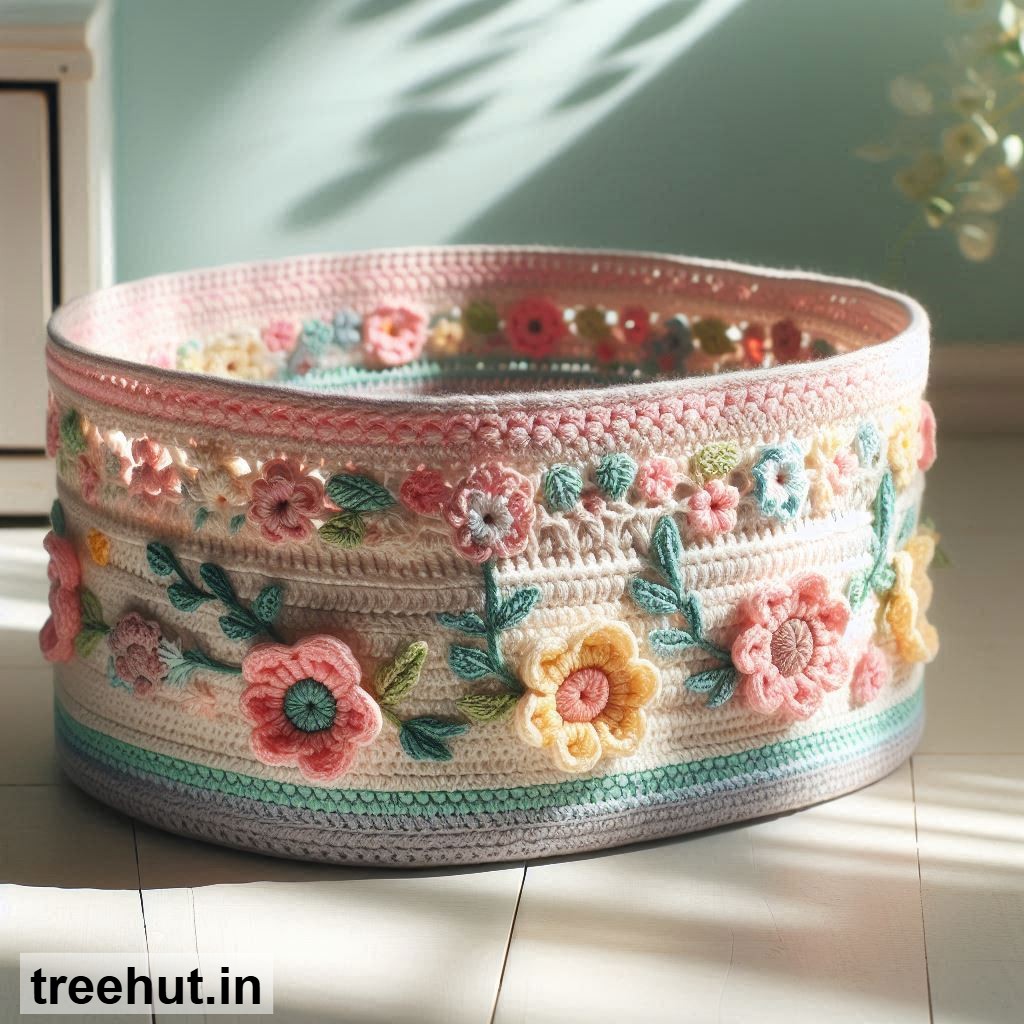
Spring Crochet Basket Organizer Ideas
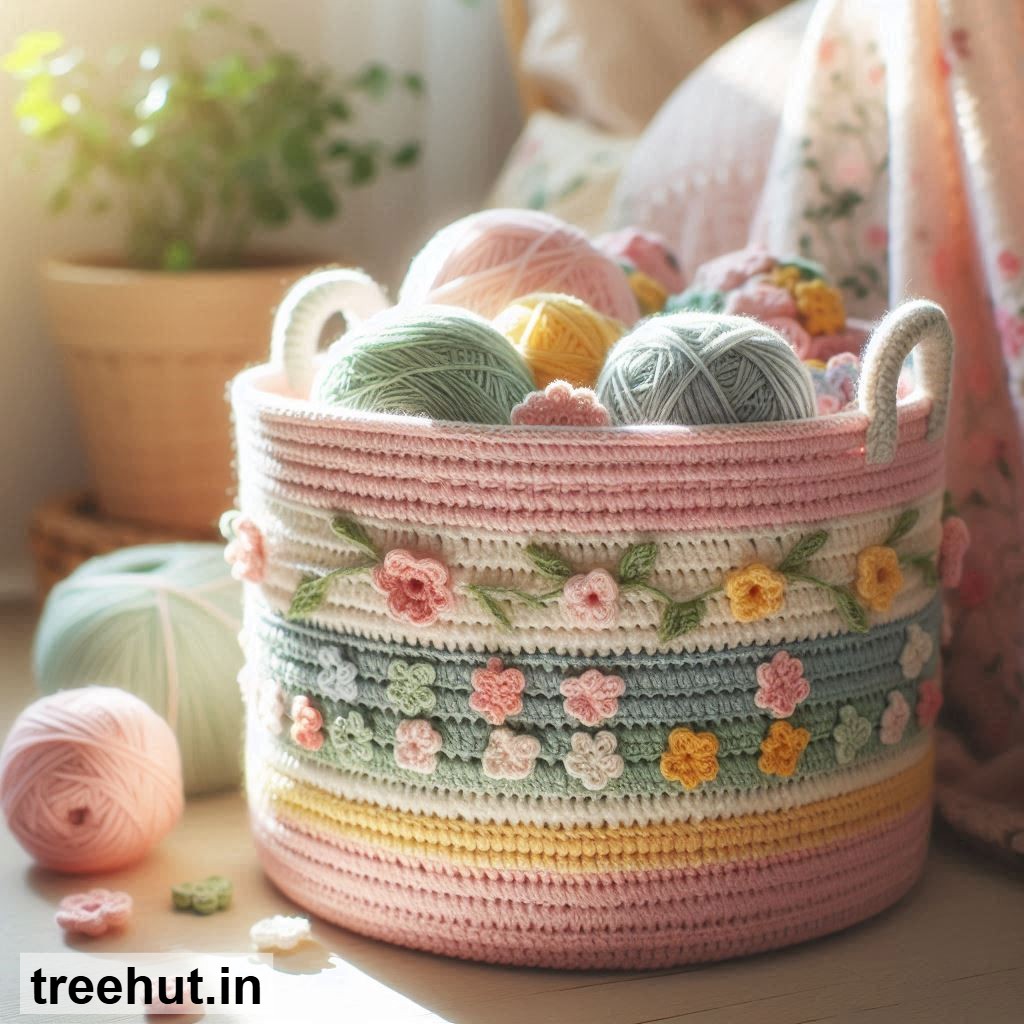
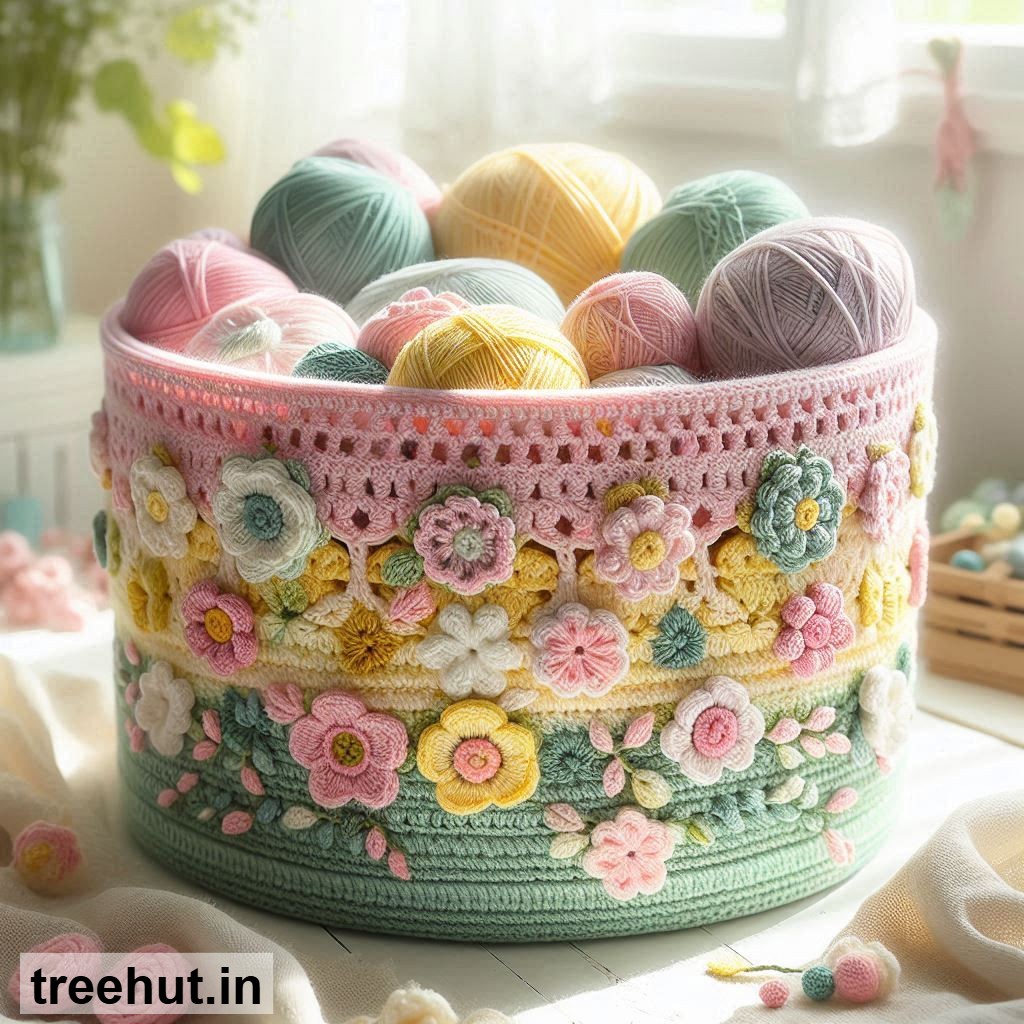
Pastel Storage Baskets: Use soft spring colors like mint, lavender, baby pink, and cream. These baskets are perfect for shelves, bathrooms, or bedside tables and can be finished with a scalloped edge for a delicate look.
Hanging Wall Baskets: Create small baskets with loops or handles so they can hang on hooks or rods. They are great for storing keys, mail, or small decorative items.
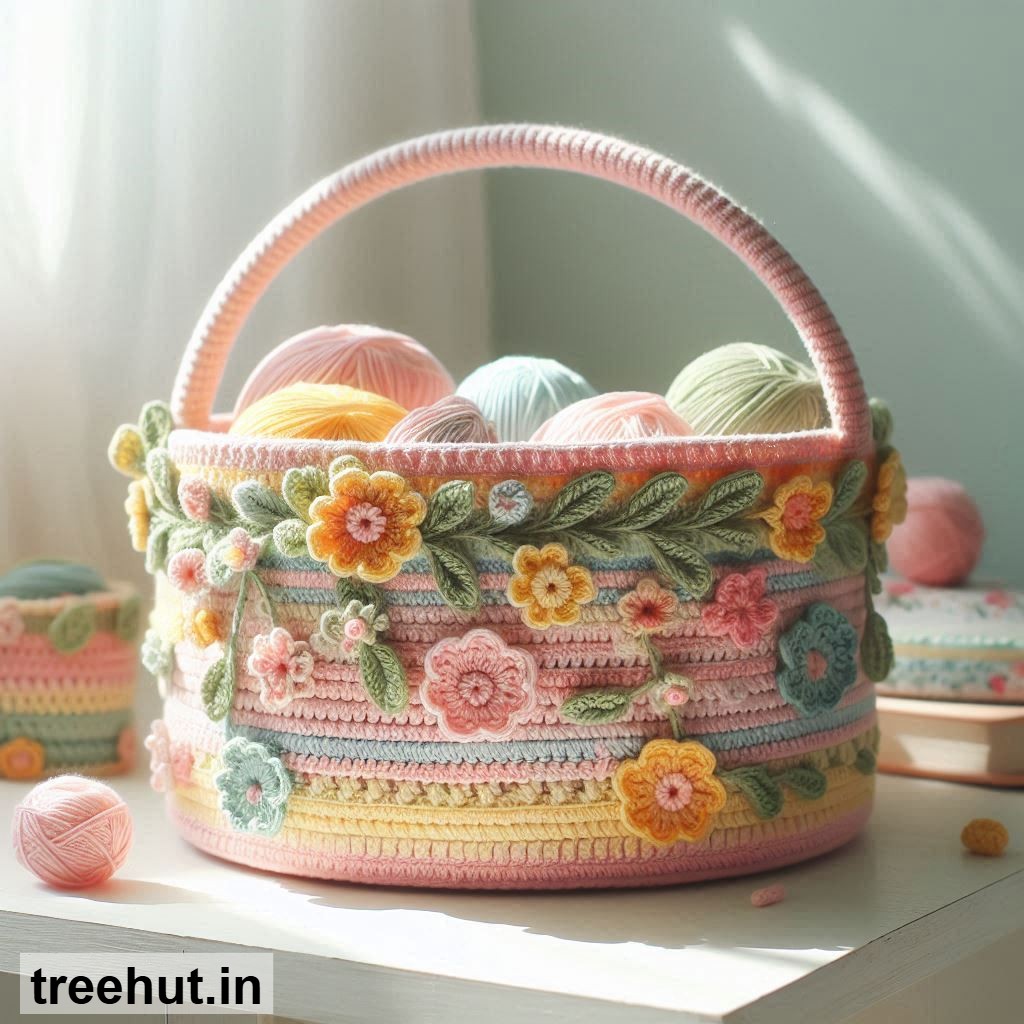
Floral Appliqué Baskets: Decorate plain baskets with crocheted flowers such as daisies or tulips. This adds a fresh spring garden feel to your space.
Nested Basket Sets: Make multiple baskets in different sizes that fit inside each other. Use a variety of spring colors for a visually appealing set.
Fruit-Inspired Baskets: Design baskets using bright colors inspired by fruits like lemons, strawberries, or watermelon. These are fun and great for kitchen or kids’ storage.
Picnic-Style Basket: Use thicker yarn to create a sturdy basket with handles. Ideal for outdoor use or storing craft supplies.
How to Make a Basic Crochet Basket
Materials: Cotton yarn, a crochet hook (4–6 mm), a stitch marker, and a yarn needle.
Step 1 - Base: Start with a magic ring and crochet in the round. Begin with 6 stitches, then increase evenly in each round until the base reaches your desired size.
Step 2 - Sides: Stop increasing and crochet one stitch in each stitch around. This will cause the basket to grow upward and form the sides.
Step 3 - Texture: Add variation using stitches like half double crochet, back loop only stitches, or bobble stitches for decoration.
Step 4 - Handles: Chain several stitches and skip the same number of stitches on the basket, then continue crocheting to attach the handle.
Step 5 - Edge: Finish with a neat edge using slip stitch, reverse single crochet, or a decorative picot edging.
Tips: Use thicker yarn or hold multiple strands together for sturdiness. You can also add a base insert or lightly shape the basket after finishing.
Customization Ideas: Add labels, sew a fabric lining, use gradient yarn, or attach decorative buttons to personalize your basket.