



Thanksgiving Crochet Shirt for Kids Ideas
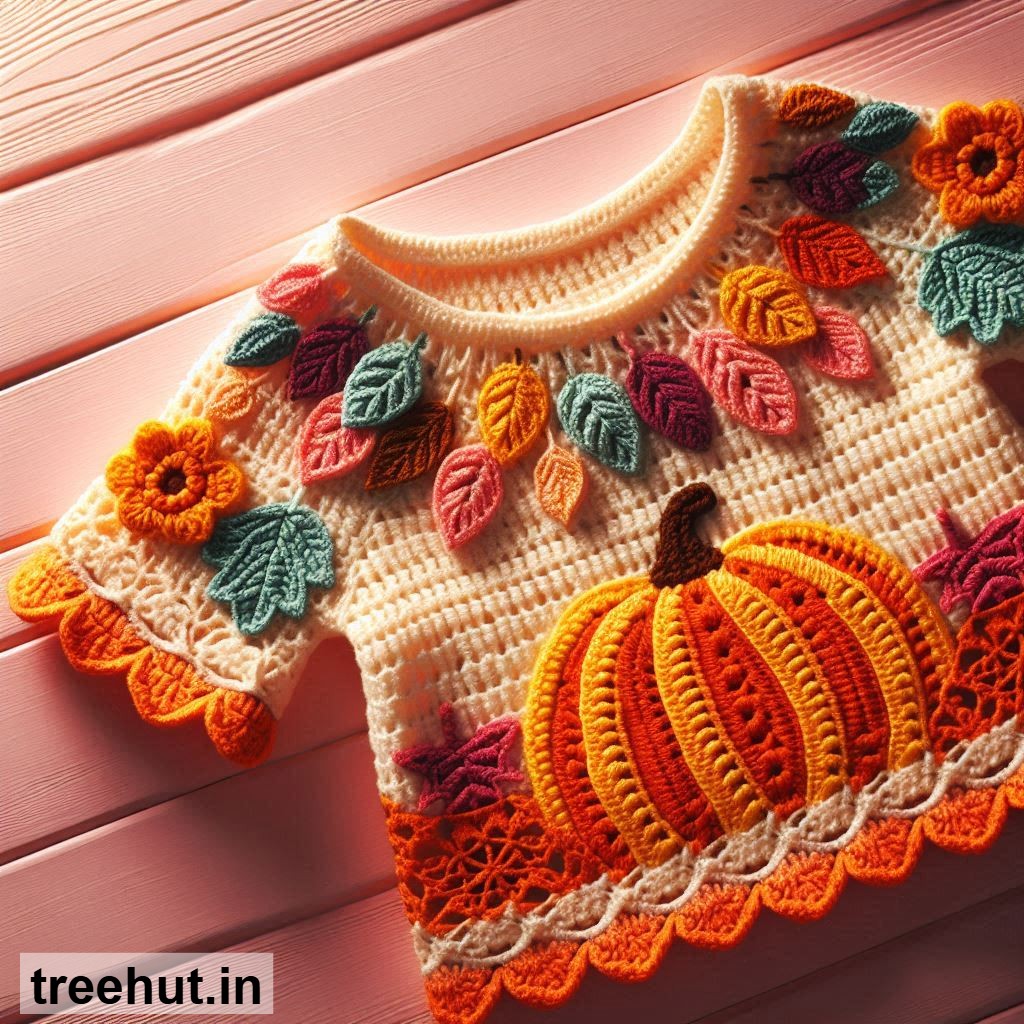
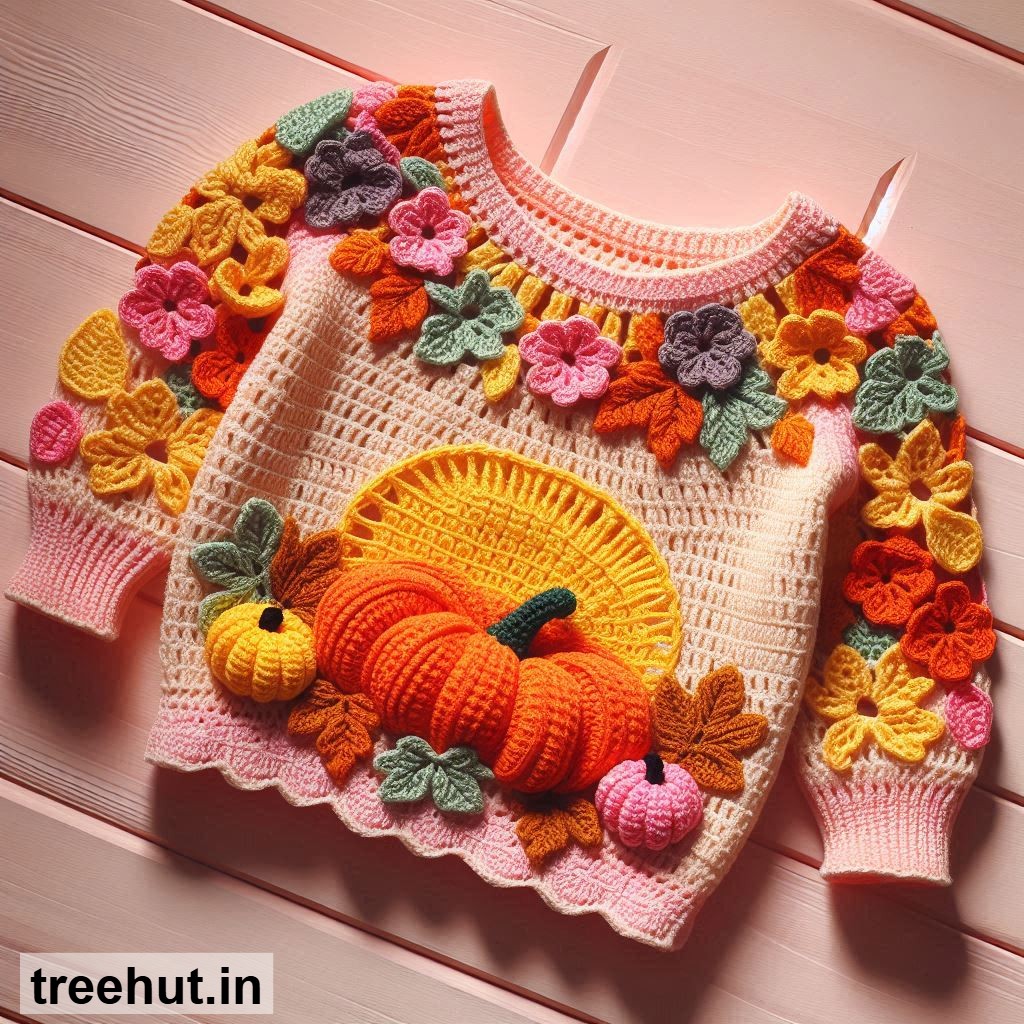
Different Ways to Make a Kids’ Crochet Shirt
There are many ways to make a kids’ crochet shirt depending on the style, stitch pattern, and construction method. Below are the main types and techniques you can use — from simple beginner-friendly methods to more advanced designs.
1. Front and Back Panel Method
This is the easiest way to make a kids’ crochet shirt. You make two flat panels — one for the front and one for the back — and then sew them together at the shoulders and sides.
Best For: Beginners
Yarn Type: Cotton or acrylic
Advantages: Easy to size and customize
Tip: Add sleeves or appliques (pumpkins, leaves, etc.) for Thanksgiving designs.
2. Top-Down (Yoke) Method
This method starts from the neckline and works downward in one piece. It’s seamless and great for adjustable sizing as you can try it on while making.
Best For: Intermediate crocheters
Yarn Type: Soft cotton or lightweight blends
Advantages: No seams, easy to adjust sleeve and body length
Tip: Use shell or puff stitches for a cute yoke design.
3. Raglan Style Shirt
The raglan style starts from the neck and forms diagonal lines to create the shoulders and sleeves in one go. It gives a comfortable fit with plenty of arm movement for kids.
Best For: All skill levels
Yarn Type: Stretchy yarn like acrylic
Advantages: Seamless and fits easily
Tip: Add stripes or color blocks for a fun, fall-themed shirt.
4. Granny Square Shirt
This creative method uses multiple crocheted granny squares joined together to form the shirt. You can mix colors and designs for a playful look.
Best For: Creative crocheters
Yarn Type: Cotton or soft acrylic
Advantages: Colorful, customizable, great scrap-yarn project
Tip: Use autumn shades (orange, brown, yellow) for a Thanksgiving theme.
5. Circular (In-the-Round) Method
This method involves crocheting the shirt in continuous rounds without seams. You can work from the bottom up or top down.
Best For: Intermediate crocheters
Yarn Type: Light to medium-weight yarn
Advantages: Seamless and smooth edges
Tip: Add lace or mesh patterns for breathability.
6. Side-to-Side Construction
Instead of working from top to bottom, this method is crocheted from one side to the other. This creates horizontal rows that wrap around the body.
Best For: Intermediate crocheters
Yarn Type: Any soft, flexible yarn
Advantages: Unique texture and stretch
Tip: Use ripple or wave stitches for added design interest.
7. Mesh or Lace Crochet Shirt
This lightweight method uses chain spaces and open stitches, making the shirt airy and comfortable.
Best For: Warm climates or layering
Yarn Type: Cotton or bamboo yarn
Advantages: Breathable, stylish, and quick to make
Tip: Perfect for layering over shirts or dresses during fall events.
8. Crochet Tunic Style Shirt
This method makes a longer shirt that can double as a tunic. It’s worked in panels or top-down style with extra length at the bottom.
Best For: Kids who love comfy, long tops
Yarn Type: Soft acrylic or cotton blend
Advantages: Versatile and cozy
Tip: Add fringe or scalloped edges for a festive touch.
9. Button-Up Crochet Shirt
This shirt is made in panels with a buttoned front opening, perfect for younger children who need easy dressing.
Best For: Beginners or intermediates
Yarn Type: Cotton or baby yarn
Advantages: Practical and easy to wear
Tip: Use themed buttons like acorns or leaves for Thanksgiving charm.
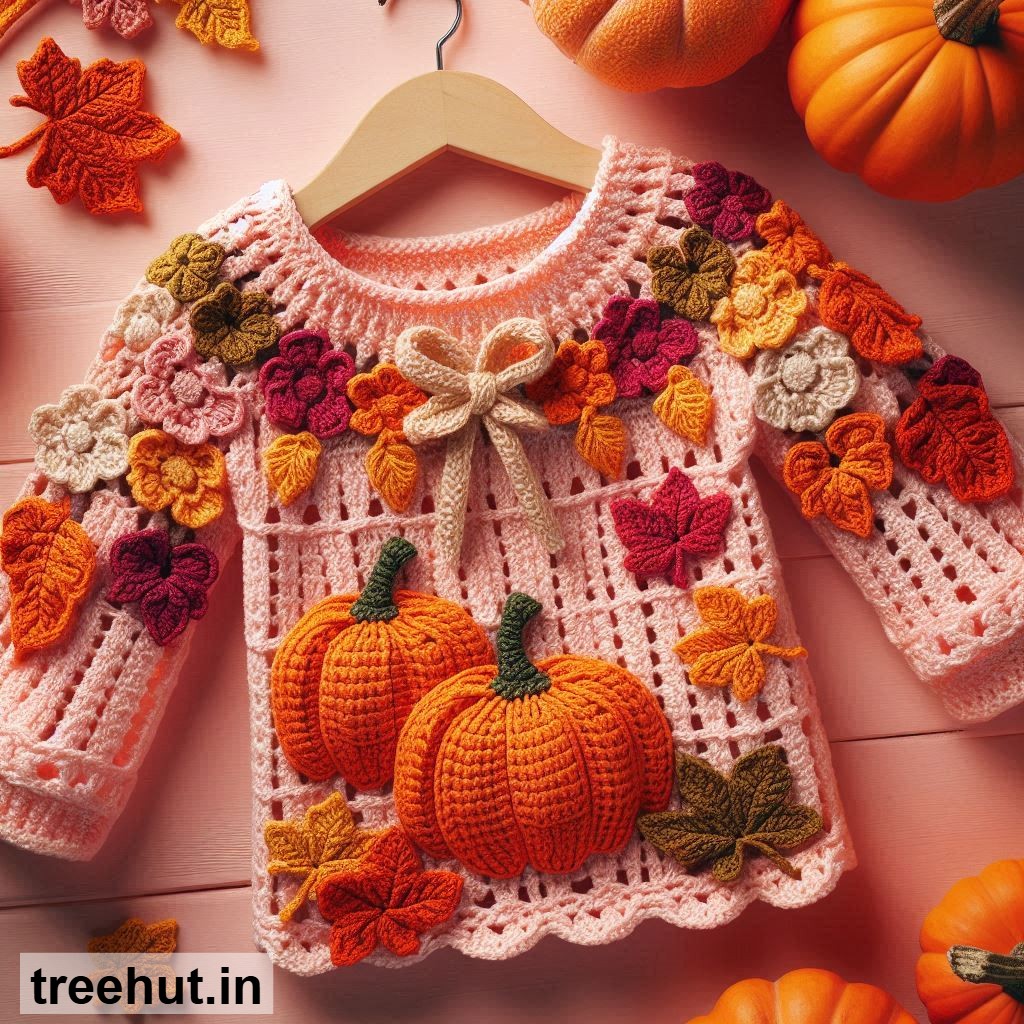
10. Crochet Shirt with Appliques
Start with a simple crochet shirt base and decorate it with appliques such as pumpkins, turkeys, or fall leaves.
Best For: Beginners who love embellishments
Yarn Type: Any soft yarn
Advantages: Easy to personalize
Tip: Attach appliques to the chest or hemline for seasonal flair.
11. Color Block Crochet Shirt
This design features bold sections of different colors — perfect for playful kids and seasonal themes.
Best For: All skill levels
Yarn Type: Acrylic or cotton
Advantages: Eye-catching and customizable
Tip: Combine Thanksgiving tones like orange, mustard, brown, and cream.
12. Sleeveless or Tank-Top Style Shirt
Perfect for layering over long sleeves or wearing alone in warmer weather.
Best For: Beginners
Yarn Type: Lightweight cotton
Advantages: Quick and easy to make
Tip: Add picot edging or mini ruffles for a cute finish.
13. Hooded Crochet Shirt
Add a cozy hood to a basic shirt pattern for extra warmth and style.
Best For: Fall and winter wear
Yarn Type: Soft acrylic or wool blend
Advantages: Warm and practical
Tip: Match the hood color to a Thanksgiving motif for a themed outfit.
14. Crochet Peplum Shirt
This stylish design features a flared bottom section for a girly look.
Best For: Girls’ festive outfits
Yarn Type: Cotton or soft acrylic
Advantages: Dressy and fashionable
Tip: Add a belt or bow for extra cuteness.
15. Crochet Shirt with Textured Stitches
Use stitches like bobbles, puff, or cables to create a rich and cozy design.
Best For: Cool-weather shirts
Yarn Type: Medium-weight yarn
Advantages: Adds warmth and visual interest
Tip: Combine textured stitches with fall colors for a Thanksgiving-ready piece.
Summary:
There are at least 15 creative ways to make a kids’ crochet shirt, ranging from simple panel construction to detailed textured or applique designs. The best method depends on your skill level, the desired style, and how much time you want to invest.
Recommended for Beginners: Front-and-back panels, sleeveless styles, or applique shirts.
Recommended for Intermediate Crocheters: Top-down, raglan, or side-to-side methods.
Recommended for Advanced Makers: Granny square, lace, peplum, or hooded shirts.
By experimenting with these methods, you can create endless crochet shirt designs for kids — perfect for Thanksgiving celebrations, cozy fall wear, or thoughtful handmade gifts.
Thanksgiving Crochet Shirt for Kids Ideas and Techniques
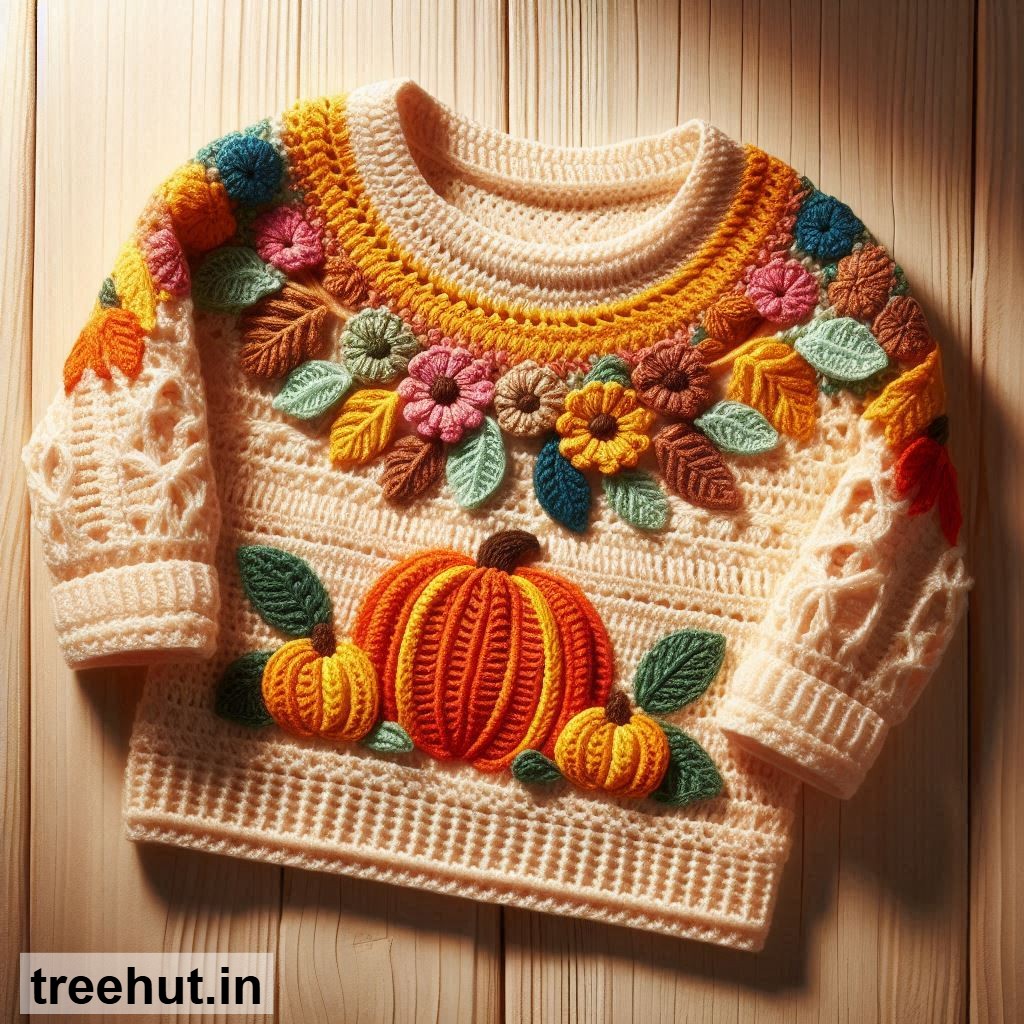
1. Little Pumpkin Crochet Shirt
A cute Thanksgiving-themed shirt featuring a pumpkin motif in the center, perfect for both boys and girls.
Techniques Used: Crochet the shirt in single or half double crochet stitches using orange yarn. Add a small green stem and leaf applique at the top of the pumpkin motif. You can also embroider a smiling face for extra charm.
Where to Use: Ideal for Thanksgiving family dinners, school parties, or photo sessions.
2. Turkey Applique Crochet Shirt
A playful shirt showcasing a colorful turkey applique that brings Thanksgiving fun to life.
Techniques Used: Crochet the base shirt in a neutral tone like cream or beige. Create small feather motifs in red, orange, and yellow, and attach them behind a round brown turkey body. Use small black beads or yarn for the eyes.
Where to Use: Perfect for children’s Thanksgiving performances or themed school days.
3. Autumn Leaf Crochet Shirt
A lightweight shirt decorated with crocheted autumn leaves that celebrate the beauty of fall.
Techniques Used: Make the shirt using cotton yarn in mustard yellow or tan. Crochet maple or oak leaves in orange and red, then sew them along the neckline or hem. Use lace stitches for breathability.
Where to Use: Great for outdoor family photos, park visits, or festive gatherings.
4. Cornucopia-Themed Crochet Shirt
A shirt representing the traditional cornucopia filled with harvest fruits and vegetables.
Techniques Used: Crochet a simple shirt base using half double crochet. Add small appliques of crocheted apples, grapes, or corn along the bottom edge or chest area. Use bright yarns to make it cheerful and kid-friendly.
Where to Use: Wonderful for school Thanksgiving events or handmade gifting.
5. Harvest Stripe Crochet Shirt
A colorful striped shirt representing the rich tones of the harvest season.
Techniques Used: Work in rows of alternating fall colors — orange, brown, yellow, and cream — using single or moss stitches. Add ribbed cuffs for a snug and cozy fit. You can also attach small wooden buttons as accents.
Where to Use: Perfect for playtime, schoolwear, or festive casual outfits.
6. “Give Thanks” Crochet Shirt
A meaningful shirt that carries a simple Thanksgiving message for kids.
Techniques Used: Crochet the shirt in plain stitches and use surface crochet or embroidery to spell out “Give Thanks” or “Grateful.” Add small heart or leaf motifs for decoration.
Where to Use: Ideal for classroom celebrations or Thanksgiving craft fairs.
7. Sunflower Crochet Shirt
A cheerful sunflower-themed shirt symbolizing joy, warmth, and harvest.
Techniques Used: Crochet a plain shirt in beige or light brown yarn. Make small sunflower motifs using yellow and brown yarn, and sew them along the shoulders or neckline. Use puff stitches for petal texture.
Where to Use: Great for Thanksgiving picnics, playdates, or outdoor family gatherings.
8. Friendly Scarecrow Crochet Shirt
A fun and creative shirt with a crocheted scarecrow face — perfect for kids who love fall characters.
Techniques Used: Crochet the shirt in light blue yarn. Add a small square patch on the chest representing the scarecrow’s face using beige yarn. Stitch on eyes, a triangle nose, and a big smile. Add straw-like tassels at the sleeves for detail.
Where to Use: Ideal for kids’ Thanksgiving plays, costume days, or family gatherings.
9. Acorn Button Shirt
A cozy crochet shirt with cute acorn buttons or appliques for a woodland-inspired Thanksgiving look.
Techniques Used: Crochet in a solid color like chestnut brown or olive green using double crochet stitches. Add small crocheted acorns as buttons or decorations on the front panel. Use ribbing for cuffs and neckline.
Where to Use: Perfect for school, Thanksgiving dinners, or autumn outings.
10. Maple Leaf Crochet Shirt
A classic fall-themed shirt featuring maple leaf appliques to capture the spirit of the season.
Techniques Used: Crochet the shirt base in cream or ivory yarn. Make red and gold maple leaf motifs and sew them diagonally across the front. Finish with a decorative border on the sleeves.
Where to Use: Great for fall photoshoots, Thanksgiving parties, or handmade gifts.
Tips and Techniques
Yarn Choice: Use soft cotton or baby acrylic yarn to ensure comfort and avoid skin irritation.
Fit: Make shirts slightly loose for kids to move easily.
Stitch Options: Simple stitches like single crochet, half double crochet, and moss stitch work best for durability.
Finishing Touches: Add buttons, appliques, or embroidery to personalize each shirt.
Color Palette: Use Thanksgiving tones — orange, mustard, brown, olive, and cranberry.
Where You Can Use Crochet Shirts for Kids
Thanksgiving Celebrations: Perfect for festive dinners and family gatherings.
School Events: Great for themed dress-up days or art fairs.
Photoshoots: Handmade shirts make adorable Thanksgiving photo outfits.
Gifting: A thoughtful and cozy handmade gift for children.
Craft Sales: Popular items for fall markets or charity events.
How to Make a Crochet Shirt for Kids (Step-by-Step Guide)
How to make a crochet shirt for children.
Materials You Will Need:
1. Soft yarn (cotton or baby acrylic for comfort)
2. Crochet hook (usually 3.5 mm–4.5 mm depending on yarn weight)
3. Measuring tape
4. Stitch markers
5. Yarn needle (for sewing and weaving ends)
6. Scissors
7. Optional: Buttons, appliques, or decorative motifs (pumpkin, leaf, turkey)
Step 1: Take Measurements
Measure your child’s chest, shoulder width, armhole depth, and desired shirt length. Add about 1 inch for ease so the shirt fits comfortably.
Step 2: Make a Gauge Swatch
Crochet a 4x4 inch sample in your chosen stitch to determine how many stitches and rows make one inch. This helps you adjust your starting chain and ensure the correct fit.
Step 3: Start with the Front Panel
Make a foundation chain equal to the child’s chest width (minus 1–2 inches for stretch). Use simple stitches like single crochet (sc) or half double crochet (hdc) for a soft, flexible fabric. Continue crocheting rows until you reach the shirt’s desired length up to the armhole.
Step 4: Shape the Armholes
When you reach the armhole height, decrease a few stitches on both ends every other row to shape the armholes. Continue working straight up until you reach the neckline height.
Step 5: Shape the Neckline
To create the neckline, leave a gap of several stitches in the center and work each shoulder separately for a few rows. This gives the shirt a comfortable neck opening for kids.
Step 6: Make the Back Panel
Repeat the same steps as the front panel. You can keep the neckline higher on the back panel for better coverage and structure.
Step 7: Join the Panels
Align the front and back panels with the right sides facing each other. Sew or slip stitch along the shoulders and sides, leaving openings for the armholes.
Step 8: Add the Sleeves (Optional)
If you want short or long sleeves, attach yarn to the armhole opening and crochet in rounds using single crochet or half double crochet stitches. For a festive look, you can add a scalloped or shell border at the sleeve ends.
Step 9: Finish the Neckline and Bottom Edge
Crochet a border around the neckline and shirt bottom for a neat finish. Use crab stitch, single crochet, or picot edging for decoration.
Step 10: Add Decorations
Make it fun for kids by adding small appliques — a crochet pumpkin, turkey, sunflower, or leaf. You can also attach small wooden buttons for style and convenience.
Step 11: Weave in Ends and Block
Use a yarn needle to weave in all loose ends. Lightly dampen and block the shirt by laying it flat to shape it evenly and improve its drape.
Tips and Techniques:
1. Use soft, non-itchy yarn suitable for children’s sensitive skin.
2. Choose simple stitches to make the shirt lightweight and flexible.
3. For younger kids, make the neckline slightly wider to make dressing easier.
4. Use bright or seasonal colors for a playful, festive look.
5. Add fun textures with bobble, puff, or shell stitches for detail.
Easy Stitch Patterns for Kids’ Shirts:
• Single Crochet (sc): Smooth, tight, and great for solid fabrics.
• Half Double Crochet (hdc): Soft and stretchy — perfect for kids’ tops.
• Moss Stitch: Alternates sc and chain stitches for a textured look.
• Shell Stitch: Creates a decorative edge or panel design.
• Granny Stitch: Perfect for colorful, patterned shirts.
Customization Ideas:
• Add stripes in fall colors (orange, mustard, brown, cream).
• Sew on small crochet appliques like acorns, pumpkins, or leaves.
• Create themed shirts — “Little Turkey,” “Pumpkin Pie Cutie,” or “Grateful Kid.”
• Add ruffles or scalloped edges for a cute touch for girls.
• Use wooden or themed buttons for decoration.
Where to Use Kids’ Crochet Shirts:
• Thanksgiving dinners and family gatherings
• School or daycare fall events
• Casual fall outings or playdates
• Handmade holiday gifts
• Photoshoots and special memories