

Snow Globe Paper Craft Ideas for December Classroom Activities
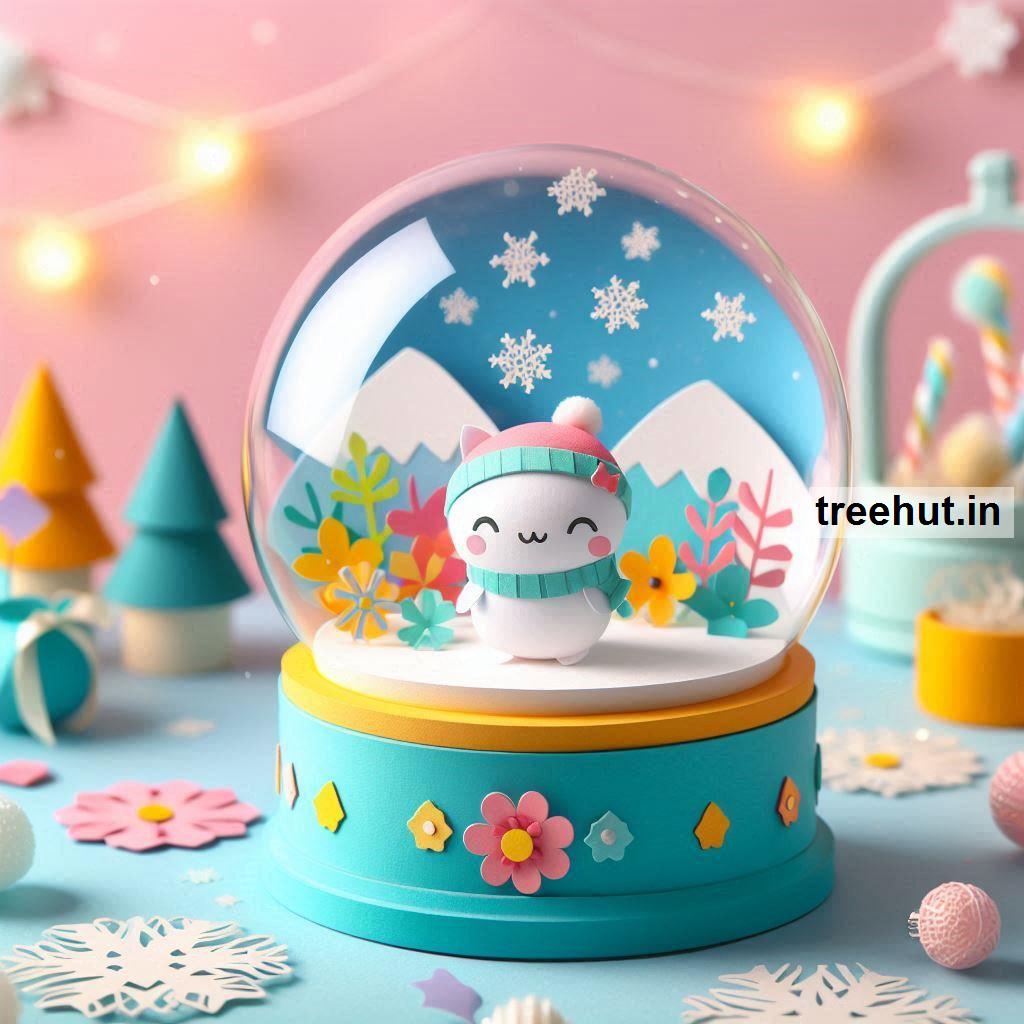
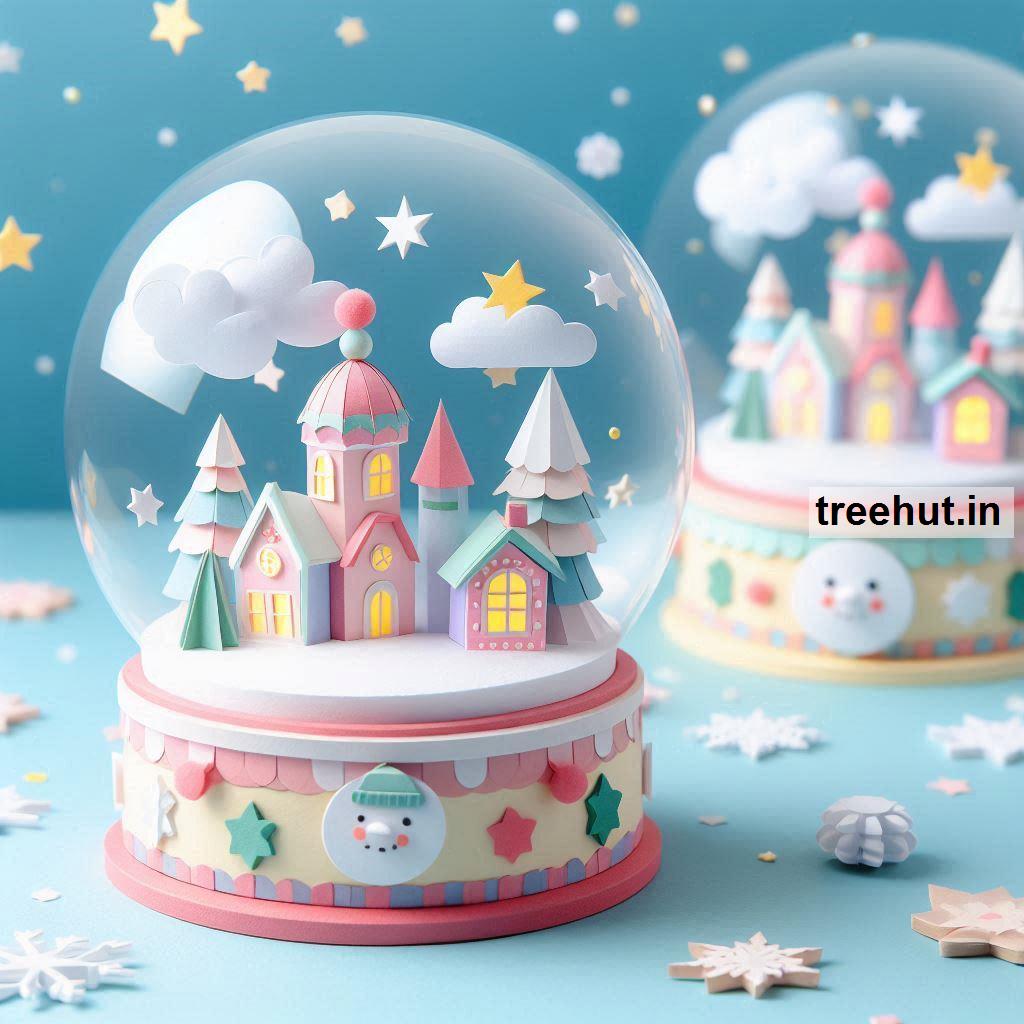
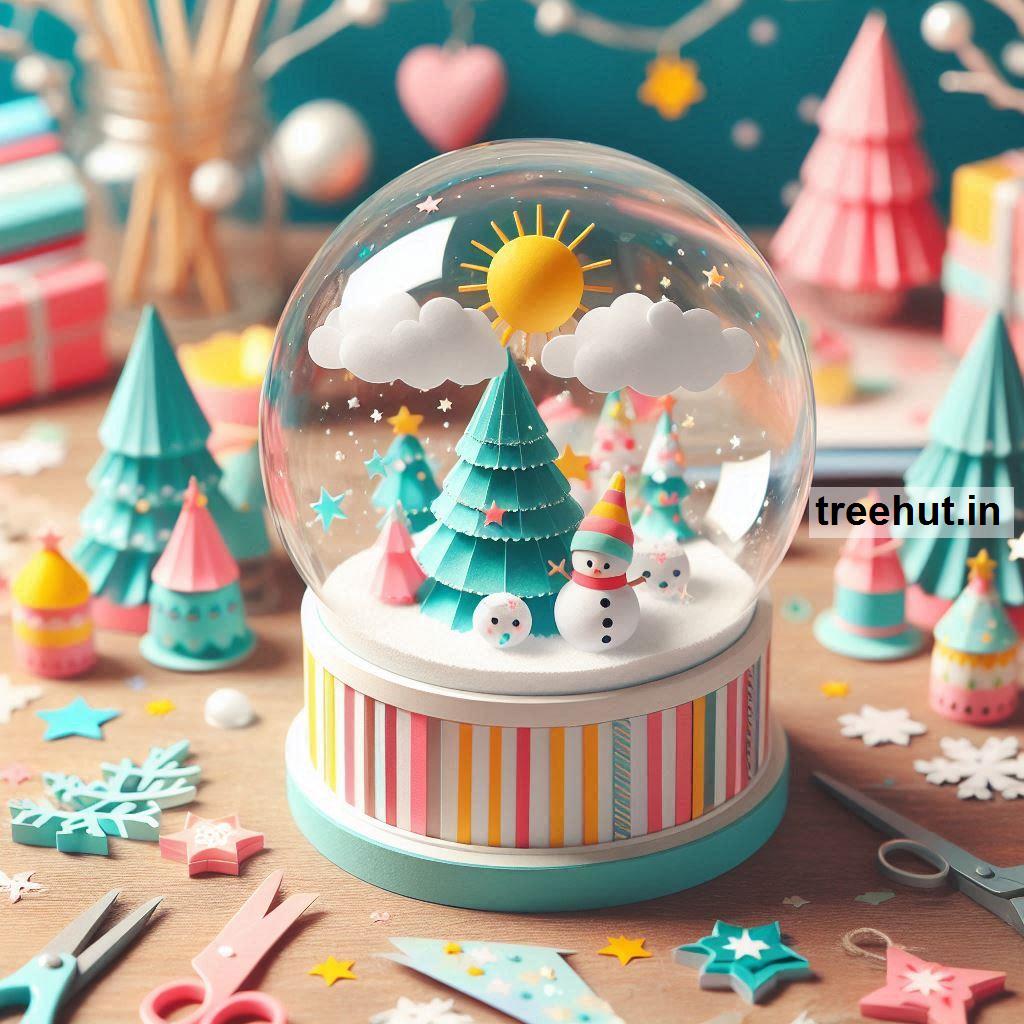
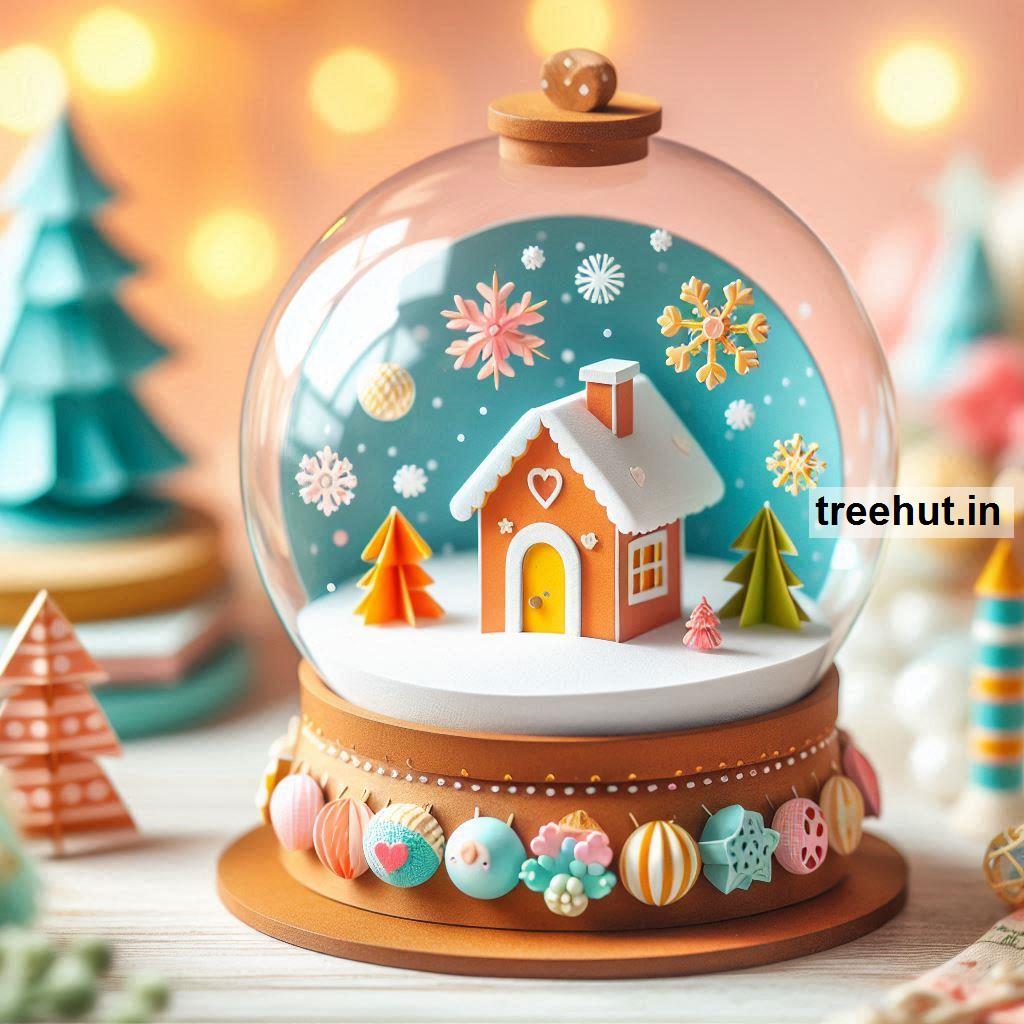
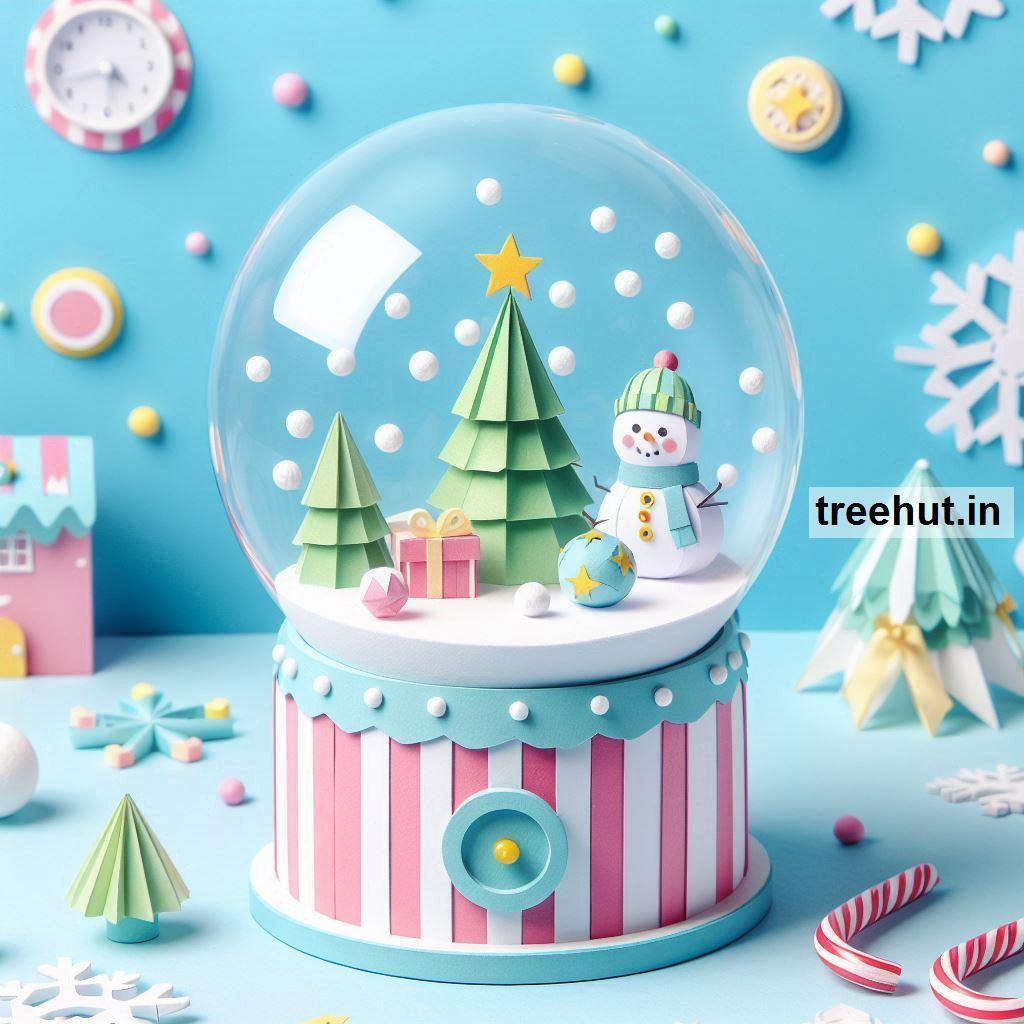
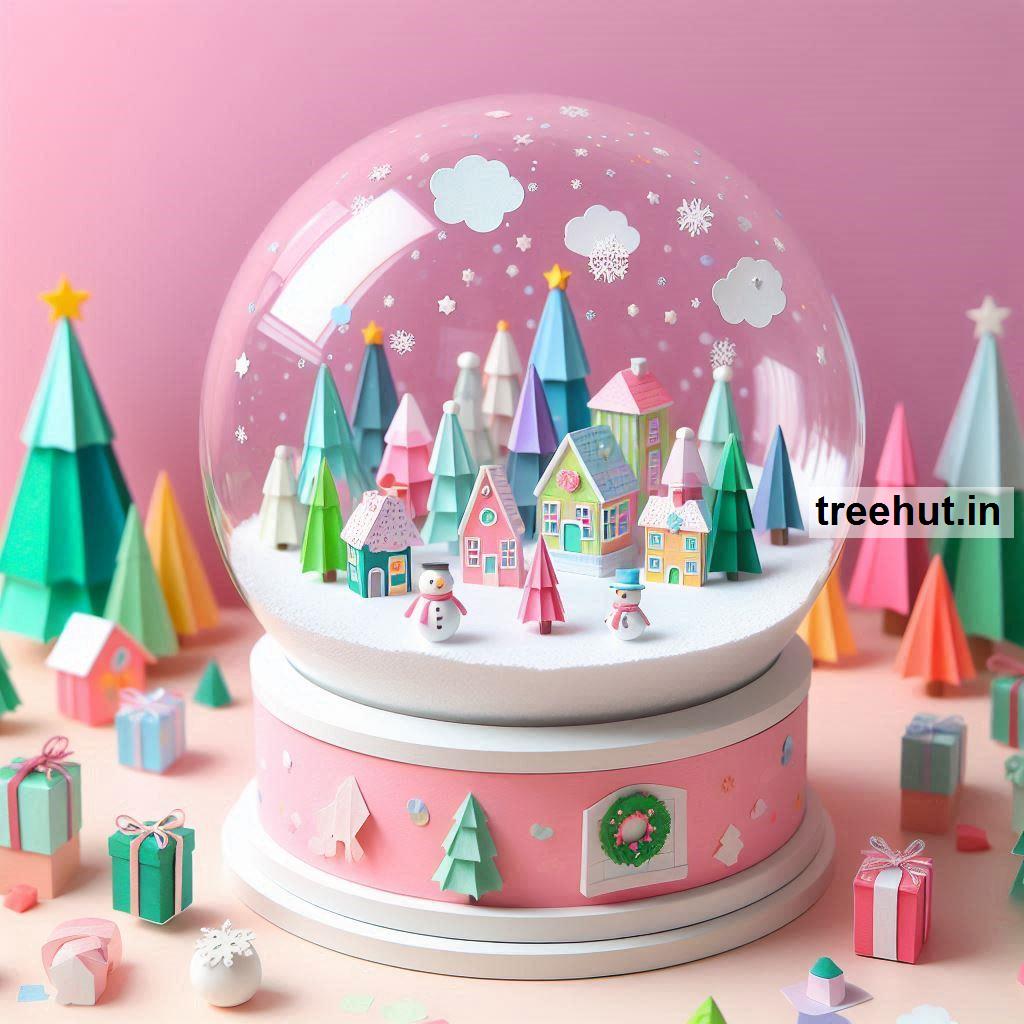
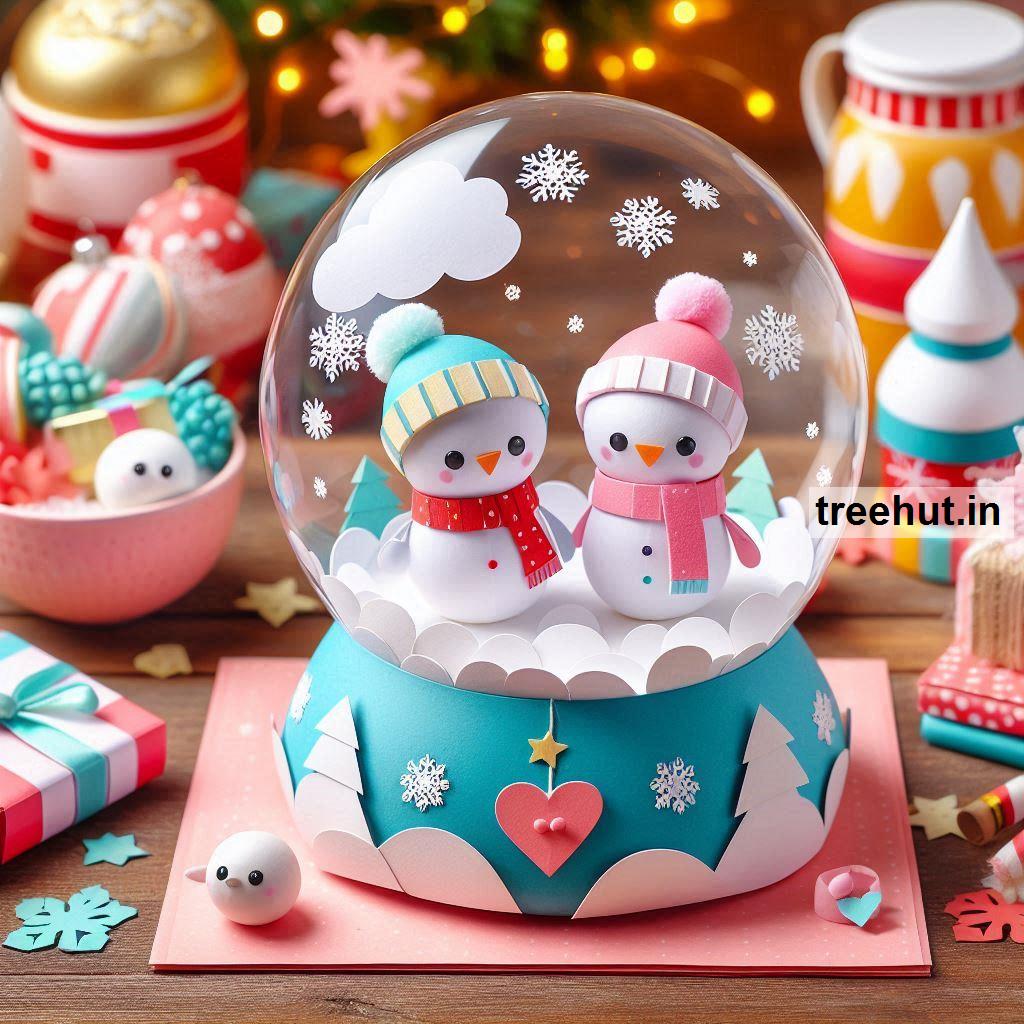
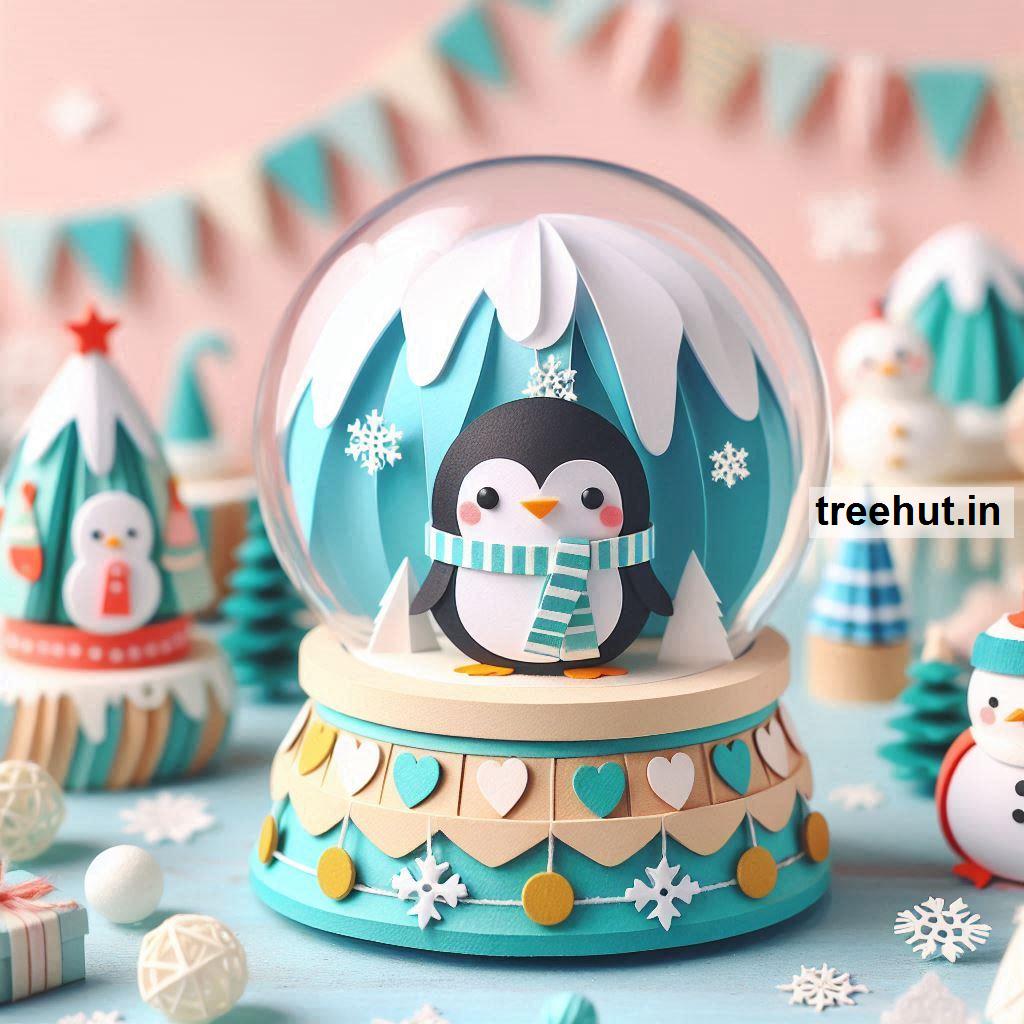
Snow Globe Paper Craft Ideas perfect for December classroom activities:
1. Classic Paper Snow Globe
- Materials: Cardstock, scissors, glue, markers
- How-To:
- Cut a circle (globe) and a rectangle (base) from cardstock.
- Draw or glue winter-themed scenes (trees, snowmen, houses) inside the globe.
- Add dots of white paint or glitter for snow.
- Tip: Use clear cellophane over the circle for a "glass" effect.
2. 3D Layered Snow Globe
- Materials: Cardstock, foam stickers, glue
- How-To:
- Create multiple layers of a snow globe scene (e.g., background, middle ground, and foreground).
- Assemble the layers using foam stickers for a 3D effect.
- Attach the globe to a decorated paper base.
- Tip: Include elements like raised snowflakes or pop-up characters.
3. Window Snow Globe
- Materials: Transparent plastic sheets, paper, glitter, markers
- How-To:
- Cut two circles, one from cardstock and one from plastic.
- Draw a winter scene on the cardstock and glue the plastic on top.
- Add glitter or sequins between the layers for a snow effect.
- Tip: Use tape to seal the edges securely.
4. Paper Plate Snow Globe
- Materials: Paper plates, construction paper, glue, glitter
- How-To:
- Cut a window from the center of a paper plate.
- Glue a winter scene to a second plate and attach it behind the window.
- Decorate the edge with glitter or cotton balls for snow.
- Tip: Create a movable "snow shaker" by adding a second layer of plastic and loose glitter.
5. Personalized Photo Snow Globe
- Materials: Photos, paper, scissors, laminator (optional)
- How-To:
- Place a small photo of each student inside their globe.
- Surround the photo with hand-drawn or printed winter decorations.
- Laminate for durability or use clear adhesive to seal the globe.
- Tip: Write each student's name on the base for a personal touch.
6. Accordion Snow Globe
- Materials: Paper, scissors, markers
- How-To:
- Fold a strip of paper accordion-style and cut out identical snow globe shapes.
- Decorate each globe with a different winter scene.
- Unfold to reveal a chain of connected snow globes.
- Tip: Hang as a festive classroom garland.
7. Snow Globe Card
- Materials: Folded cardstock, glitter, markers
- How-To:
- Create a snow globe design on the front of the card.
- Add a simple pop-up winter scene inside.
- Sprinkle glitter on the front for added sparkle.
- Tip: Let students write holiday messages inside the card.
8. Recycled CD Snow Globe
- Materials: Old CDs, construction paper, glitter, glue
- How-To:
- Use a CD as the base of the snow globe.
- Decorate one side with a winter scene using paper cutouts and glue.
- Add glitter and seal the design with clear plastic or cellophane.
- Tip: Attach a loop of ribbon for hanging.
9. Pop-Up Snow Globe
- Materials: Cardstock, glue, markers
- How-To:
- Cut out two identical snow globe shapes.
- Fold one in half and attach it inside the other to create a pop-up effect.
- Decorate the inside with 3D paper elements.
- Tip: Add a small stand to display the snow globe upright.
10. Giant Classroom Snow Globe
- Materials: Large bulletin board paper, markers, paper cutouts
- How-To:
- Create a life-sized snow globe on a bulletin board or wall.
- Have students design and add their own winter-themed decorations inside the globe.
- Cover the globe with clear plastic for a realistic touch.
- Tip: Use this as a collaborative art project.
11. Interactive Snow Globe
- Materials: Paper, brads, markers
- How-To:
- Create a snow globe with movable elements, such as a spinning snowflake or a rotating base.
- Attach pieces with brads to allow for movement.
- Add interactive labels or captions.
- Tip: Encourage students to share stories about their designs.
12. Hanging Snow Globe Ornaments
- Materials: Paper, string, glue
- How-To:
- Cut out small snow globe shapes and decorate them.
- Punch a hole at the top and add a string for hanging.
- Hang them on a classroom holiday tree or display.
- Tip: Use both sides of the snow globe for a double-sided design.
These crafts will engage students in creative, hands-on learning while adding a wintery charm to your classroom decor!