


Snowflake Paper Craft Ideas for December Classroom Activities
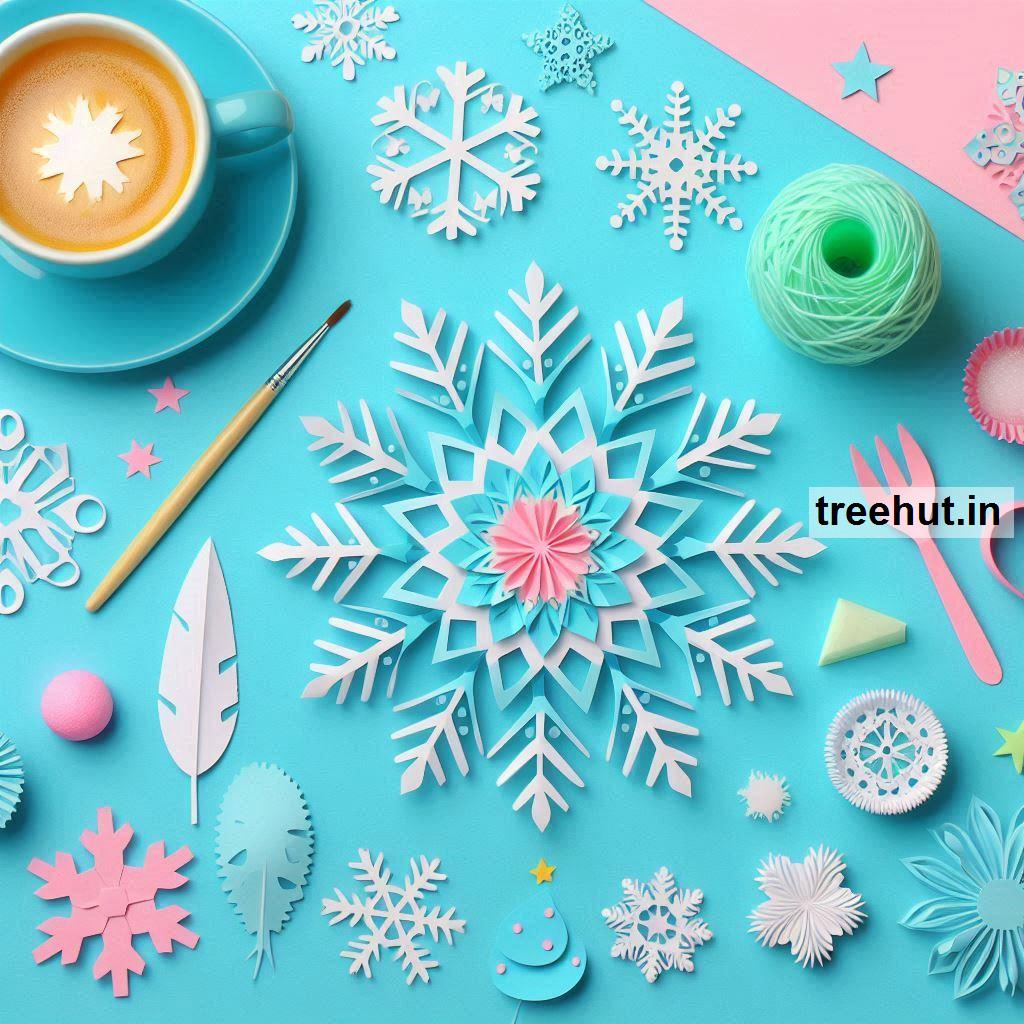
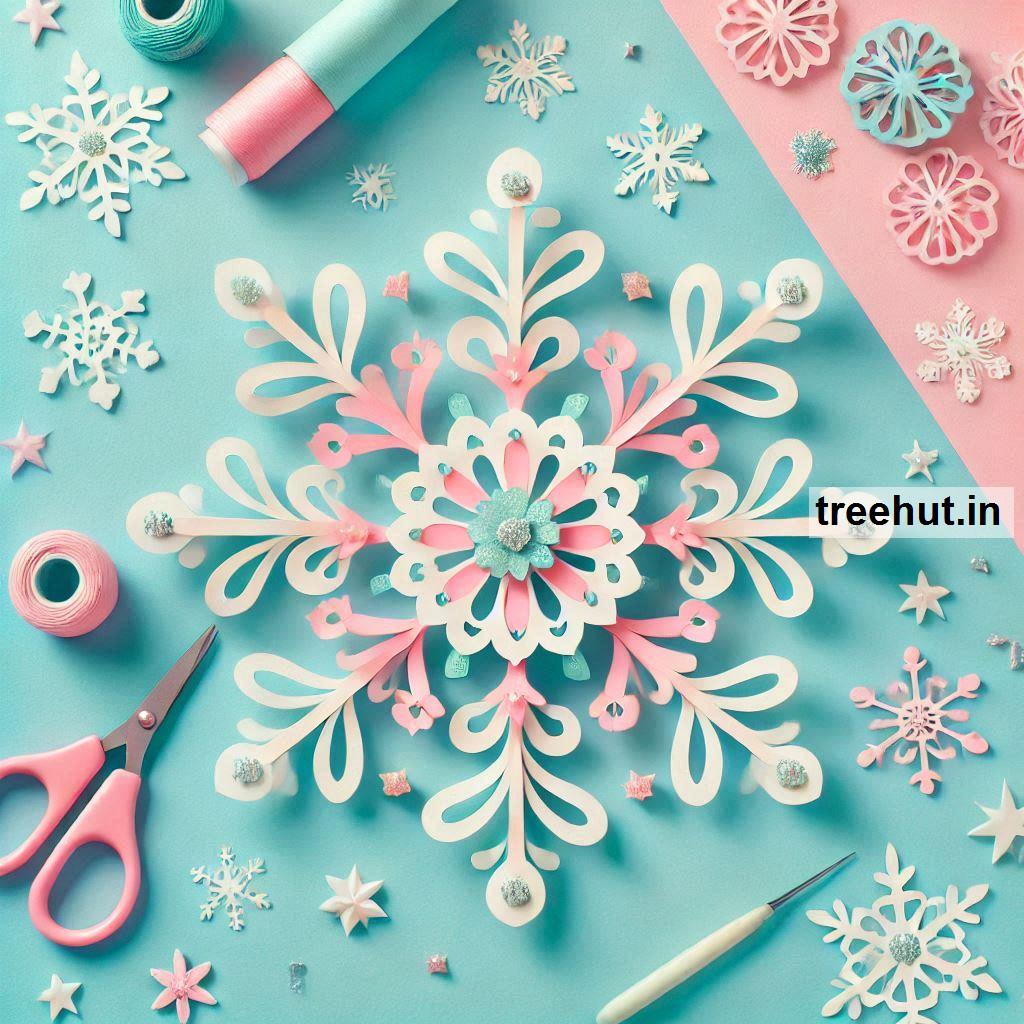
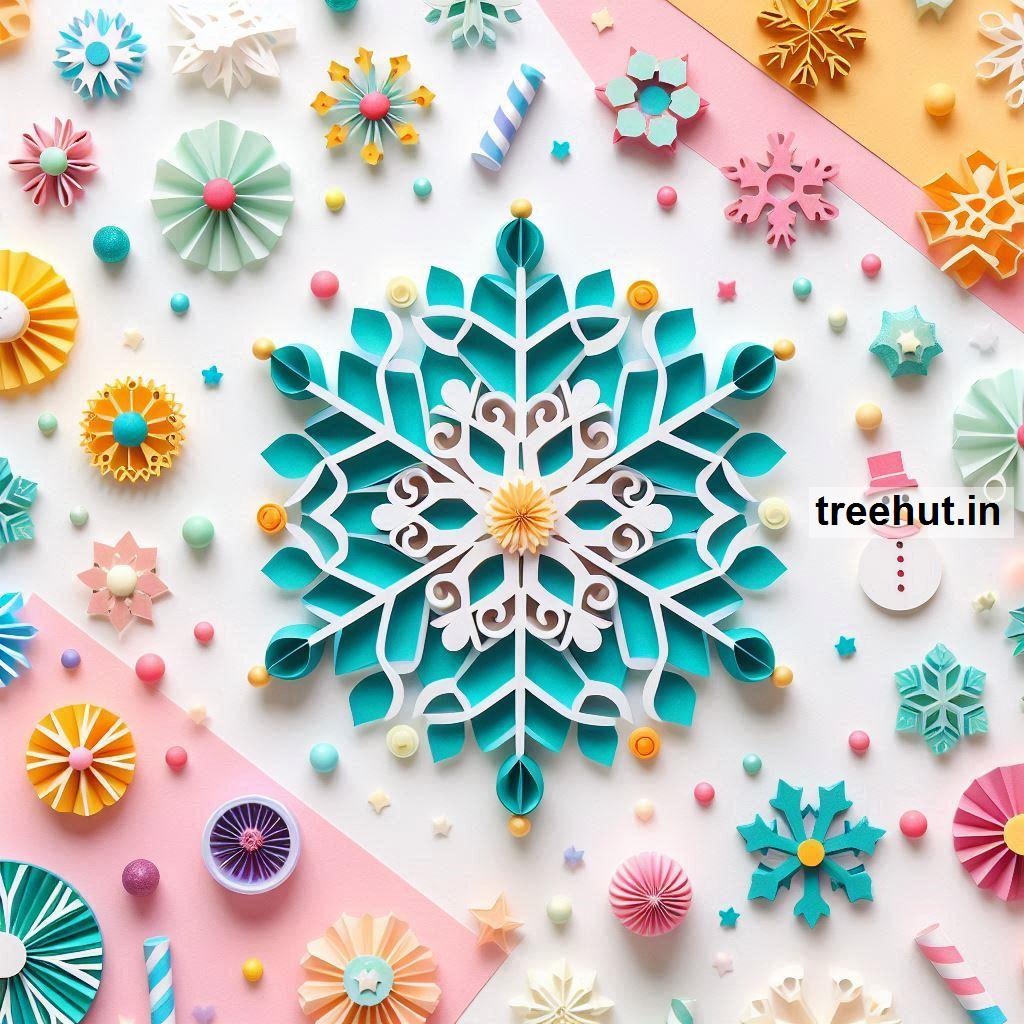
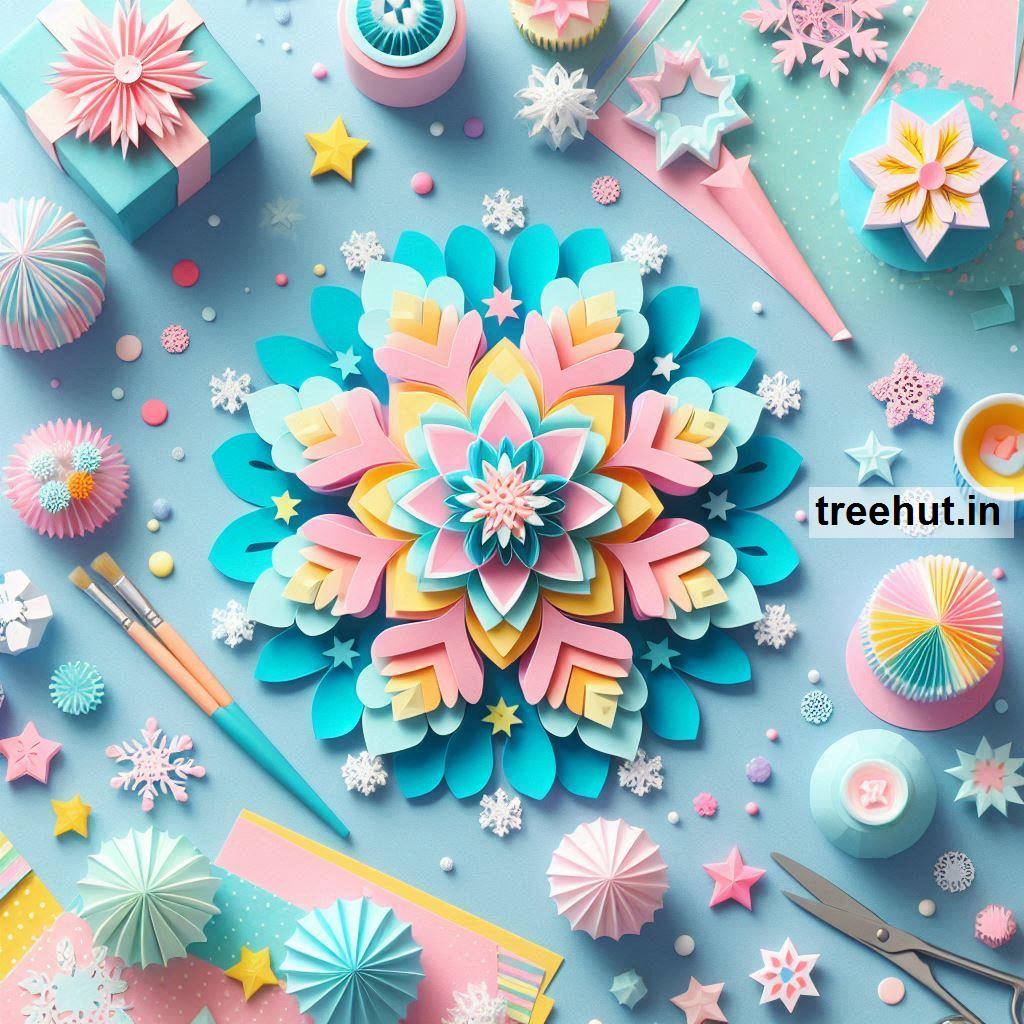
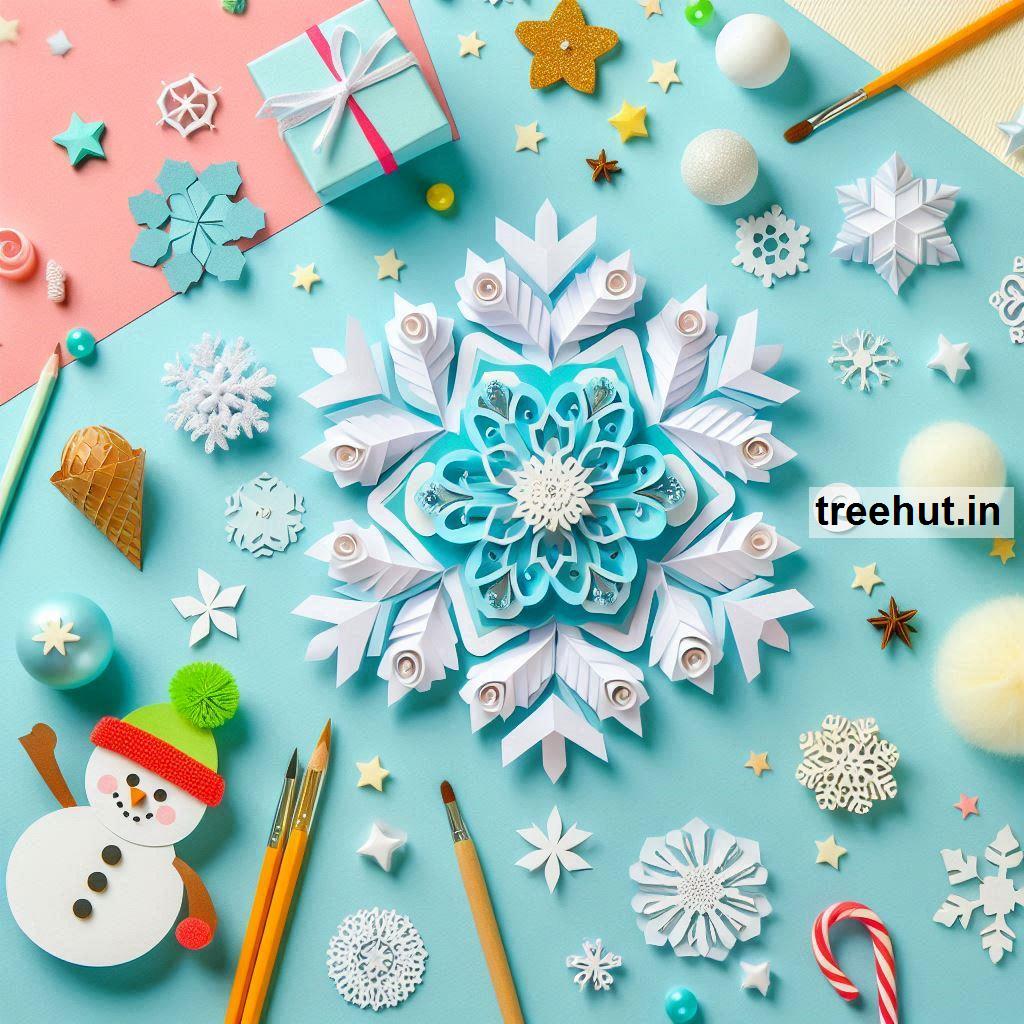
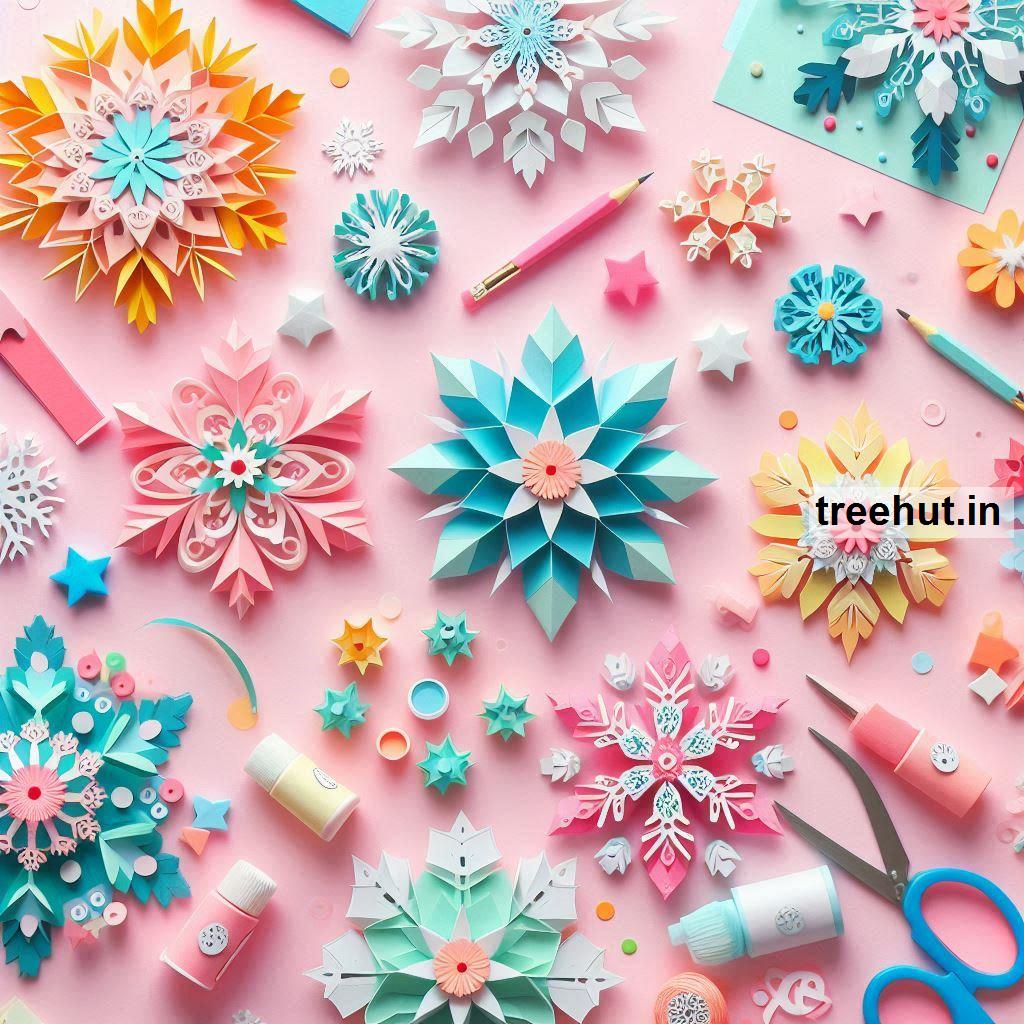
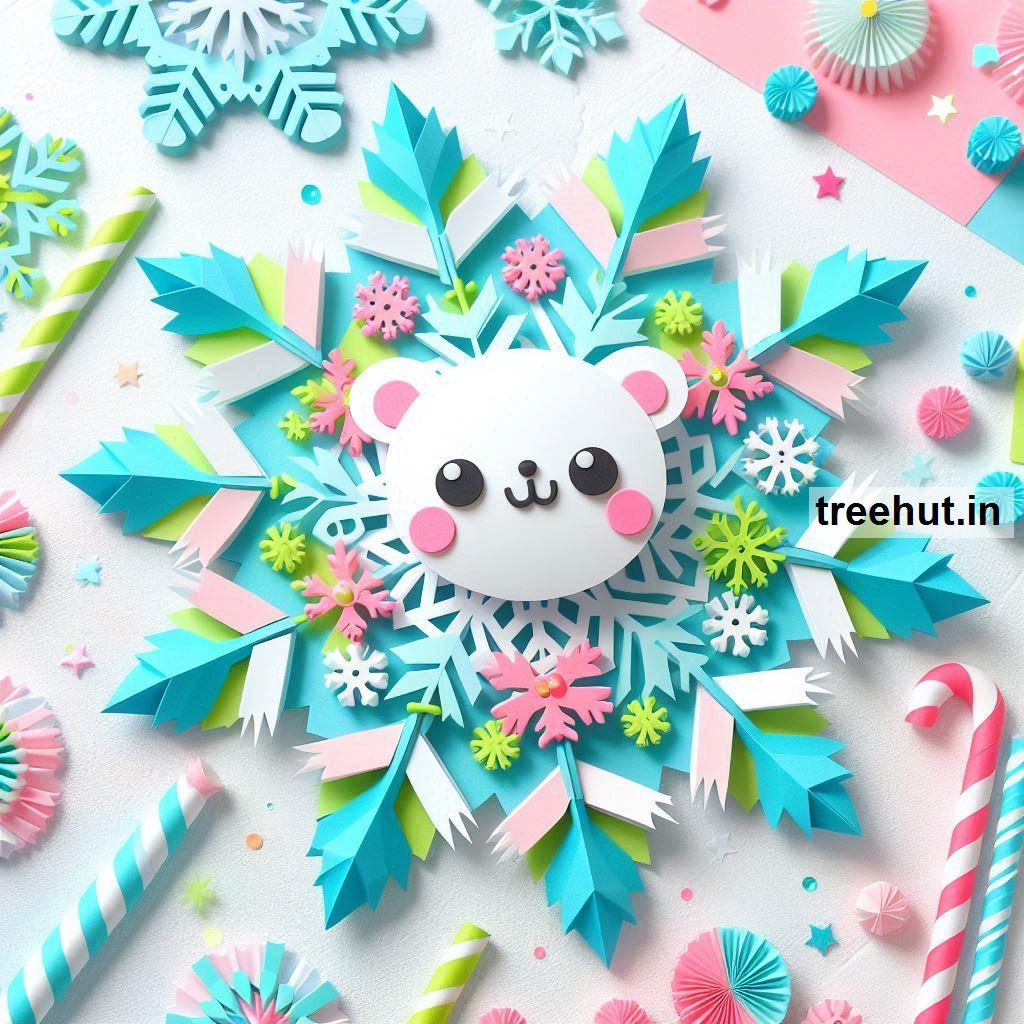
Snowflake Paper Craft Ideas for December classroom activities:
1. Classic Fold-and-Cut Snowflakes
- Materials: White paper, scissors
- How-To:
- Fold square paper into a triangle multiple times.
- Cut small shapes along the folded edges.
- Unfold to reveal intricate snowflake designs.
- Tip: Use glitter glue to add sparkle along the edges.
2. 3D Paper Snowflakes
- Materials: White paper, glue, scissors
- How-To:
- Cut six square pieces of paper.
- Fold each into triangles and cut slits along the folded edges.
- Unfold and glue alternating strips together to form loops.
- Combine the six pieces to create a 3D snowflake.
- Tip: Use metallic or colored paper for a modern twist.
3. Layered Snowflakes
- Materials: Cardstock, scissors, glue
- How-To:
- Cut out multiple snowflake shapes in different sizes.
- Layer the snowflakes on top of each other and glue at the center.
- Decorate with sequins or rhinestones.
- Tip: Use contrasting colors like white and silver for a striking effect.
4. Popsicle Stick Snowflakes
- Materials: Popsicle sticks, paint, glue, glitter
- How-To:
- Arrange and glue popsicle sticks in a snowflake pattern.
- Paint them white or silver.
- Sprinkle glitter while the paint is wet.
- Tip: Attach a string for hanging on the classroom walls.
5. Yarn Snowflakes
- Materials: Cardboard, yarn, glue
- How-To:
- Cut a snowflake shape from cardboard.
- Wrap yarn around the cardboard to create texture.
- Decorate with small beads or buttons.
- Tip: Use blue and white yarn for a frosty effect.
6. Snowflake Garland
- Materials: Paper, scissors, string
- How-To:
- Create several fold-and-cut snowflakes.
- Attach them to a string or ribbon using glue or tape.
- Hang the garland across the classroom.
- Tip: Alternate snowflake sizes for visual interest.
7. Glitter Snowflakes
- Materials: Cardstock, glitter glue
- How-To:
- Draw or trace a snowflake shape onto cardstock.
- Outline and fill in the design with glitter glue.
- Let it dry and cut it out.
- Tip: Use holographic glitter for extra shimmer.
8. Coffee Filter Snowflakes
- Materials: Coffee filters, scissors, markers, water spray
- How-To:
- Fold the coffee filter and cut out snowflake shapes.
- Decorate with washable markers.
- Spray lightly with water to create a tie-dye effect.
- Tip: Flatten the filter once dry and hang as decor.
9. Button Snowflakes
- Materials: Cardstock, buttons, glue
- How-To:
- Draw a snowflake outline on paper.
- Glue buttons of various sizes and colors along the design.
- Frame the finished piece as classroom artwork.
- Tip: Use all-white buttons for a clean, elegant look.
10. Handprint Snowflakes
- Materials: Paper, scissors, glue
- How-To:
- Trace and cut out several handprints from white paper.
- Arrange the handprints in a circular pattern like a snowflake.
- Glue the pieces together and add glitter for a frosty touch.
- Tip: Write students’ names on their handprints for personalization.
11. Pipe Cleaner Snowflakes
- Materials: Pipe cleaners, beads
- How-To:
- Twist pipe cleaners into a snowflake shape.
- Thread beads onto the pipe cleaners for decoration.
- Attach a string to hang them.
- Tip: Use metallic pipe cleaners for extra shine.
12. Tissue Paper Snowflakes
- Materials: Tissue paper, glue, scissors
- How-To:
- Fold and cut tissue paper into snowflake patterns.
- Layer several tissue snowflakes for a dimensional effect.
- Use them to decorate windows for a frosty look.
- Tip: Spray lightly with hairspray to stiffen the tissue paper.
13. Snowflake Suncatchers
- Materials: Wax paper, glue, glitter
- How-To:
- Draw a snowflake design on wax paper.
- Fill in the design with glue and sprinkle glitter.
- Let it dry completely before peeling off the wax paper.
- Tip: Use colorful glitter to make it stand out.
14. Origami Snowflakes
- Materials: Origami paper
- How-To:
- Follow a simple origami snowflake folding tutorial.
- Use white or pastel-colored paper.
- Decorate the finished piece with tiny stickers or glitter.
- Tip: Challenge students to create unique designs.
15. Snowflake Mobiles
- Materials: Fishing line, paper, beads, embroidery hoop
- How-To:
- Cut out several paper snowflakes.
- Attach them to fishing line and hang them from an embroidery hoop.
- Decorate the hoop with ribbon or tinsel.
- Tip: Hang the mobile near a light source for a magical effect.
These snowflake crafts will bring a wintry charm to your classroom while letting students practice creativity and fine motor skills!