

Santa Claus Paper Craft Ideas for December Classroom Activities
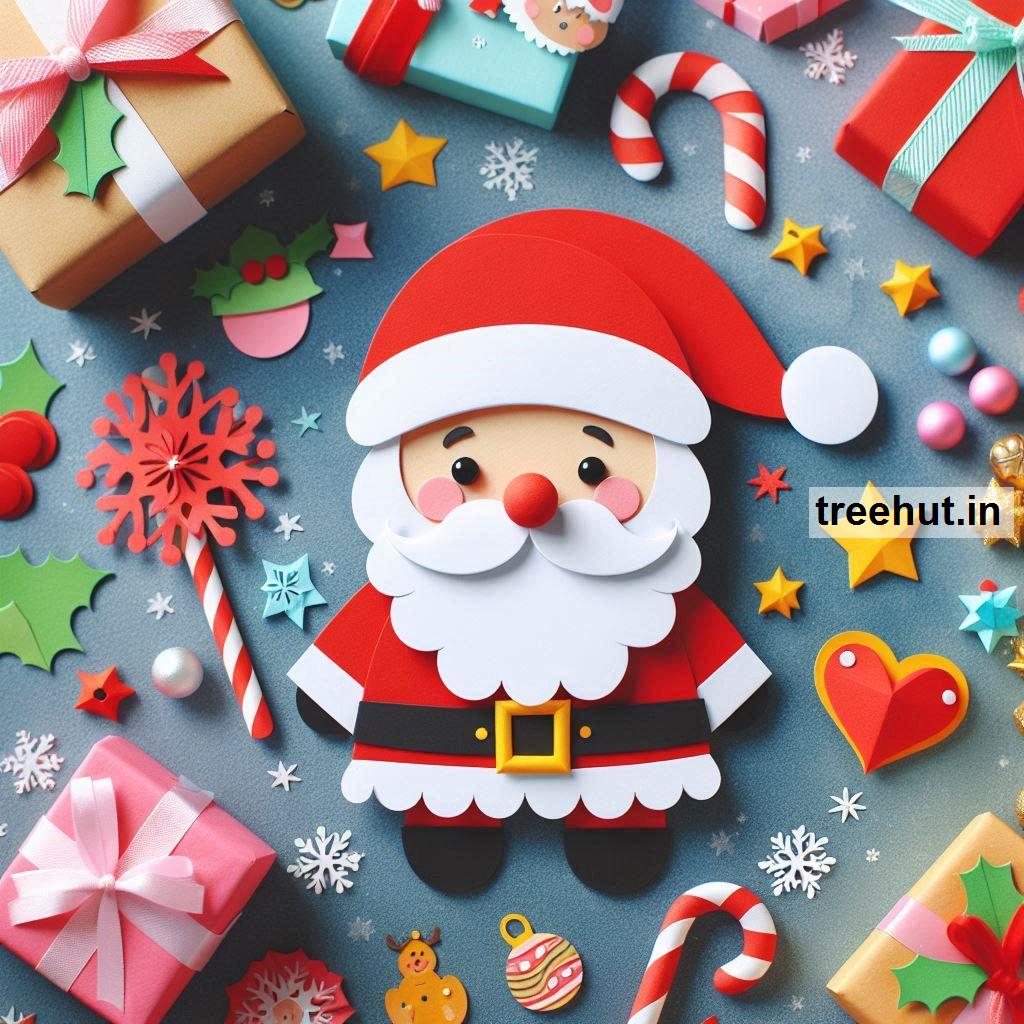







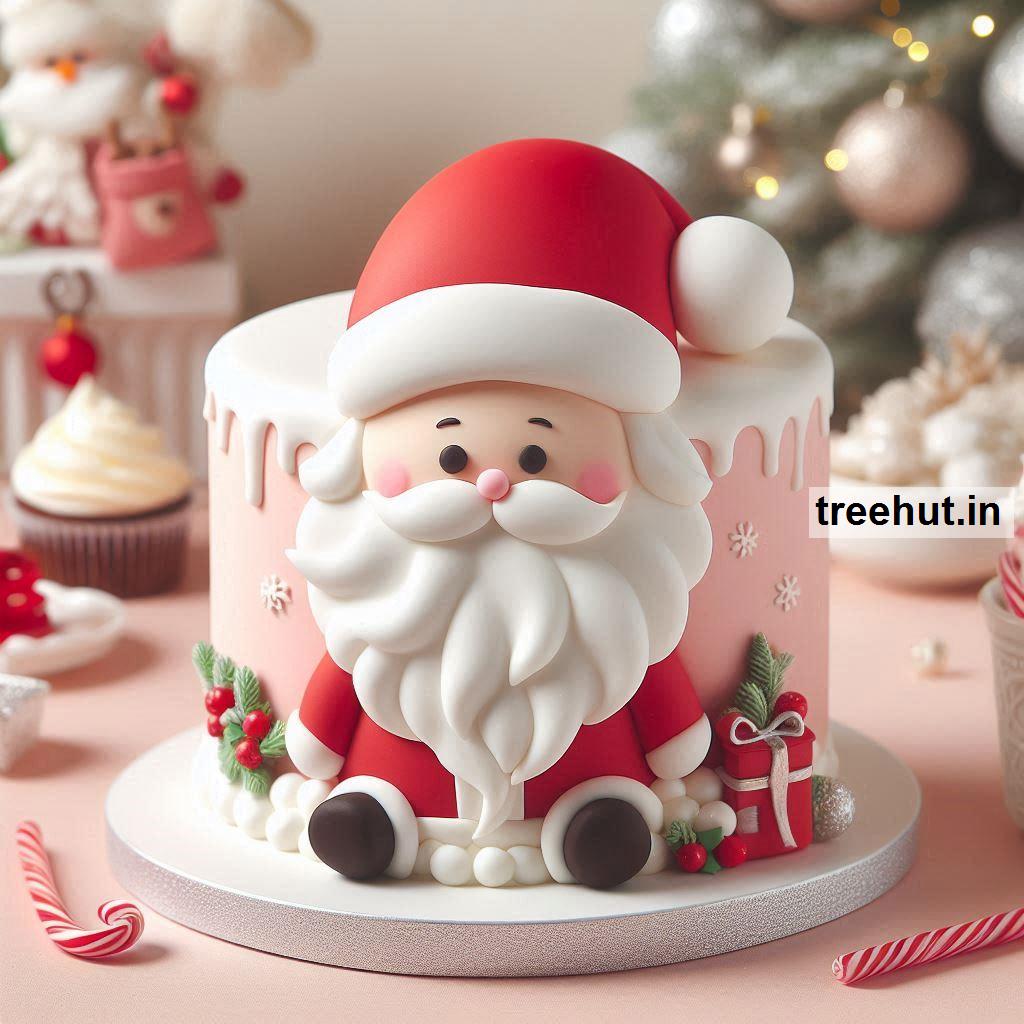
Christmas Santa Claus Paper Craft is a fun and festive way to celebrate the holiday season!
1. Simple Santa Claus Face Craft
- Materials: White construction paper, red construction paper, black markers, glue, scissors, cotton balls, googly eyes
- How-To:
- Cut a large circle from white paper to form Santa's face.
- Use red construction paper to cut out a triangle shape for Santa's hat. Attach it to the top of the face circle.
- Glue cotton balls along the base of the hat and around the beard to create Santa's fluffy look.
- Add googly eyes and a pink or red paper nose.
- Draw or glue a mouth and eyebrows with a black marker to complete the face.
- Optionally, you can also add a pom-pom on top of the hat.
- Tip: This craft is great for young kids to make simple Santa faces with minimal effort.
2. Santa Claus Handprint Craft
- Materials: Red, white, and black construction paper, scissors, glue, cotton balls, a pink marker or paint
- How-To:
- Use a child's handprint as the base of the craft by tracing it on red construction paper.
- Cut out the handprint shape and attach it to the top of a piece of white paper (this will be Santa's body).
- Cut out a beard shape from white paper and glue it under the handprint (this becomes Santa’s fluffy beard).
- Add cotton balls around the edges of the handprint to represent the fur of Santa’s sleeves.
- Cut out small circles from black paper and glue them on for buttons.
- Use pink to color the cheeks and finish with a red paper hat, a fluffy cotton ball pom-pom on top.
- Tip: This craft is a fun and personalized keepsake for the holiday season.
3. Santa Claus Paper Plate Craft
- Materials: Paper plate, red and white construction paper, cotton balls, glue, scissors, googly eyes, red marker
- How-To:
- Paint the entire paper plate red or cover it with red construction paper.
- Cut out a white beard, mustache, and fluffy trim from white paper. Glue these onto the lower half of the plate.
- Use a red construction paper triangle to form Santa’s hat, adding a cotton ball at the tip for the pom-pom.
- Glue googly eyes onto the plate.
- Use a red marker to add a nose in the center of the face.
- Glue cotton balls along the beard and hat to give them a fluffy, 3D effect.
- Tip: You can also use felt for a more textured beard or hat.
4. Santa Claus Pop-Up Card
- Materials: Red, black, white, and beige paper, scissors, glue, card stock
- How-To:
- Fold a piece of card stock to make a greeting card.
- Cut out Santa's face from beige paper (a circle or oval shape) and glue it to the front of the card.
- For the pop-up effect, cut a strip of paper and fold it accordion-style. Attach it inside the card so that Santa’s hat and face pop out when the card is opened.
- Add a fluffy beard, mustache, and a red hat with a white pom-pom using paper or cotton balls.
- You can also add a festive message inside, like “Merry Christmas” or “Ho Ho Ho.”
- Tip: This craft can be personalized with a hand-written message inside the card for friends or family.
5. Santa Claus Paper Roll Craft
- Materials: Empty toilet paper roll, red and white paper, scissors, glue, cotton balls, black marker
- How-To:
- Cover the toilet paper roll with red paper to form Santa’s body.
- Cut out a strip of white paper and glue it along the top and bottom edges of the roll to create the fluffy fur of Santa’s coat.
- Attach a cotton ball at the top of the roll to create Santa’s fluffy pom-pom hat.
- Use black marker to draw eyes, a nose, and a mouth, or glue on googly eyes.
- Glue on a white paper beard or use cotton balls for the beard.
- Tip: You can make several of these as Christmas tree ornaments or table decorations!
6. Santa Claus 3D Craft (Paper Cone Santa)
- Materials: Red, white, and black construction paper, glue, scissors, cotton balls, pencil
- How-To:
- Roll a piece of red construction paper into a cone shape, securing it with glue.
- Cut a wide strip of white paper and glue it around the base of the cone to form the fluffy trim of Santa’s coat.
- Add a cotton ball to the tip of the cone for Santa’s pom-pom hat.
- Use black paper to create a belt and a gold or yellow paper buckle.
- Cut out facial features from white and pink paper, or use markers and googly eyes to create Santa’s face.
- Tip: This craft can be used as a 3D centerpiece or hanging ornament.
7. Santa Claus Silhouette Craft
- Materials: Black construction paper, white paper, scissors, glue, cotton balls, red paper
- How-To:
- Cut out a Santa face silhouette from black construction paper.
- On white paper, cut out a fluffy beard and mustache and glue them onto the Santa silhouette.
- Cut out a red triangle for the hat and a white cotton ball for the pom-pom.
- Add googly eyes and a nose.
- Optionally, you can glue this onto a red paper background or frame it for display.
- Tip: Create a few different designs to create a Santa Claus family collage.
8. Santa’s Workshop Craft
- Materials: Red, green, and yellow construction paper, scissors, glue, cotton balls, markers
- How-To:
- Start by creating a simple workshop background using green and yellow paper for walls and windows.
- Make Santa by cutting out red paper for the suit, white for the beard and cuffs, and a black strip for the belt.
- Glue Santa’s face onto the red suit and add his hat with a cotton ball pom-pom at the top.
- Decorate the workshop with cut-out tools, toys, or other fun Christmas items.
- Tip: This craft can be turned into a larger Christmas scene by adding other characters like reindeer or elves.
These Santa Claus Paper Craft Ideas are perfect for all ages and skill levels, making them a great activity for kids, classrooms, or family gatherings. Whether you're creating a simple face or a full 3D model, these crafts will add holiday cheer to your decorations.