
Christmas Elf Paper Craft Ideas, Christmas Decoration Ideas for Family Activity and Classroom Activity
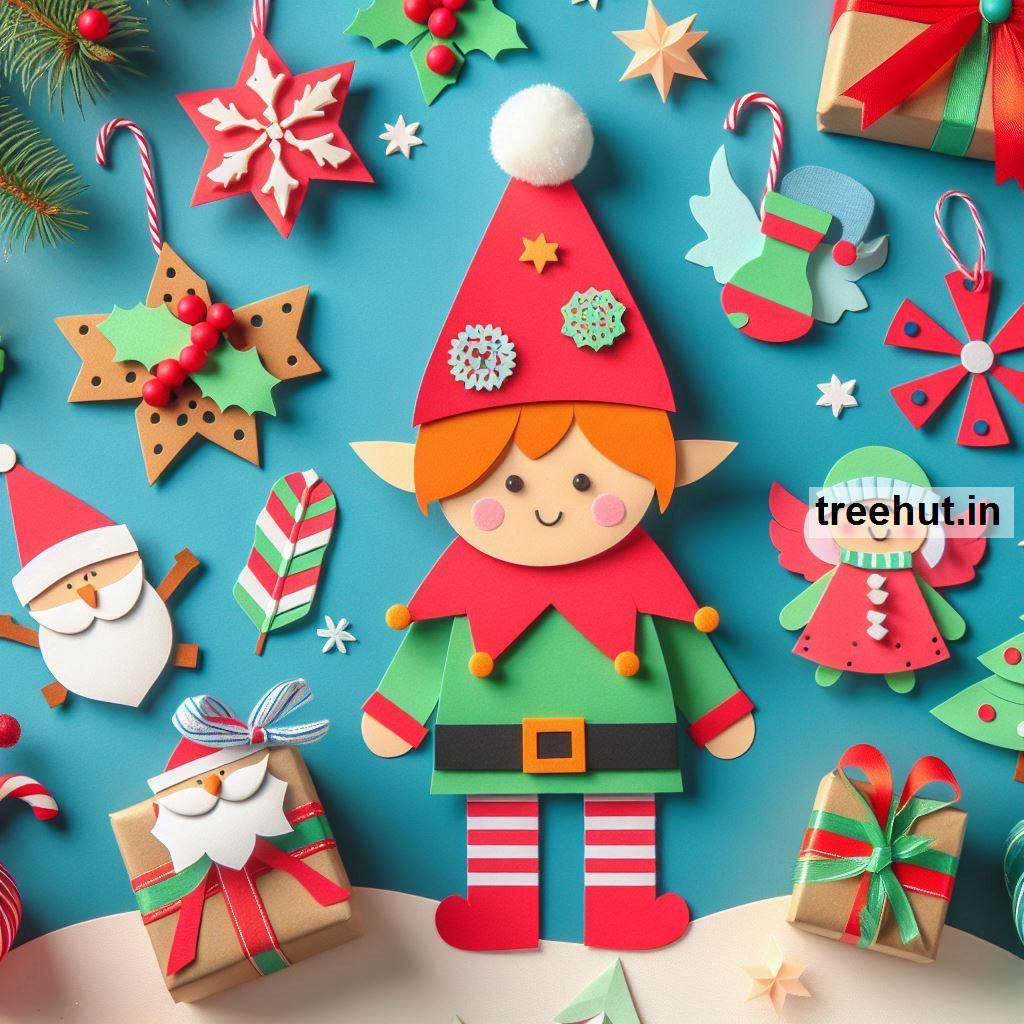
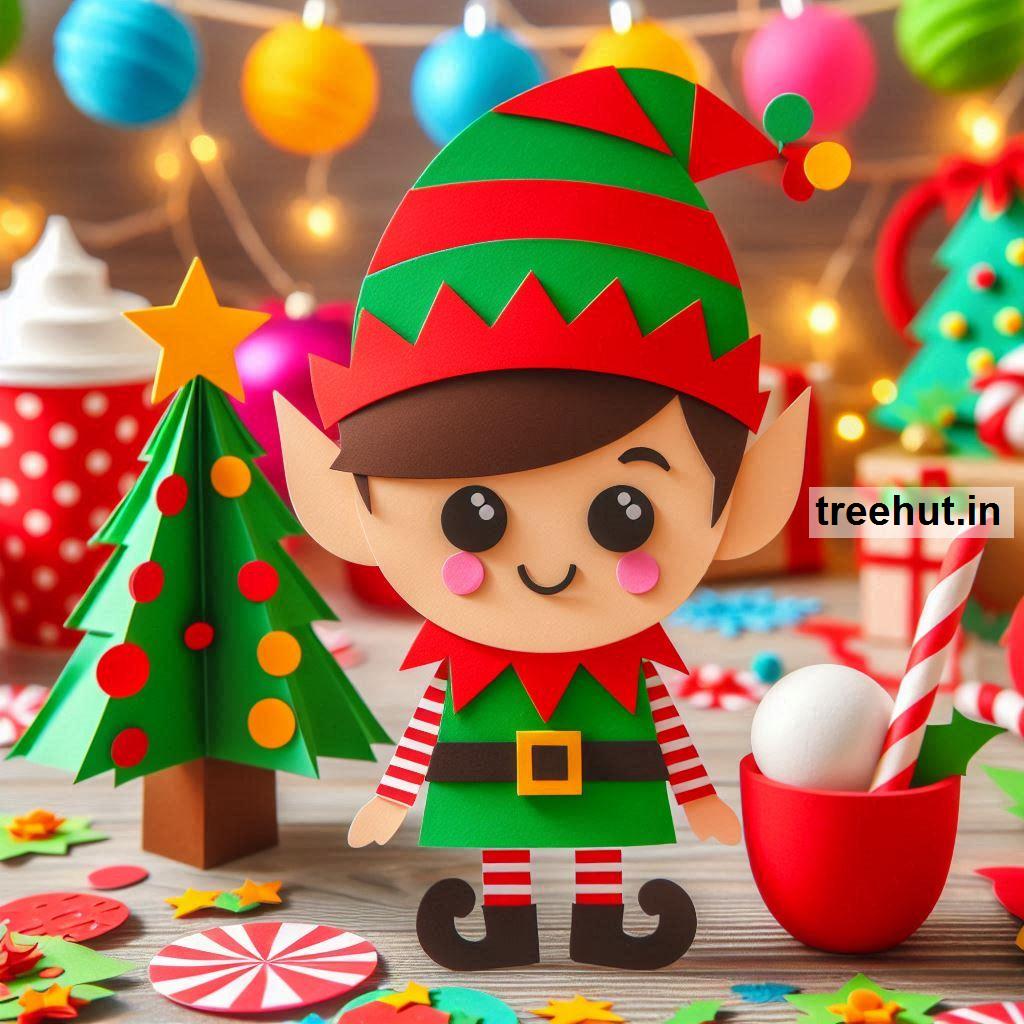
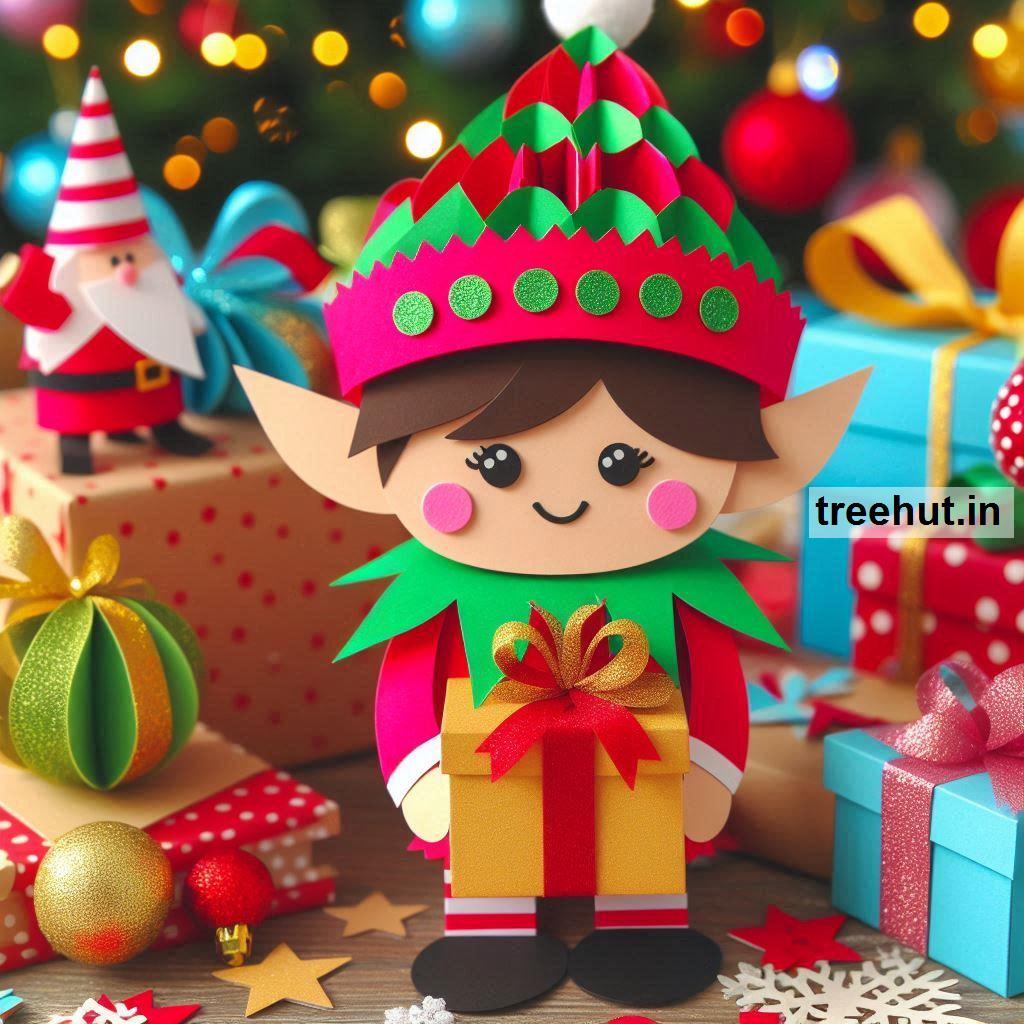
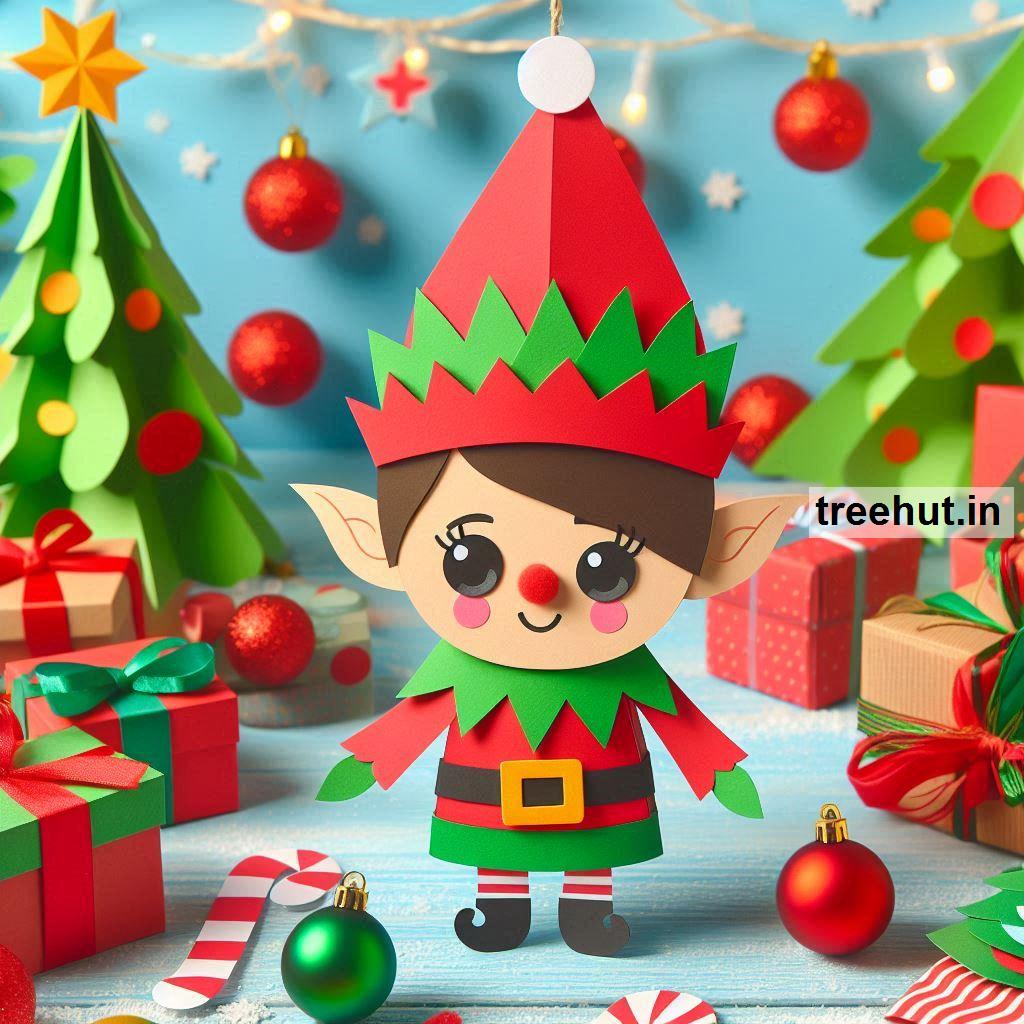
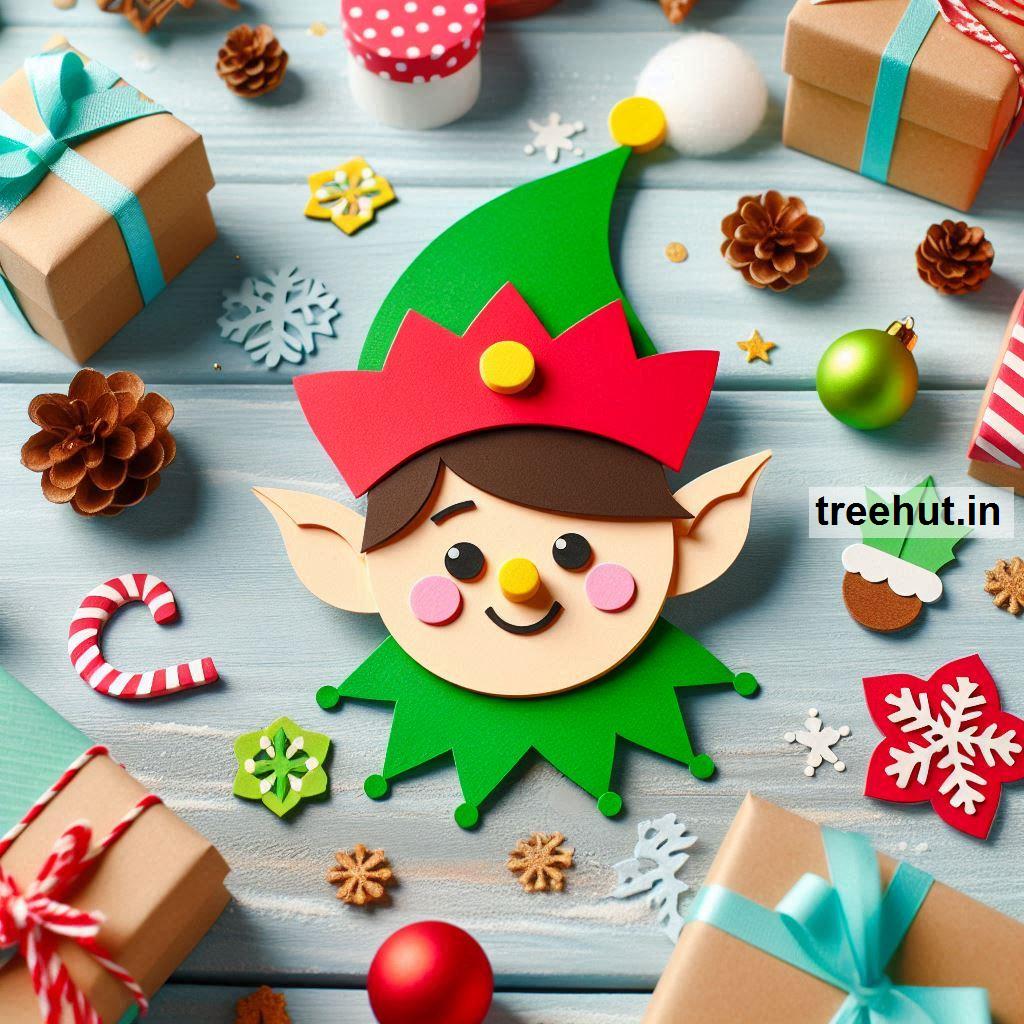
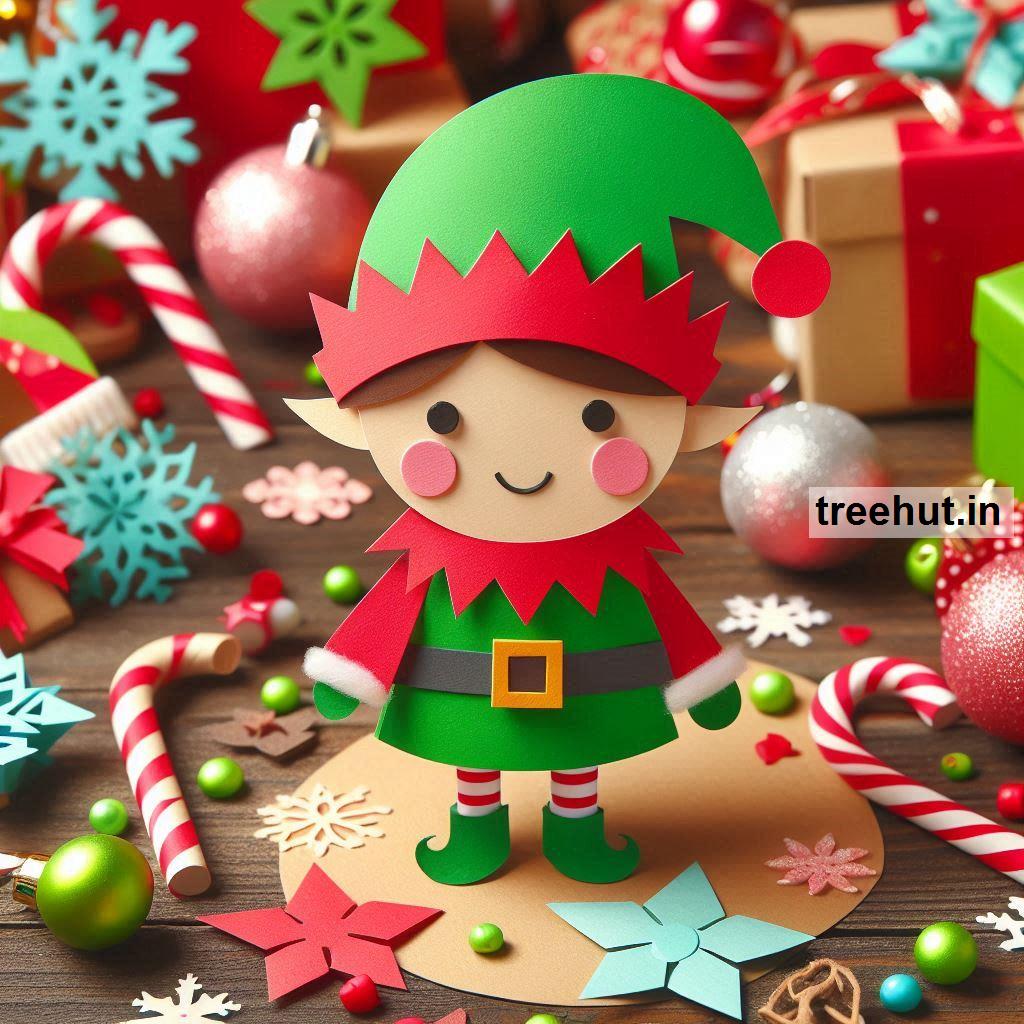
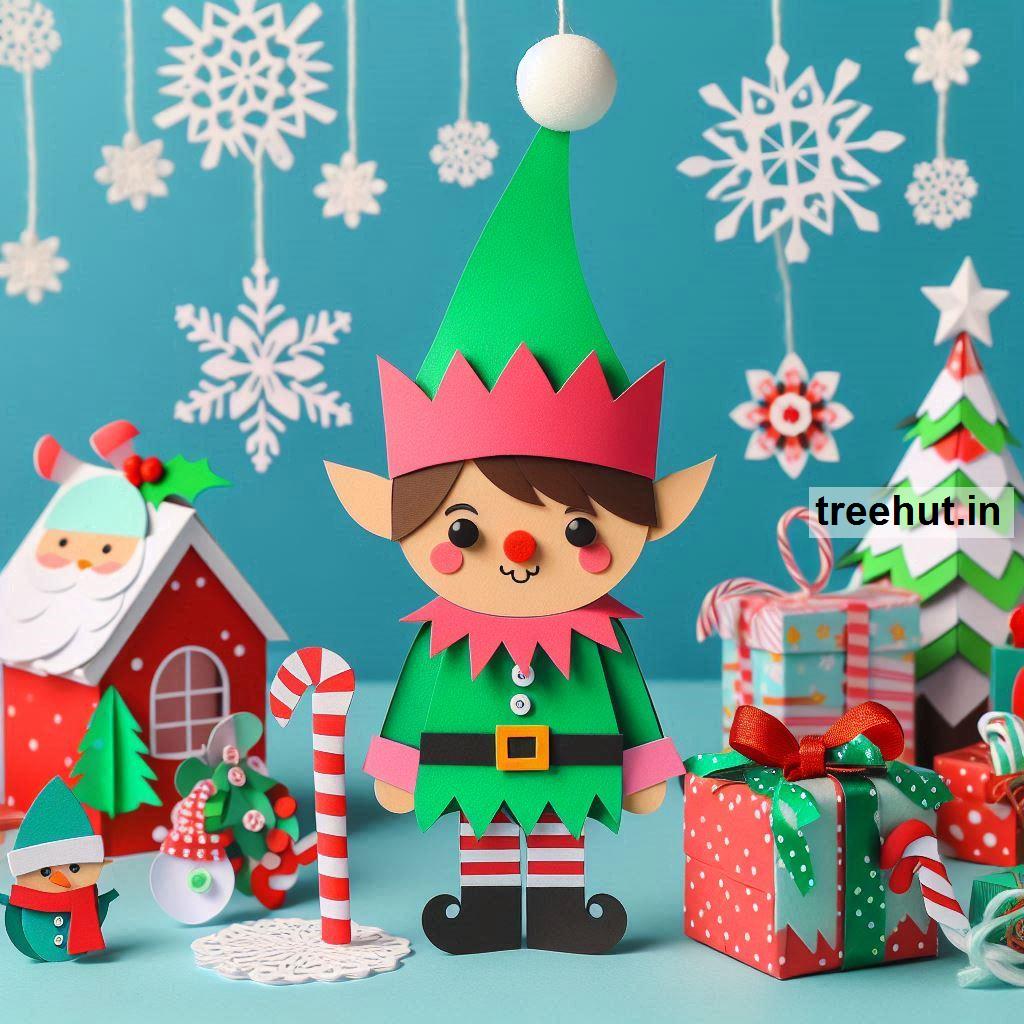
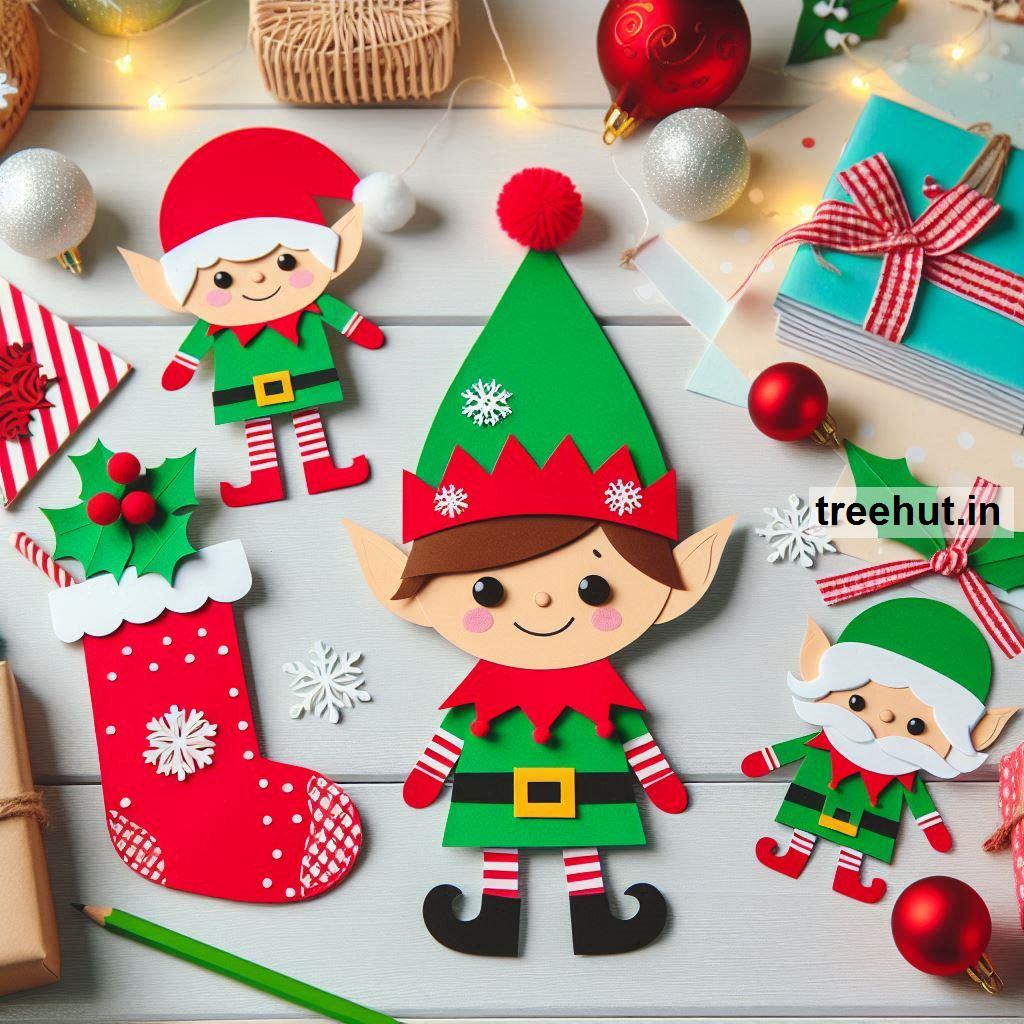
Christmas Elf Paper Craft Ideas to bring more holiday cheer to your decorations:
1. Classic Paper Elf Hat
- Materials: Green and red paper, scissors, glue, gold glitter or buttons
- How-To:
- Cut a triangle shape from green paper to create the elf's hat.
- Cut a strip of red paper and curl it into a cone shape to form the point of the hat.
- Attach the red cone to the base of the green triangle and glue them together.
- Add a small pom-pom or a button to the tip of the cone.
- Optionally, sprinkle gold glitter around the base of the hat to make it sparkle.
- Hang the elf hat on your door or as part of a larger decoration.
- Tip: You can create several hats and hang them in a line across the wall or door.
2. Elf Face Mask
- Materials: Beige, green, red, and black paper, scissors, glue, markers
- How-To:
- Cut a large oval from beige paper for the elf’s face.
- Cut out elf ears from beige paper and glue them on either side of the face.
- Use green paper to make a small hat with a red pom-pom at the top and attach it to the top of the face.
- Draw eyes, a nose, and a smile with markers or cut out small shapes from black and red paper for the eyes and mouth.
- Optionally, add a beard made from white paper curls for extra charm.
- Hang the elf face on your door or as part of a larger festive display.
- Tip: You can make multiple elf faces and arrange them to create an elf family scene!
3. Paper Elf Legs
- Materials: Green, red, yellow, and black paper, scissors, glue, markers
- How-To:
- Cut two long strips of green paper for the elf's legs and glue them together to form a long body shape.
- At the bottom of each leg, create curled red shoes using red paper and curl the tips to mimic elf shoes.
- Add yellow paper cuffs at the top of the shoes to complete the look.
- Use a black marker to draw or cut out stripes to add to the elf's stockings.
- Hang these legs from the bottom of your door or attach them to the base of a large paper elf body.
- Tip: You can add a little sparkle with glitter or sequins for extra flair.
4. Paper Elf with Folded Arms
- Materials: Green, red, and beige paper, scissors, glue, markers, fabric scraps (optional)
- How-To:
- Cut out an elf body from green paper and create a head from beige paper.
- Add a red paper vest to the elf's body and glue it in place.
- Cut out arms from green paper and fold them to look like the elf is crossing their arms.
- Use markers to draw facial features and a smile.
- Optionally, glue fabric scraps or additional paper for details like a belt or buttons.
- Attach the elf to your door or wall as part of a larger holiday display.
- Tip: Make a few of these elves and line them up as though they are "working" together.
5. Paper Elf Puppet
- Materials: Green, red, black, and yellow paper, glue, scissors, popsicle sticks
- How-To:
- Cut a rectangular piece of green paper for the body and a circle for the elf’s face.
- Add red paper details such as a collar and hat.
- Glue googly eyes or draw eyes on the face, and create a smiling mouth.
- Attach popsicle sticks to the bottom of the elf for easy manipulation, creating a puppet.
- Optionally, use yellow paper to make small shoes or buckles for the elf.
- Use these paper elves to tell stories or as decorations that can be moved around.
- Tip: This is a great craft for kids to use during holiday storytelling!
6. Elf Pop-up Card
- Materials: Cardstock, green, red, and beige paper, glue, scissors, markers
- How-To:
- Fold a piece of cardstock in half to create a card.
- Create a pop-up mechanism by cutting two small slits in the center of the card and folding the paper inward.
- Cut out an elf’s body, face, and accessories from colored paper and attach them to the pop-up mechanism.
- When the card opens, the elf pops up in the center.
- Add a holiday greeting inside the card, and decorate the cover with festive elements like holly leaves or snowflakes.
- Tip: You can personalize the card by adding a little message like “Merry Christmas from the North Pole!”
7. Elf Footprint Craft
- Materials: Brown paper, red and green paper, scissors, glue, cotton balls
- How-To:
- Trace your child’s foot onto a piece of brown paper and cut it out.
- Create elf shoes from red and green paper and glue them to the bottom of the footprint.
- Use cotton balls to create a fluffy trim on the shoes, like elf boot cuffs.
- Decorate the top of the foot with buttons or ribbons to make it festive.
- Attach a small note like “Santa’s Helper” or “Elf on the Shelf.”
- Tip: This is a great craft for kids to create their own personalized elf feet!
8. Elf Garland
- Materials: Green, red, yellow, and beige paper, scissors, glue, string or ribbon
- How-To:
- Cut out several elf shapes from green, red, and beige paper, making each elf look a little different (different colors or accessories).
- Attach the elf cutouts to a string or ribbon, creating a garland.
- Optionally, you can add small paper stars or holly leaves in between the elves to complete the garland.
- Hang the garland around your door, mantel, or tree to add some holiday cheer.
- Tip: You can make the elves hold tiny paper candy canes or presents for extra fun.
9. Elf Paper Plate Craft
- Materials: Paper plate, green, red, and beige paper, glue, scissors, markers
- How-To:
- Use a paper plate for the elf’s face, painting or drawing on eyes, cheeks, and a smile.
- Cut out elf ears and a hat from red and green paper and glue them to the plate.
- Use a piece of red paper to create a curly hat for the elf, adding a pom-pom on top.
- Add additional details like a scarf or buttons.
- Display this craft as a hanging decoration or part of a wall display.
- Tip: Create a group of elf faces on different colored plates for a vibrant, colorful display.
Christmas elf paper crafts are perfect for decorating, gifting, or just having fun with the kids during the holiday season!