


Christmas City Paper Craft Ideas, Christmas Decoration Ideas for Family Activity and Classroom Activity
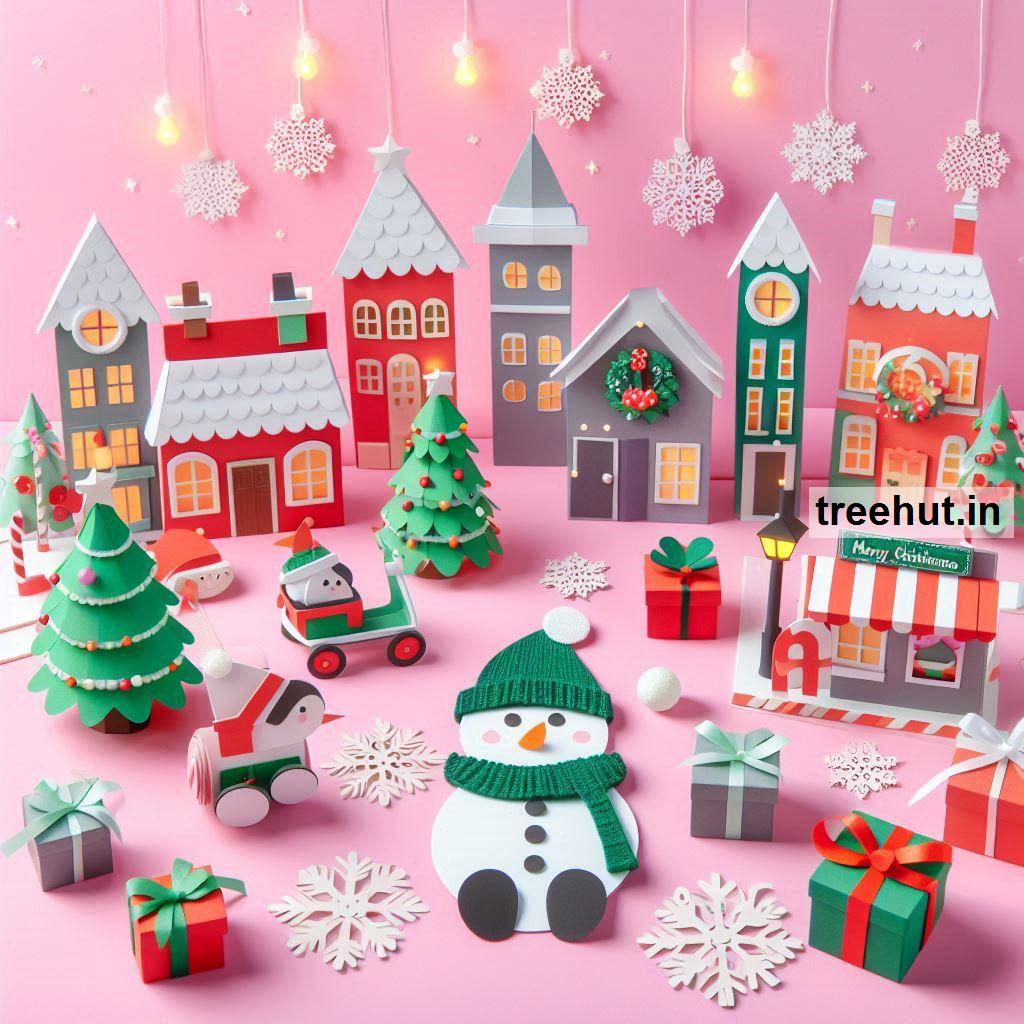
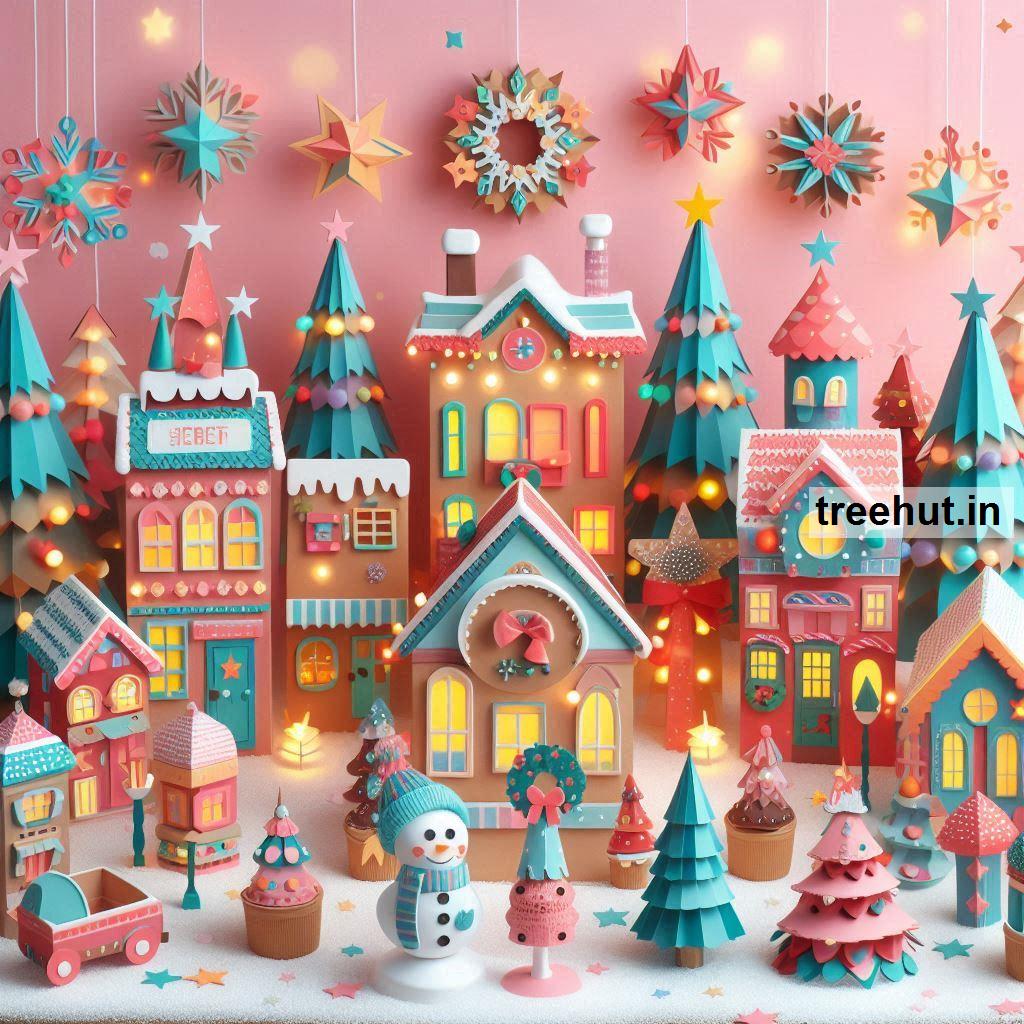
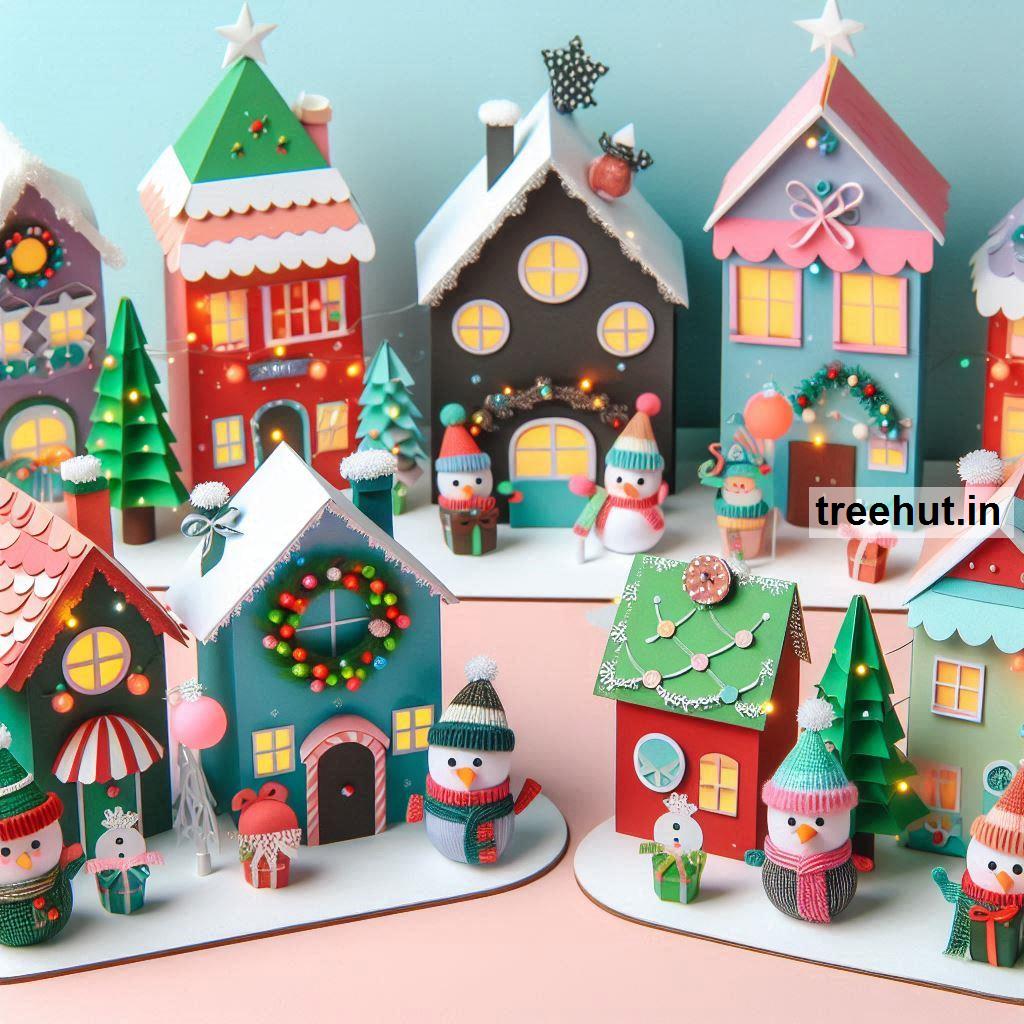

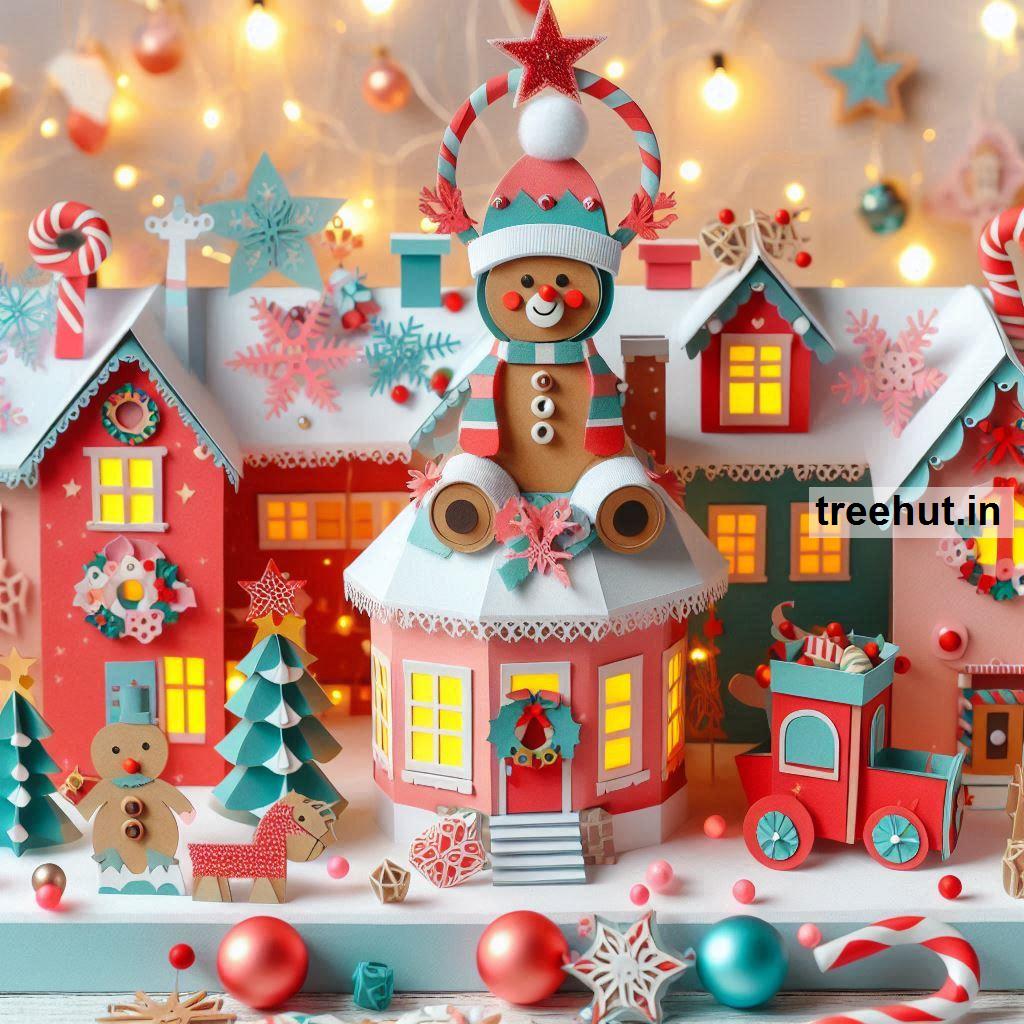
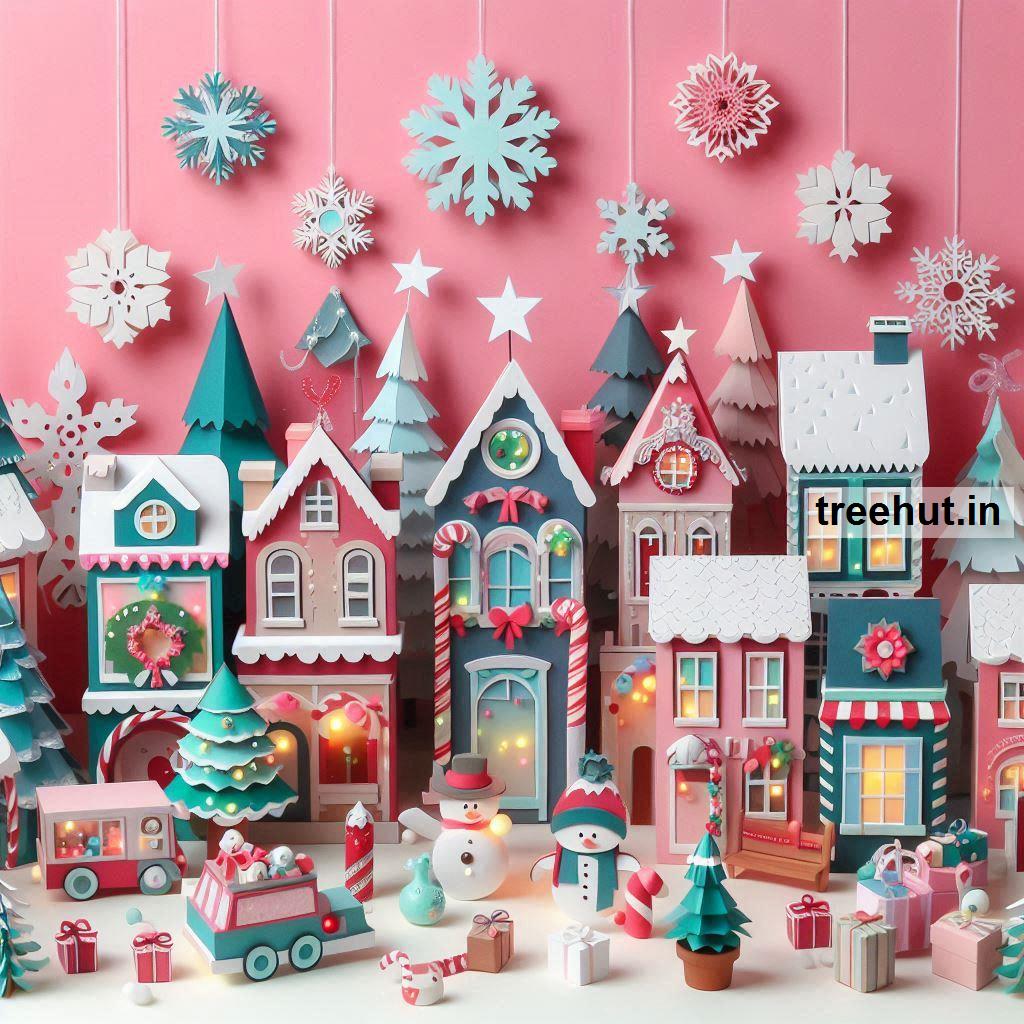
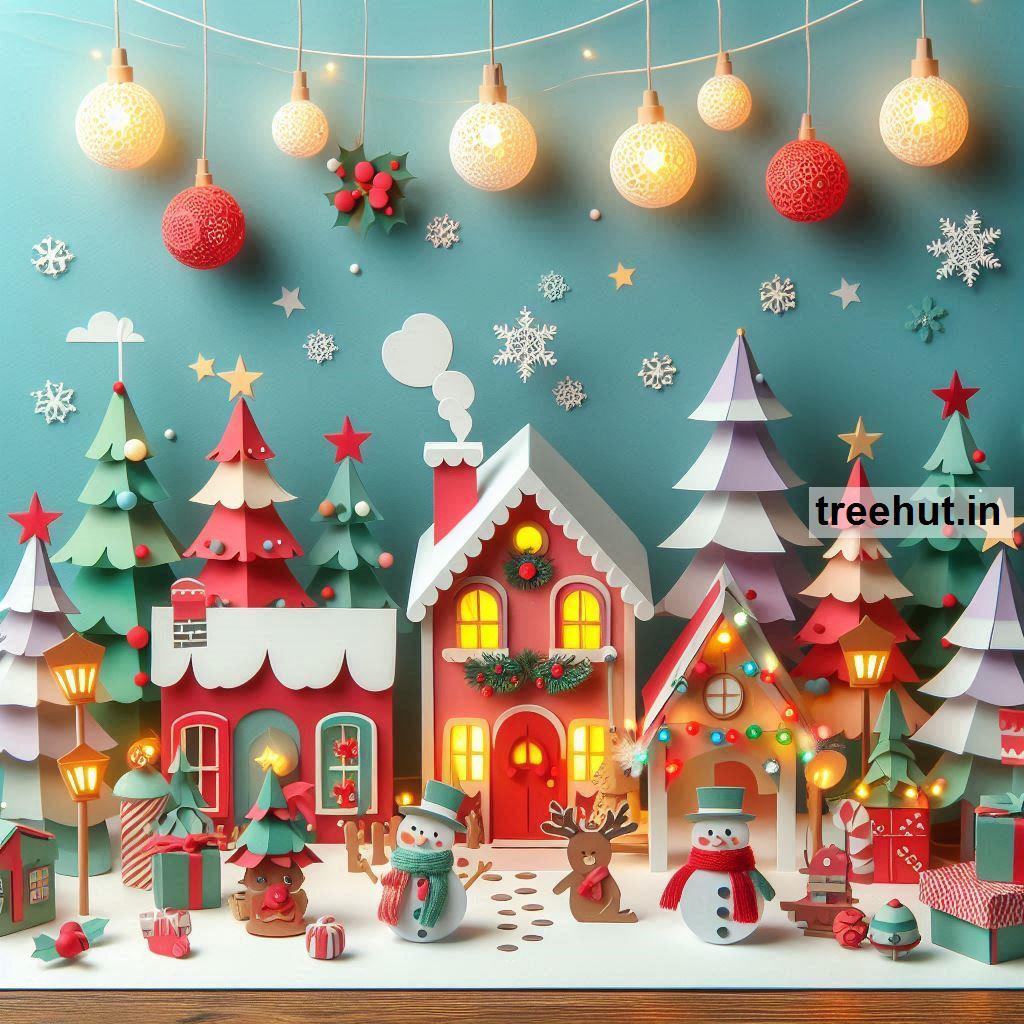
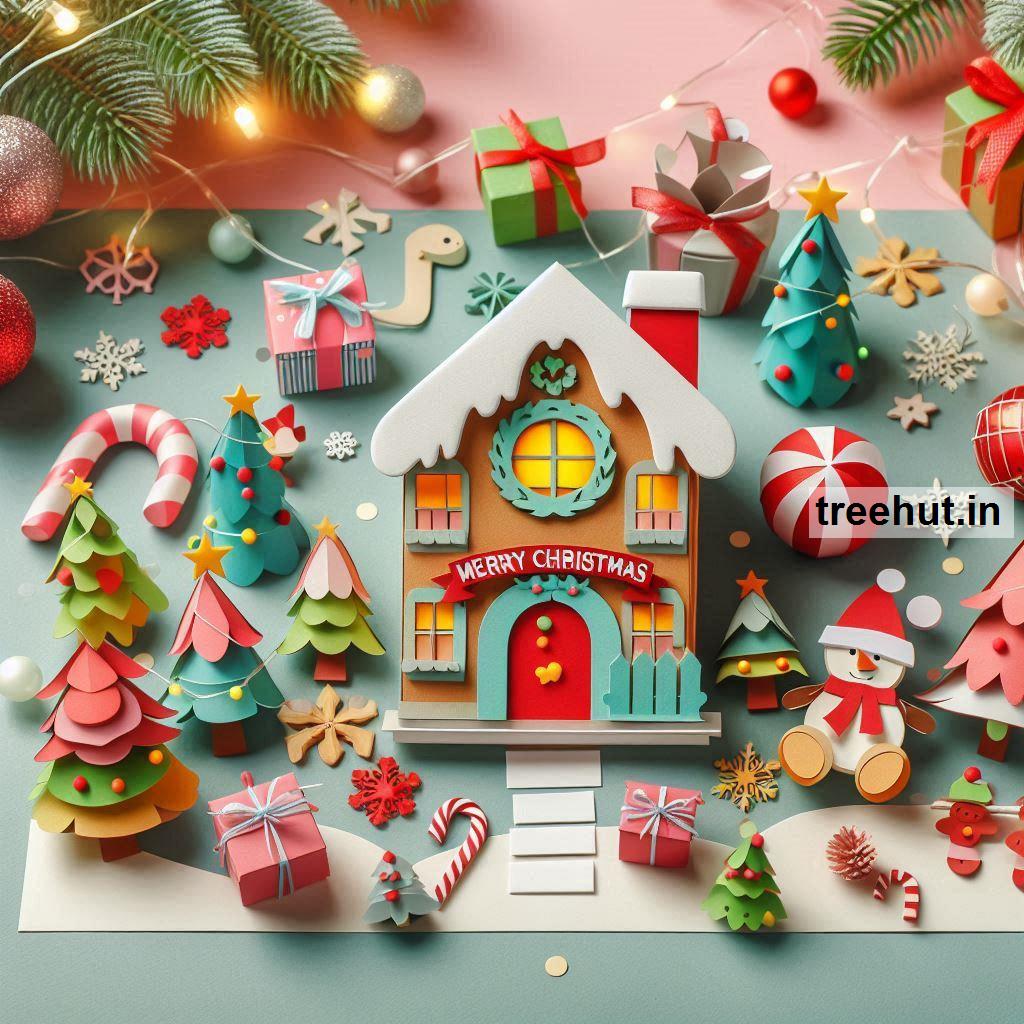
Christmas city paper craft ideas to help you create a festive, winter wonderland of paper buildings, streets, and holiday scenes:
1. Paper Christmas Cityscape
- Materials: Cardstock, glue, scissors, markers, glitter
- How-To:
- Cut out several buildings from colored cardstock (use rectangular and square shapes for variety).
- Decorate the buildings with windows, doors, and festive details like wreaths or garlands.
- Create snowy rooftops by adding cotton balls or white paper.
- Glue the buildings together on a large sheet of paper to form a cityscape.
- Use glitter to make the snow sparkle, and add paper trees or lights to complete the scene.
- Tip: Add some paper snowflakes floating down for a wintery feel!
2. 3D Christmas Town Paper Craft
- Materials: Cardstock, glue, scissors, string lights (optional)
- How-To:
- Cut out different-sized rectangles and squares for buildings, and fold them into 3D structures (like boxes).
- Decorate the buildings with Christmas elements like candy canes, stockings, and Santa hats.
- Create a 3D street with paper roads, and place trees or mini paper presents along the sides.
- You can even string tiny LED lights through the buildings to make the city glow.
- Tip: Use a shoe box lid as the base for your city, and arrange the buildings inside for a "town square" feel.
3. Paper Snow Globe with Christmas City
- Materials: Cardstock, clear plastic sheets, cotton balls, glue
- How-To:
- Create a circular snow globe shape using a piece of cardstock and a plastic sheet for the globe's outer cover.
- Inside the snow globe, cut out a miniature Christmas city with small buildings, trees, and snowmen from colored cardstock.
- Glue cotton balls around the bottom to create the snowy base and at the top for snow.
- Use glitter or small sequins for added "snowfall" inside the globe.
- Tip: You can create a stand for the snow globe using a decorated cardboard tube or small box.
4. Pop-Up Christmas City Card
- Materials: Cardstock, glue, scissors, markers
- How-To:
- Create a folded card with a city skyline cut from black or dark blue cardstock on the front.
- Inside the card, cut out pop-up buildings and snowmen that will "spring up" when the card is opened.
- Decorate the city with festive elements like lights, wreaths, and a snow-covered landscape.
- Write a holiday message inside the card.
- Tip: Add small details like tiny paper stars, moon, or snowflakes in the background for a magical touch.
5. Mini Christmas City Diorama
- Materials: Cardboard, cardstock, glue, cotton balls, colored paper
- How-To:
- Use a cardboard box as the base for your diorama, cutting it to the desired size.
- Cut out buildings from cardstock and assemble them to stand up inside the box.
- Use cotton balls or fake snow to cover the ground and create the illusion of a wintery landscape.
- Add paper trees, cars, people, or even Santa's sleigh for extra detail.
- Tip: You can add a "sky" by gluing a piece of blue paper to the back of the diorama and adding stars or a sun.
6. Christmas Village Garland
- Materials: Cardstock, scissors, glue, string, small lights (optional)
- How-To:
- Cut out several small houses, trees, and festive elements from cardstock.
- Fold the tops of the houses and trees to create small tabs, and then glue them to a long string.
- Hang the garland along your mantel or across the room, adding a small LED light behind each element to make the village glow.
- Decorate with some small paper presents or holiday banners.
- Tip: Add some paper stars or snowflakes in between the houses for a more cohesive look.
7. Christmas Market Paper Craft
- Materials: Cardstock, glue, markers, ribbon
- How-To:
- Cut out small stalls or booths from cardstock to represent a Christmas market.
- Decorate each booth with holiday goods like paper wreaths, candy canes, and lights.
- Add small paper people or figurines inside the booths to represent market-goers.
- Glue the booths to a base made of paper or cardboard and decorate the surrounding area with paper snow and Christmas trees.
- Tip: Use a piece of string to create "lights" across the stalls for a festive touch.
8. Paper City with Santa’s Sleigh
- Materials: Cardstock, glue, scissors, cotton balls, glitter
- How-To:
- Create a cityscape of buildings with colored cardstock and glue them to a piece of larger cardstock.
- Create a sleigh and reindeer from paper and glue them above the city, as if flying across the sky.
- Add cotton ball clouds and glitter for a twinkling night sky.
- Include other elements like paper trees, snowmen, and streetlights to make the scene come alive.
- Tip: Create a winter night backdrop with dark blue cardstock and little twinkling stars.
9. Paper Christmas City on a Cardboard Box
- Materials: Cardboard, cardstock, scissors, glue, paints
- How-To:
- Take a large cardboard box and paint or cover it with Christmas-themed paper.
- Cut out building shapes from cardstock and glue them along the sides of the box to create your city.
- Decorate the buildings with Christmas lights, windows, and festive wreaths.
- Add cotton balls or fake snow along the bottom to create a snowy ground.
- Tip: Use battery-operated fairy lights to add lighting to the buildings for extra glow!
10. Christmas Tree and City Silhouette
- Materials: Black construction paper, colored paper, glue, scissors
- How-To:
- Cut out a silhouette of a city skyline using black construction paper.
- Glue a small paper Christmas tree in the foreground or behind the buildings.
- Add small stars, snowflakes, and presents for extra details.
- Mount the silhouette onto a large piece of cardstock or a canvas for a beautiful holiday scene.
- Tip: Use glittery paper for the tree to make it stand out against the dark city backdrop.
11. Layered Paper Christmas City
- Materials: Cardstock, scissors, glue, markers, foam tape
- How-To:
- Cut out various shapes for buildings, snow-covered trees, and other city elements.
- Layer the buildings from largest to smallest using foam tape to add dimension.
- Decorate with Christmas details like wreaths, garlands, and lights.
- Create a snowy foreground with cotton or white paper.
- Tip: Add layers of paper for an extra 3D effect!
Christmas city paper crafts will help you build a whimsical, festive town for the holidays. Whether you're creating a simple card, a detailed diorama, or a fun garland, these crafts are sure to bring the holiday spirit to life in your home.