Halloween Paper Craft Ideas for Kids, Adults, Family Time and Classroom Activities
Halloween paper craft instructions, uses, and ideal age groups that can make them:
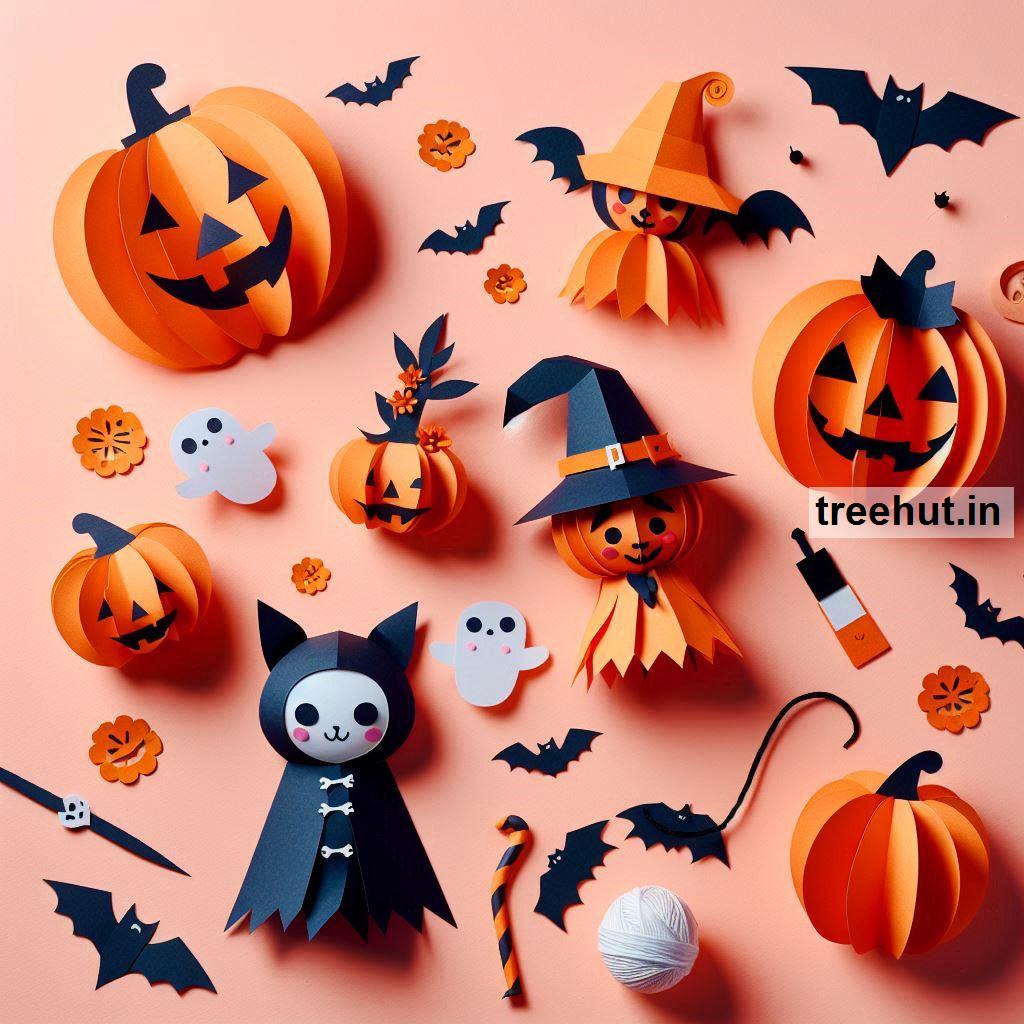
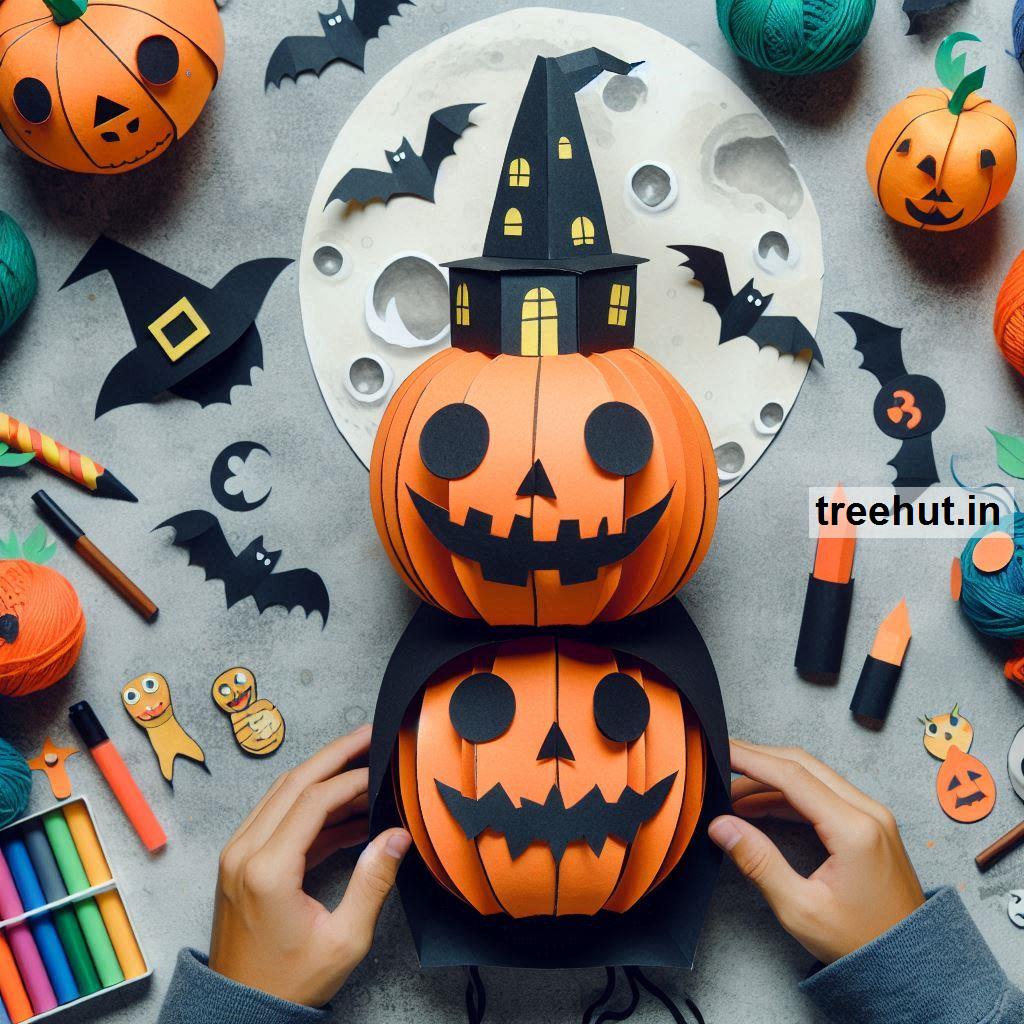
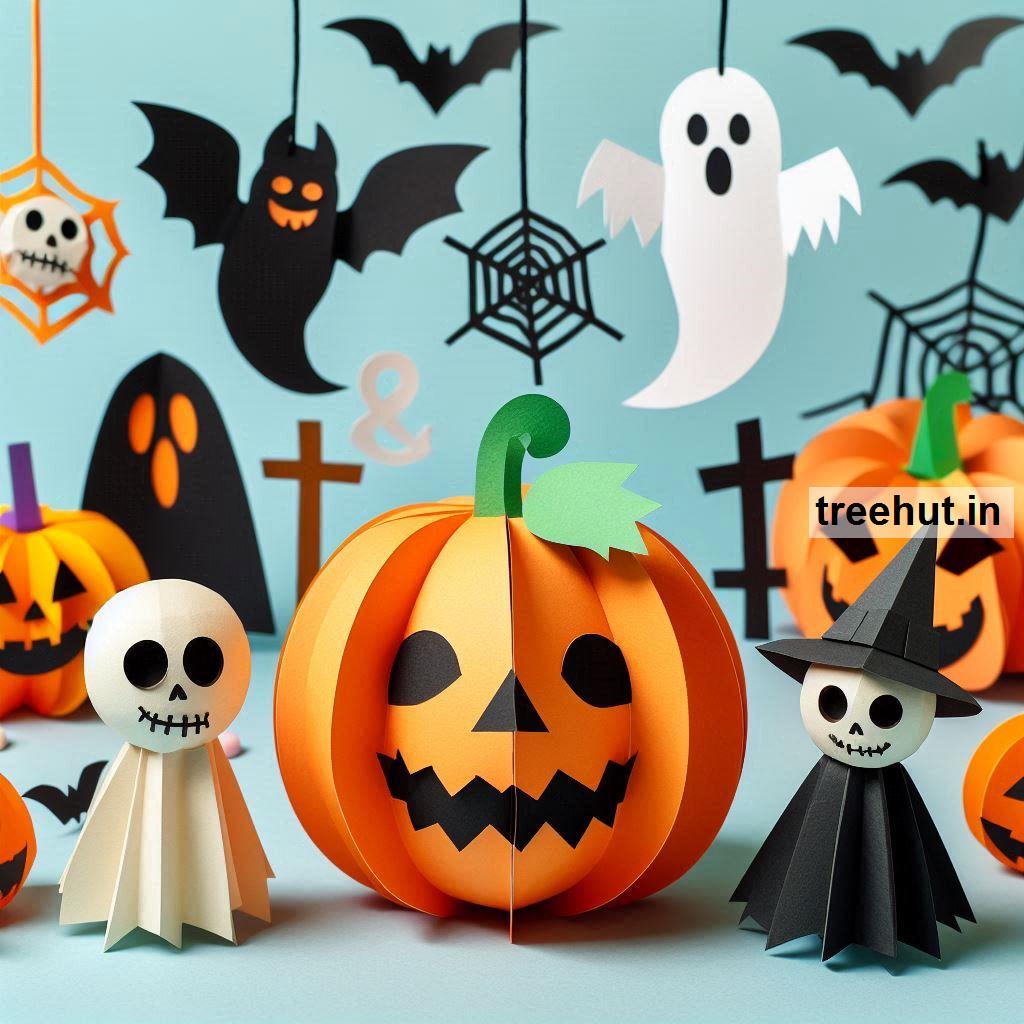
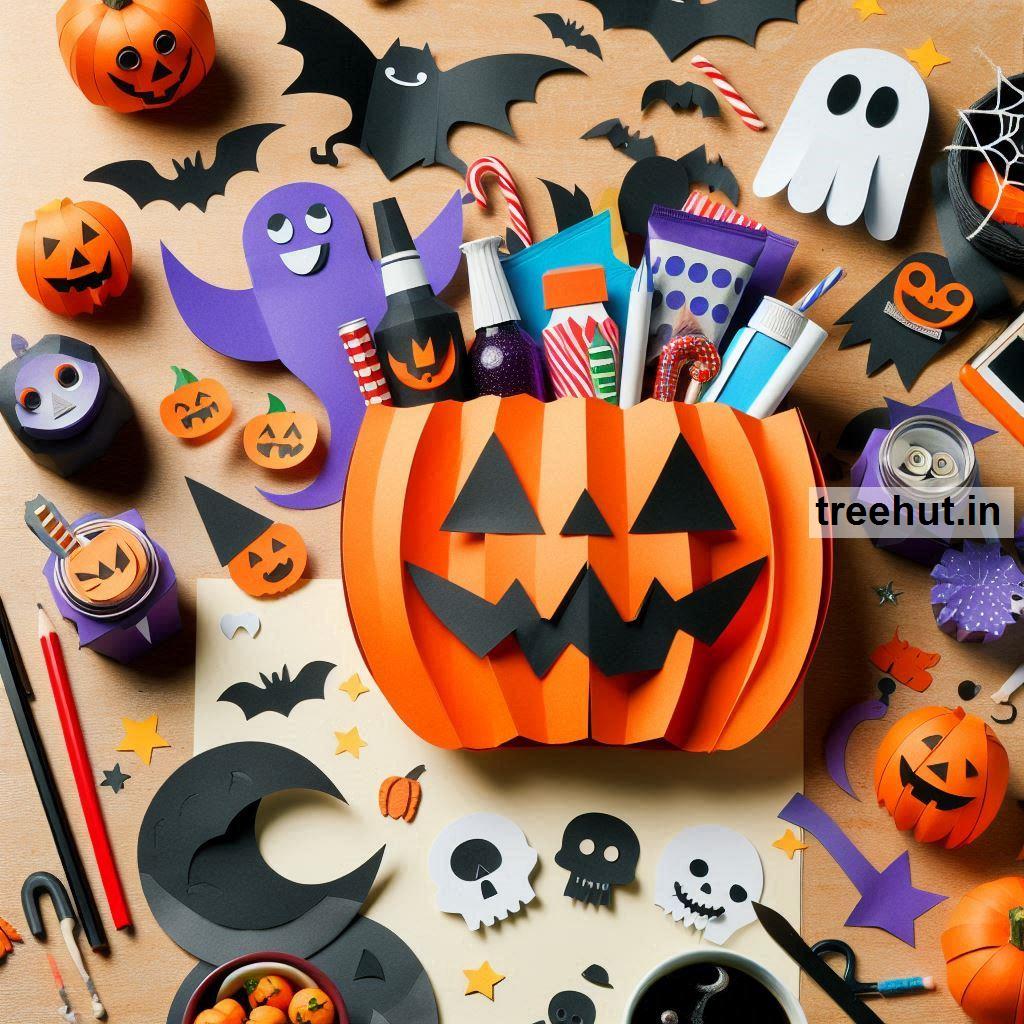
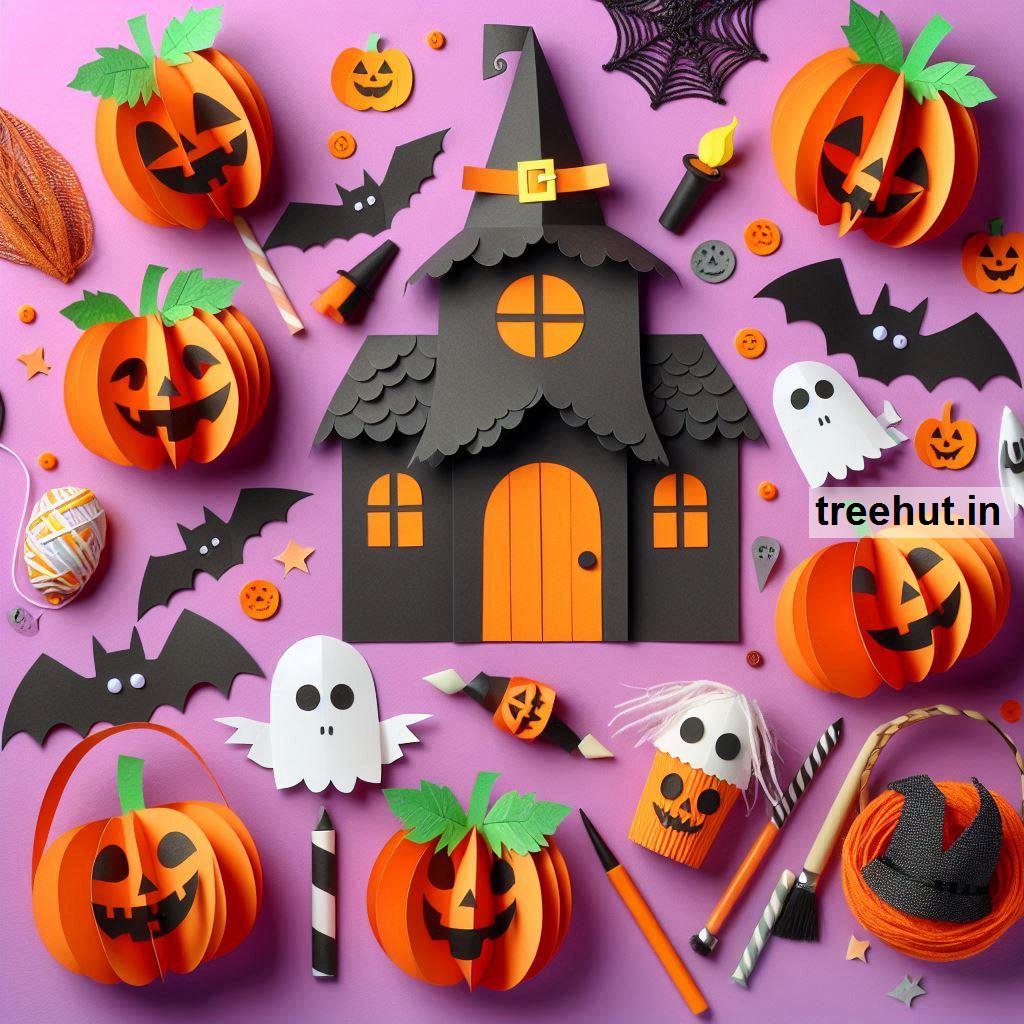
1. Paper Jack-O'-Lanterns
- How to Make: Cut orange paper into pumpkin shapes. Use black paper or markers to add eyes, a nose, and a mouth. Add green paper for a stem if desired.
- How to Use: Stick them on windows, walls, or doors for a Halloween vibe, or string them together to make a festive garland.
- Who Can Make It: Suitable for kids ages 4+ with some assistance, or independently for older kids and adults.
2. Paper Plate Spiders
- How to Make: Paint a paper plate black. Attach pipe cleaners or strips of black paper for legs, and glue on googly eyes or paper-cut eyes.
- How to Use: Hang from ceilings, place on tables, or attach to walls to give a spooky crawling effect.
- Who Can Make It: Great for ages 5+; younger children can make with supervision.
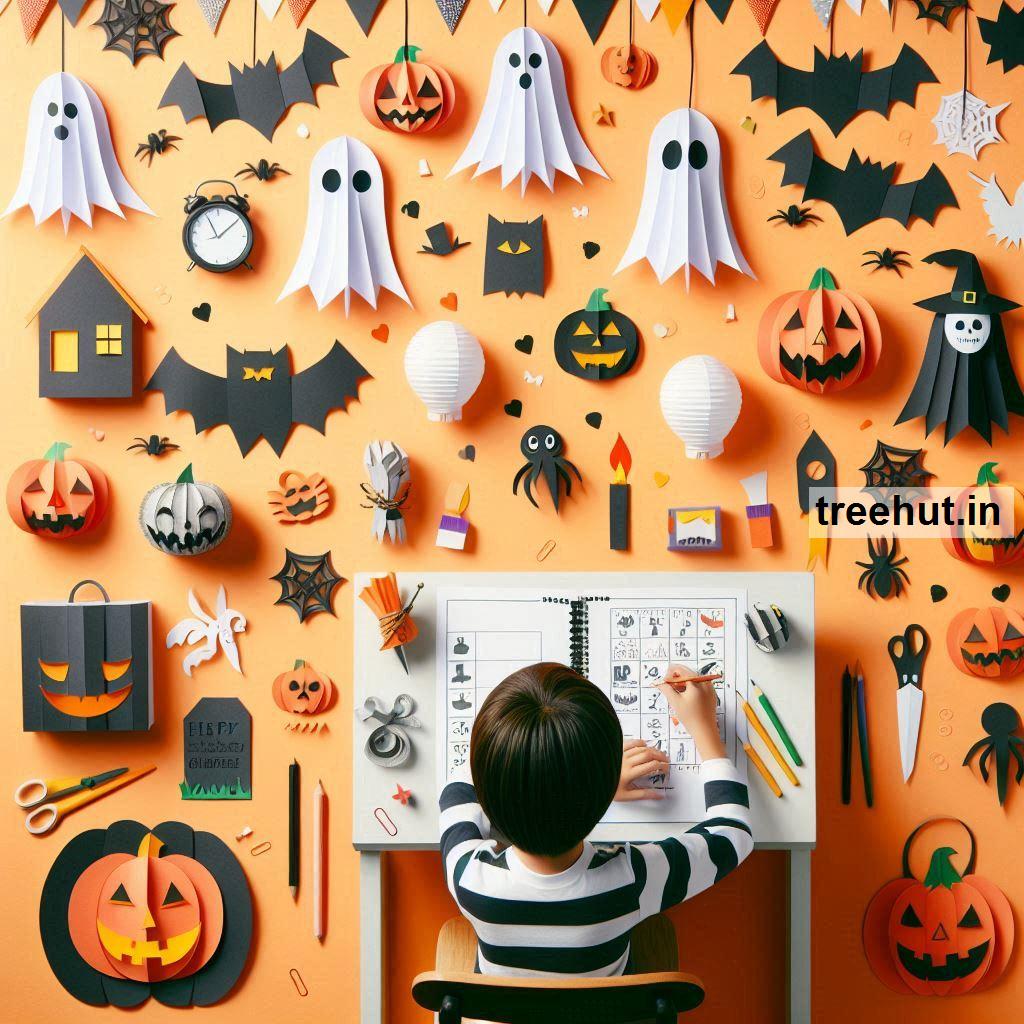
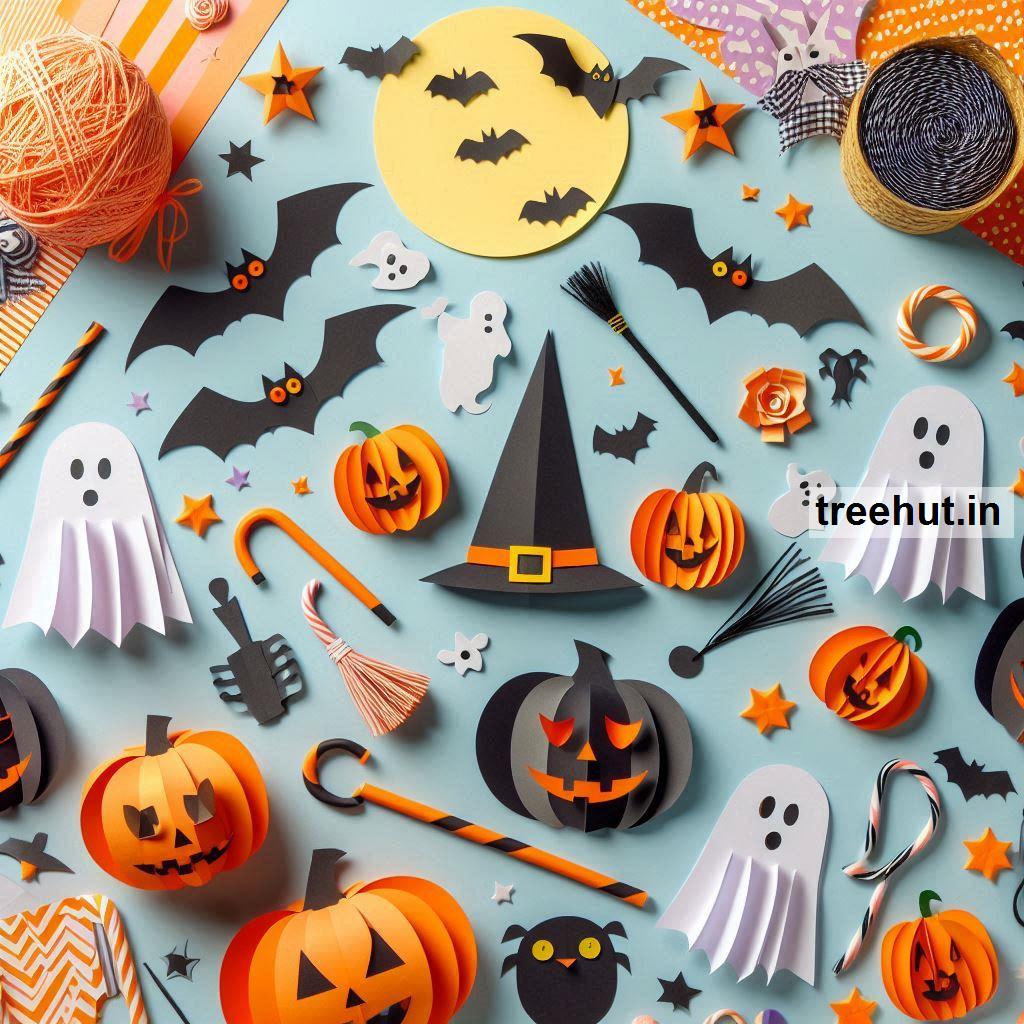
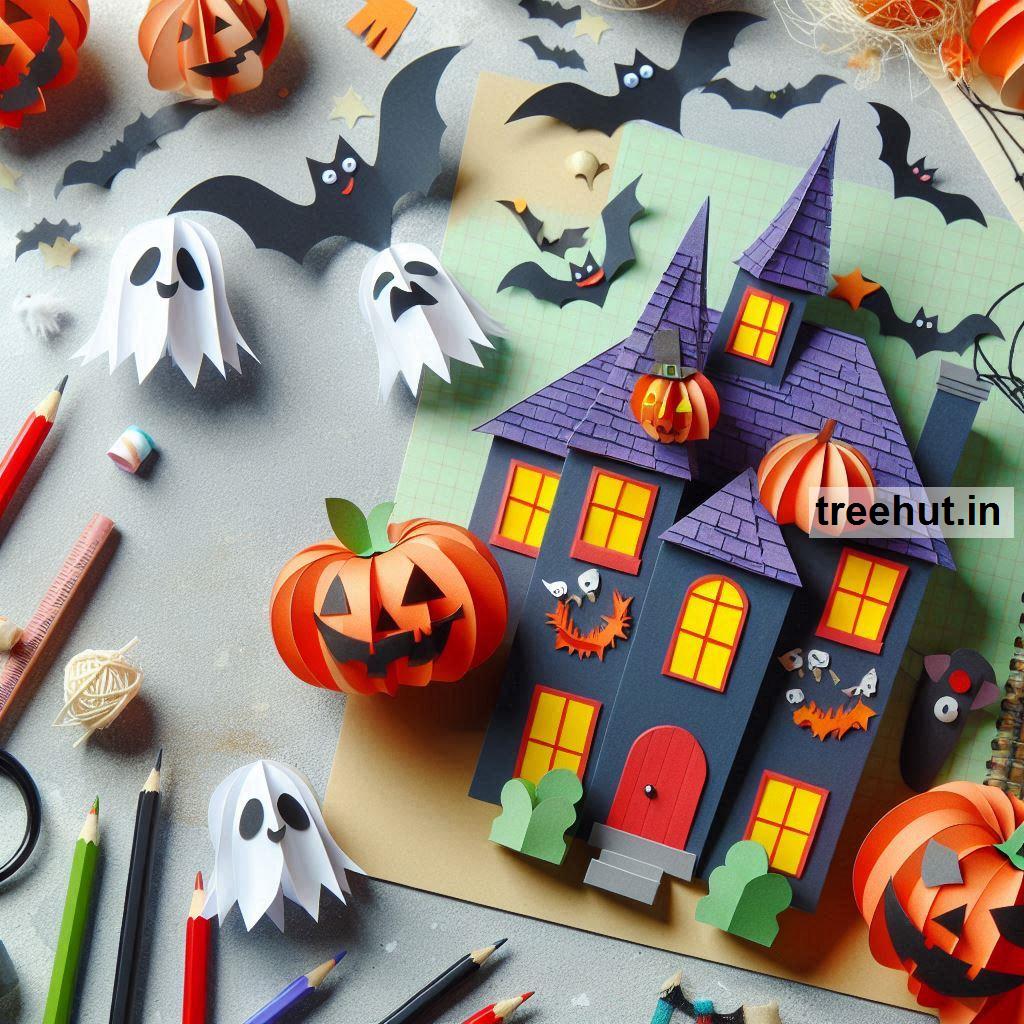
3. Ghost Garland
- How to Make: Cut white paper into ghost shapes, draw on faces, and punch holes to thread string through the tops.
- How to Use: Hang along walls, windows, or across door frames for a cute spooky decor.
- Who Can Make It: Easy for ages 6+, or younger with help.
4. Halloween Bats
- How to Make: Use black paper to cut out bat shapes. Add small white dots or cutouts for eyes.
- How to Use: Attach to walls, hang from the ceiling, or use glow-in-the-dark paint for an eerie nighttime effect.
- Who Can Make It: Suitable for all ages; even toddlers can enjoy sticking eyes on pre-cut bat shapes.
5. Toilet Paper Roll Monsters
- How to Make: Paint empty toilet paper rolls in Halloween colors, add googly eyes, cut paper for mouths, and glue on mini “hair” or “horns” with colored paper or pipe cleaners.
- How to Use: Use as table decorations, treat holders, or party favors.
- Who Can Make It: Ideal for ages 4+, with adults helping with cutting and glue.
6. Paper Mummy Lanterns
- How to Make: Wrap a glass jar or cup in white tissue paper or gauze, leaving space for “eyes.” Add black paper eyes and place a small LED tea light inside.
- How to Use: Place on tables, windowsills, or porches for a fun glowing effect.
- Who Can Make It: Ages 8+ for more intricate mummies; younger kids can assist with simpler versions.
7. Pumpkin Paper Chains
- How to Make: Cut orange paper into strips, loop and glue each into rings to create a chain, and add a small green “leaf” paper at the top.
- How to Use: Drape on mantels, walls, or around doorways as garland decor.
- Who Can Make It: Ages 5+; younger children with some supervision.
8. Candy Corn Garland
- How to Make: Cut orange, yellow, and white triangles to mimic candy corn, then glue them in order to string onto twine or ribbon.
- How to Use: Hang in doorways, windows, or as a fun mantelpiece decoration.
- Who Can Make It: Ages 6+, with younger children enjoying simpler assembly steps.
These crafts offer a creative way for kids, families, and classrooms to celebrate Halloween, with the options being easily adaptable to different skill levels.