

How do I crochet a granny square? Crochet Techniques for Beginners
How do I crochet a granny square?
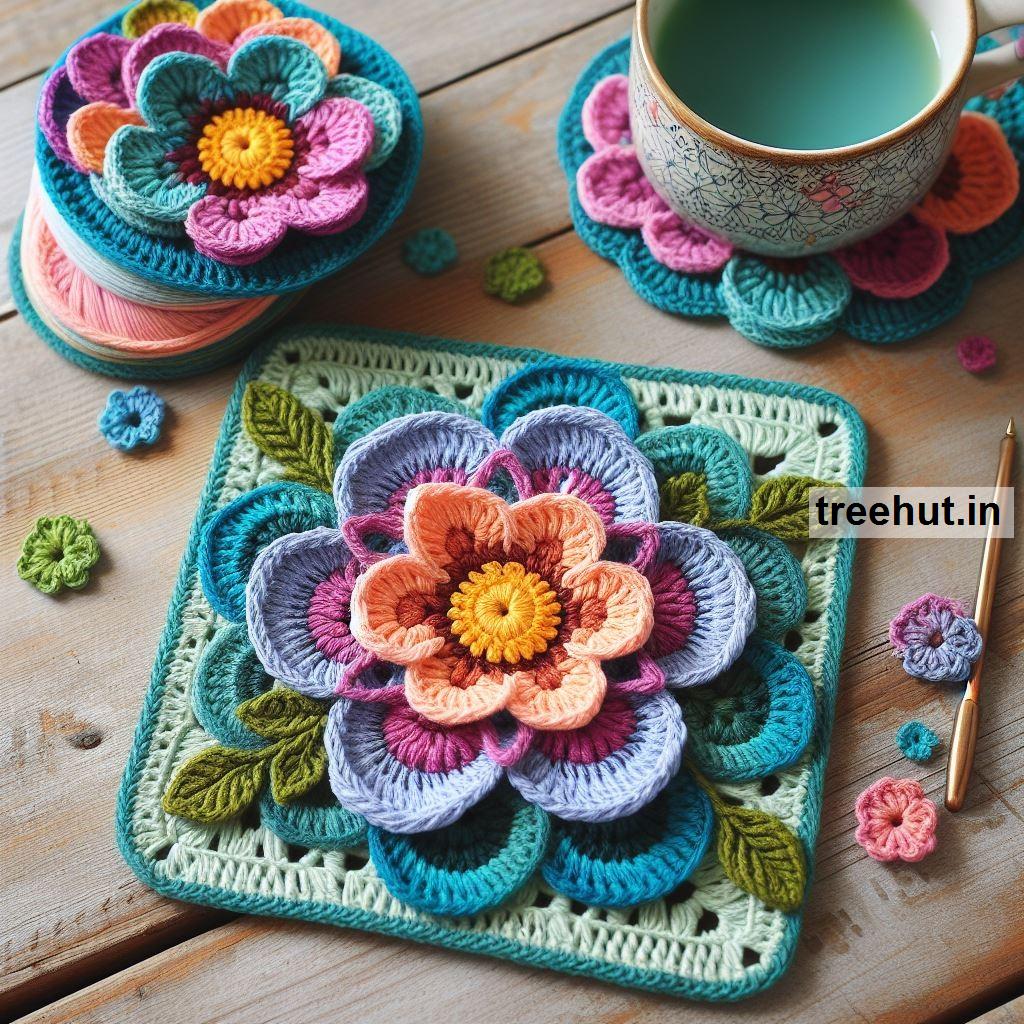
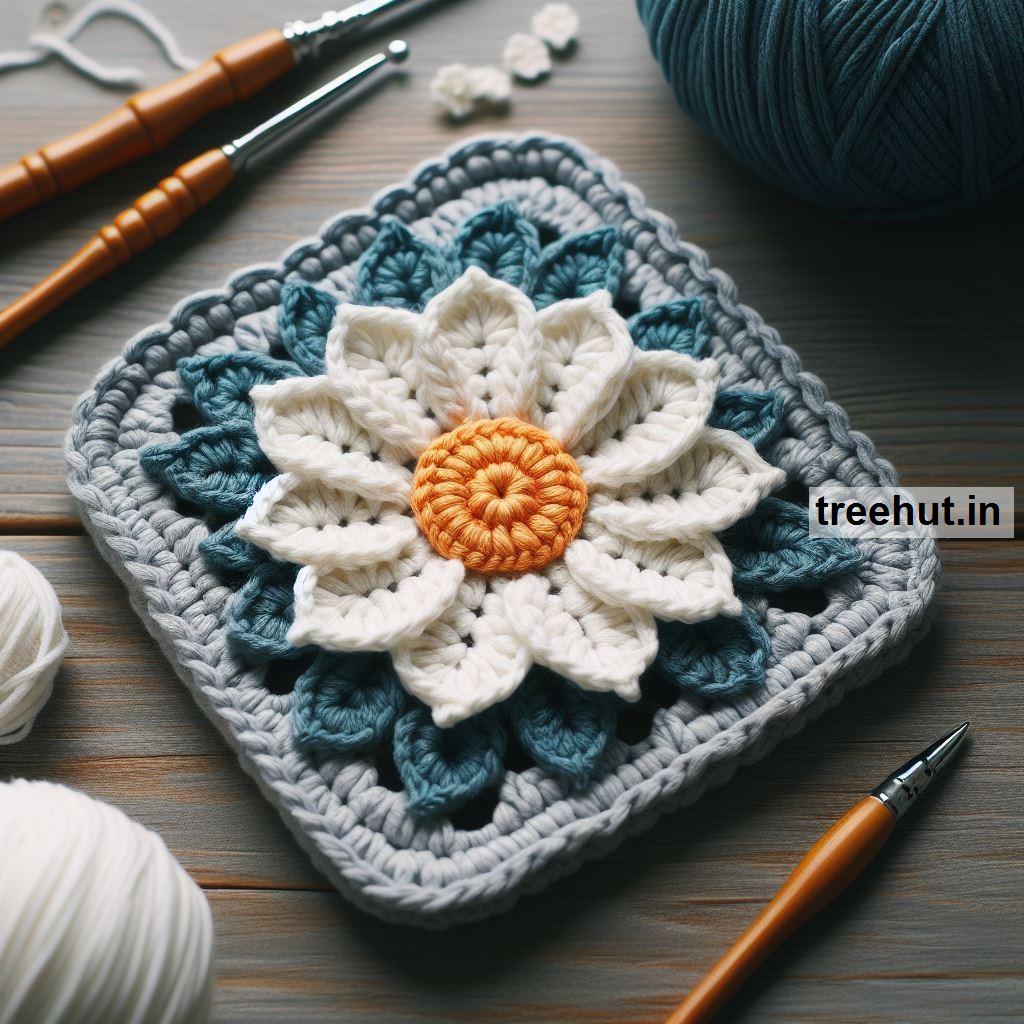
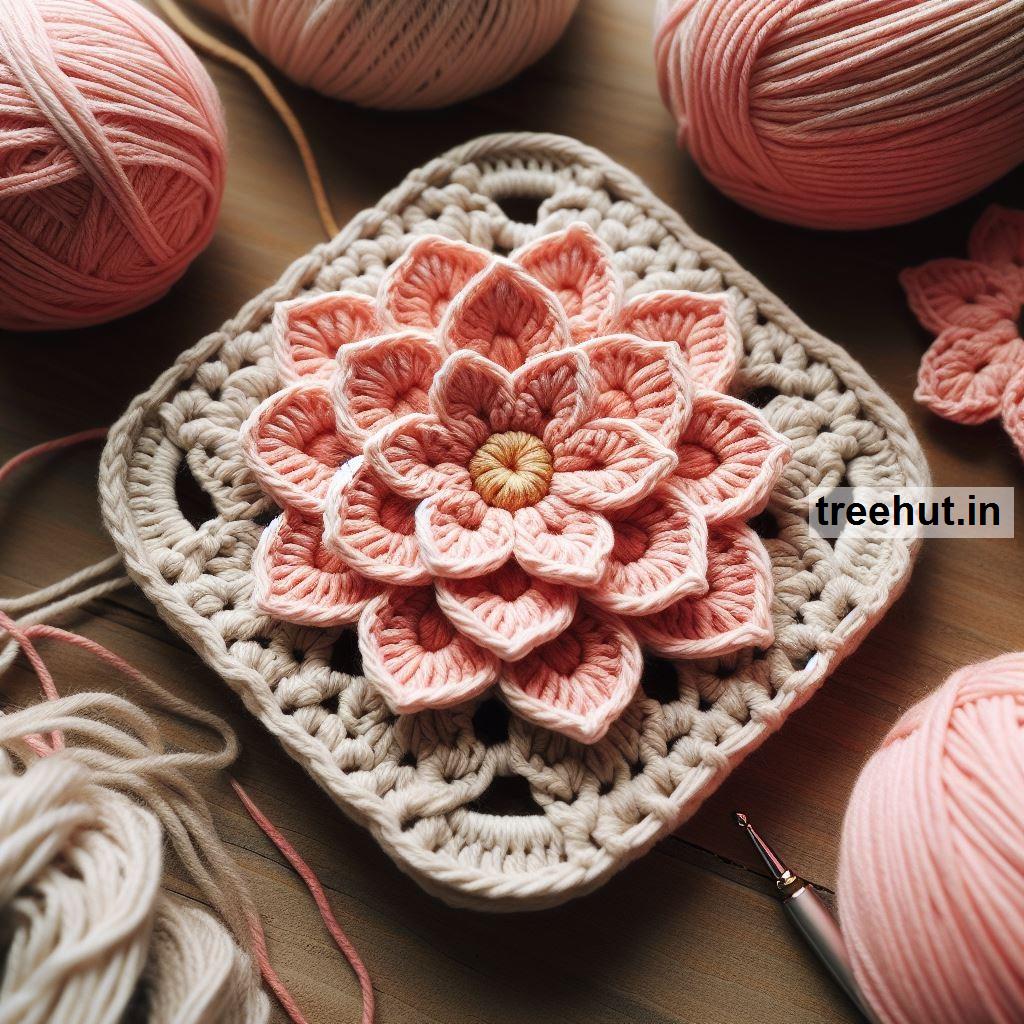
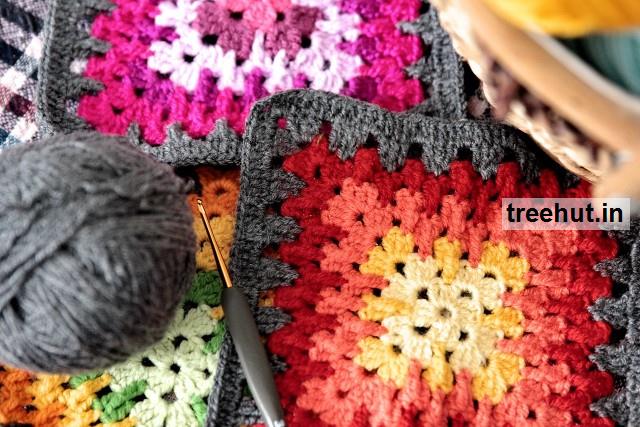
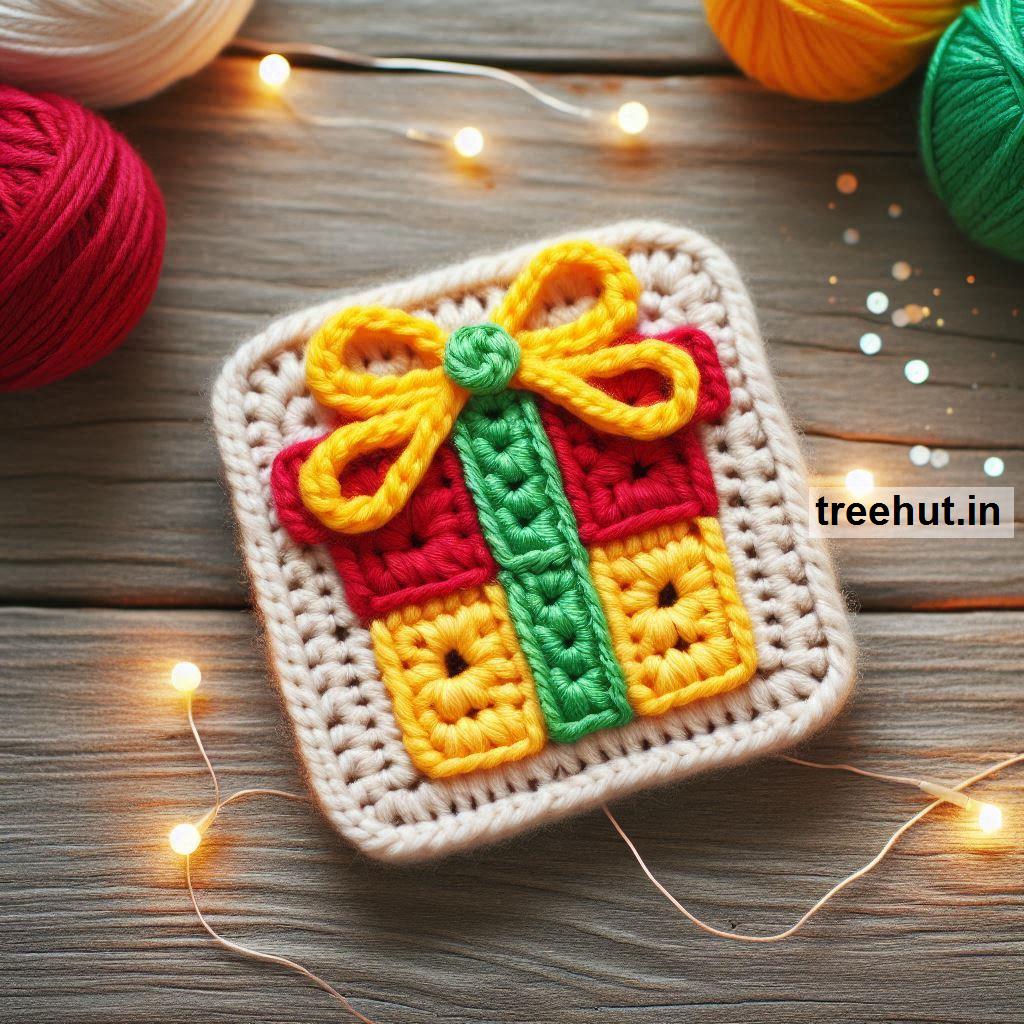
Crocheting a granny square is one of the most iconic and fundamental skills for a crocheter. It's a versatile pattern that can be used for blankets, pillows, bags, and more. Here's a step-by-step guide to help you crochet a basic granny square.
Materials:
- Yarn: Any yarn weight can be used, but worsted weight is common for beginners.
- Hook: Choose a hook size that matches your yarn (usually 5mm or 6mm for worsted weight).
- Scissors: To cut the yarn at the end.
- Yarn needle: To weave in the ends.
Abbreviations:
- ch = chain
- sl st = slip stitch
- dc = double crochet
- sp = space
Steps:
Make a Magic Circle or Start with Chains
- You can start with a magic circle, or you can chain 4 and join with a slip stitch to form a ring. For beginners, the chain method might be easier.
- Magic Circle Method: Wrap yarn around your fingers to form a loop, then crochet into that loop.
- Chain Method: Chain 4, then slip stitch into the first chain to form a small ring.
Round 1: Create the Center
- Chain 3 (this acts as your first double crochet).
- Into the ring (whether magic circle or chain loop), crochet 2 more double crochets.
- Chain 2 (this creates the first corner of your square).
- Crochet 3 more double crochets into the ring.
- Chain 2 again for the second corner.
- Repeat this two more times (for a total of 4 sets of 3 double crochets, each separated by chain 2s).
- After the last corner, slip stitch into the top of the initial chain 3 to close the round.
- You should now have a square with four corners created by chain 2 spaces.
Round 2: Expand the Square
- Slip stitch to the first corner space (chain 2 space).
- Chain 3 (this acts as the first double crochet for this round).
- In that same corner space, crochet 2 more double crochets, then chain 2, and make 3 more double crochets (this completes your first corner).
- In the next chain-2 space (the next corner), crochet 3 double crochets, chain 2, and 3 more double crochets.
- Repeat for the remaining two corners.
- After finishing the last corner, slip stitch into the top of the chain 3 from the beginning of the round.
Round 3 and Beyond: Continue Building
- Each round is similar. Start each round by slip stitching to the next chain 2 space, chaining 3, and then continuing the pattern.
- In each corner, crochet 3 double crochets, chain 2, and crochet 3 more double crochets.
- In the spaces between the corners (between clusters), you crochet 3 double crochets into the space. You don’t need to chain between the clusters along the sides.
- Repeat this for as many rounds as you want until your granny square is the size you need.
Finish the Granny Square
- Once your square is the desired size, finish the last round by slip stitching into the top of the chain 3 at the beginning of the round.
- Cut the yarn, pull the tail through the last stitch, and tighten it to secure.
- Weave in all the yarn ends with a yarn needle to complete the square.
Tips:
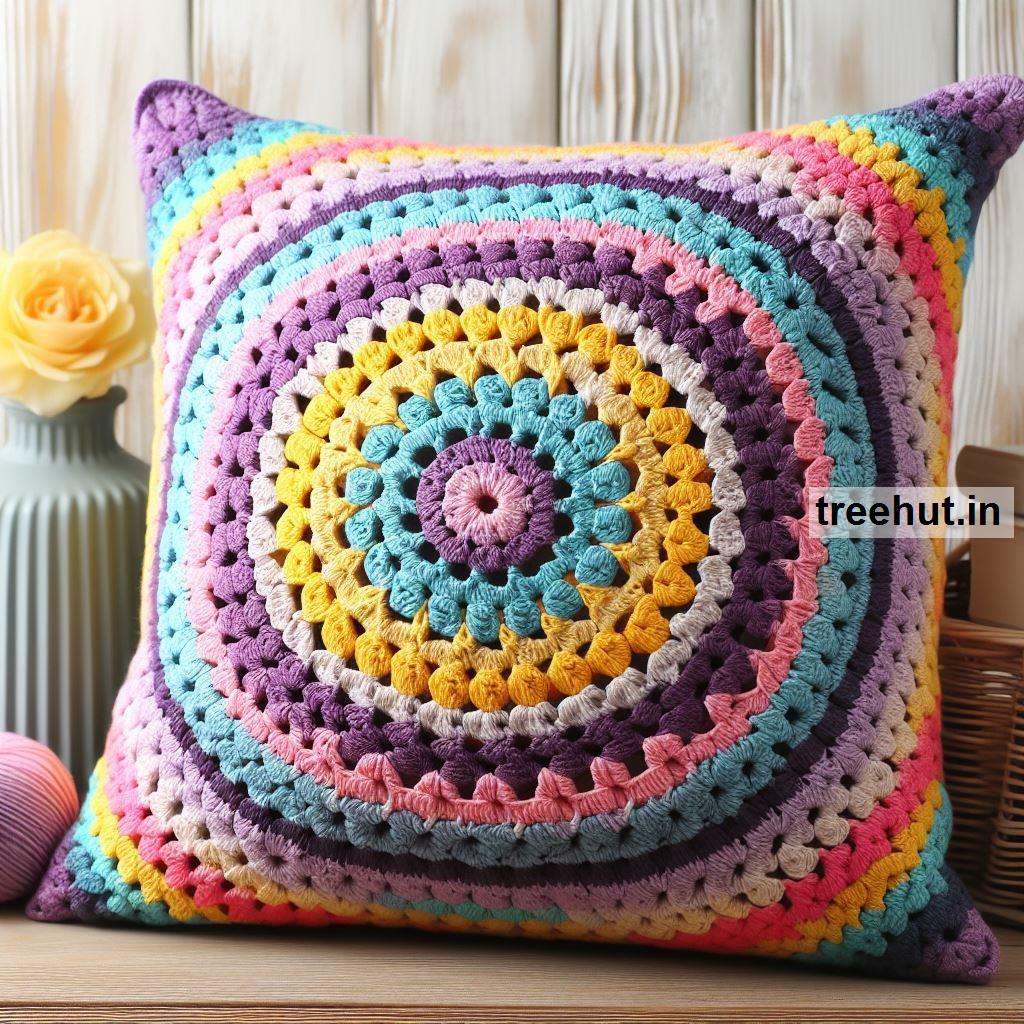
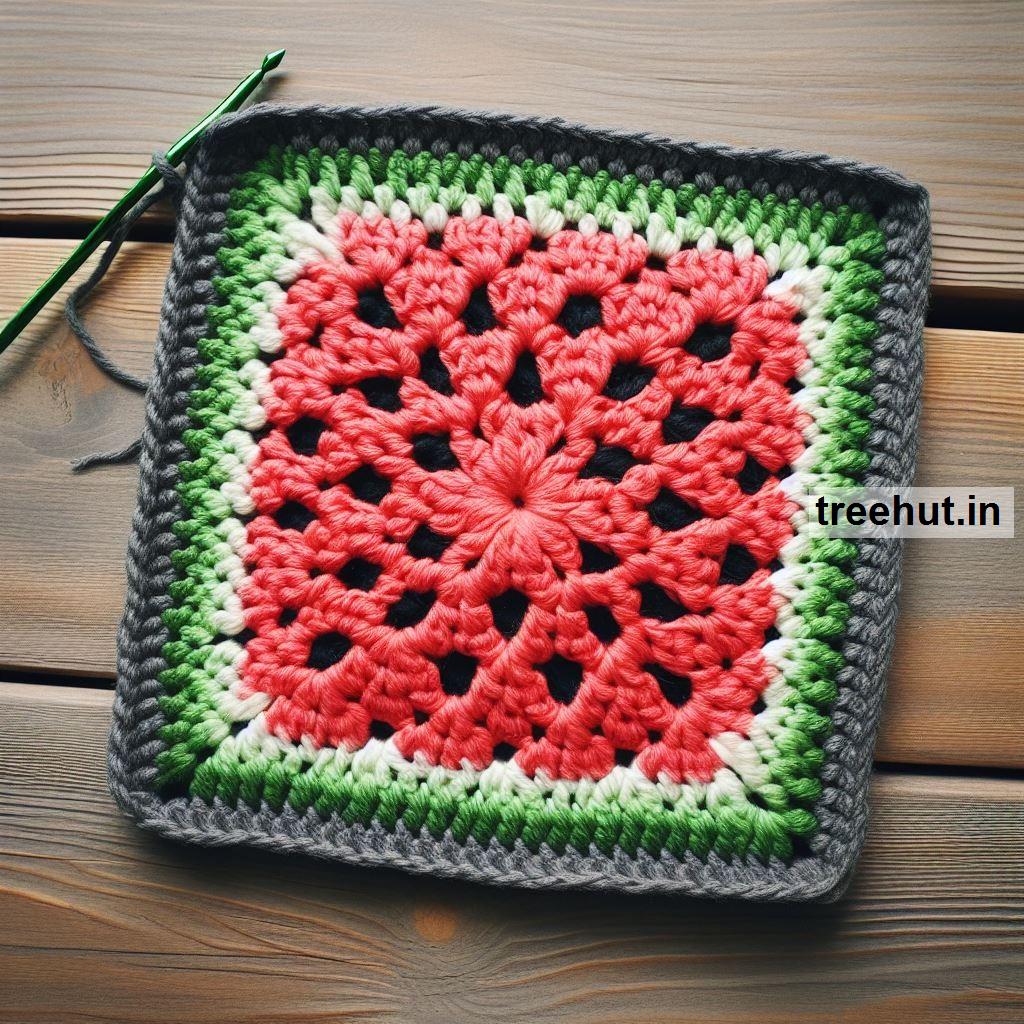
- Color Changes: You can change colors at the beginning of any round by cutting the yarn, tying a new color onto your hook, and starting the next round with the new yarn.
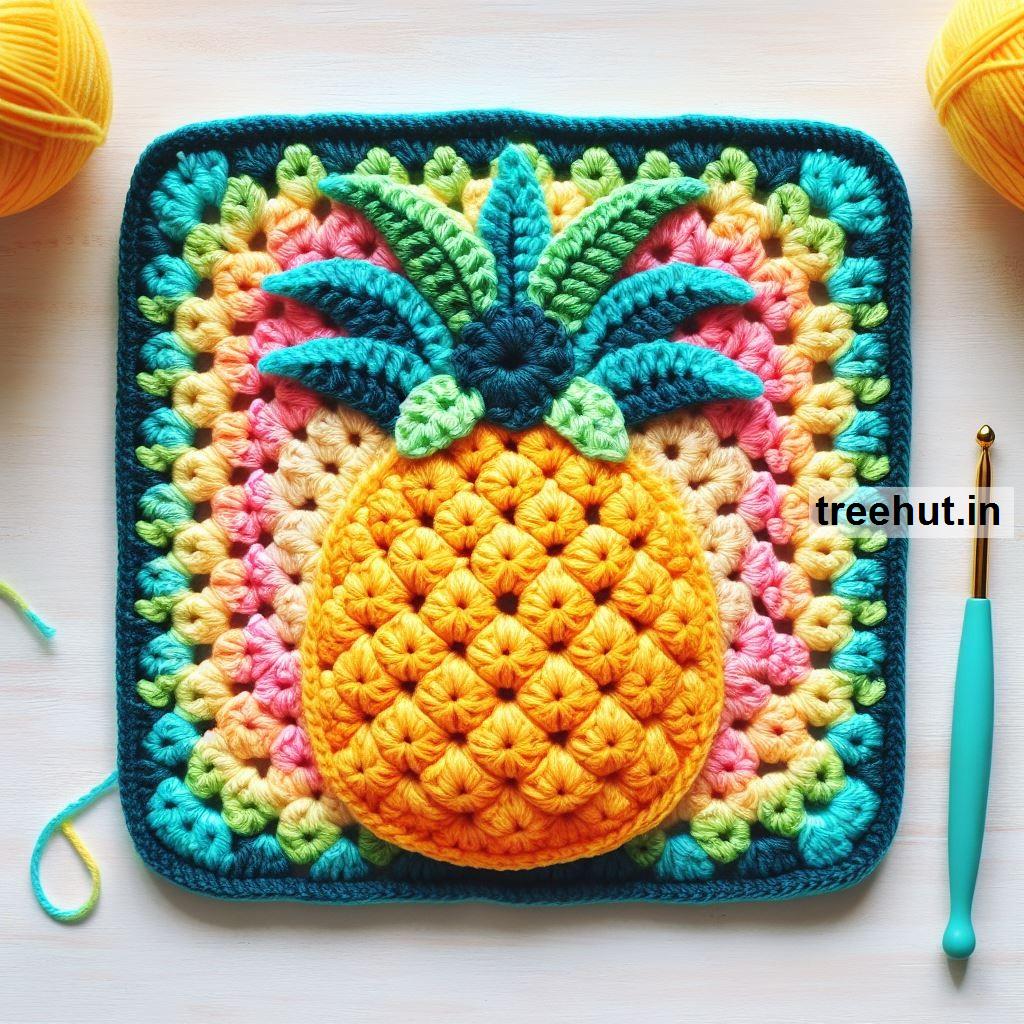
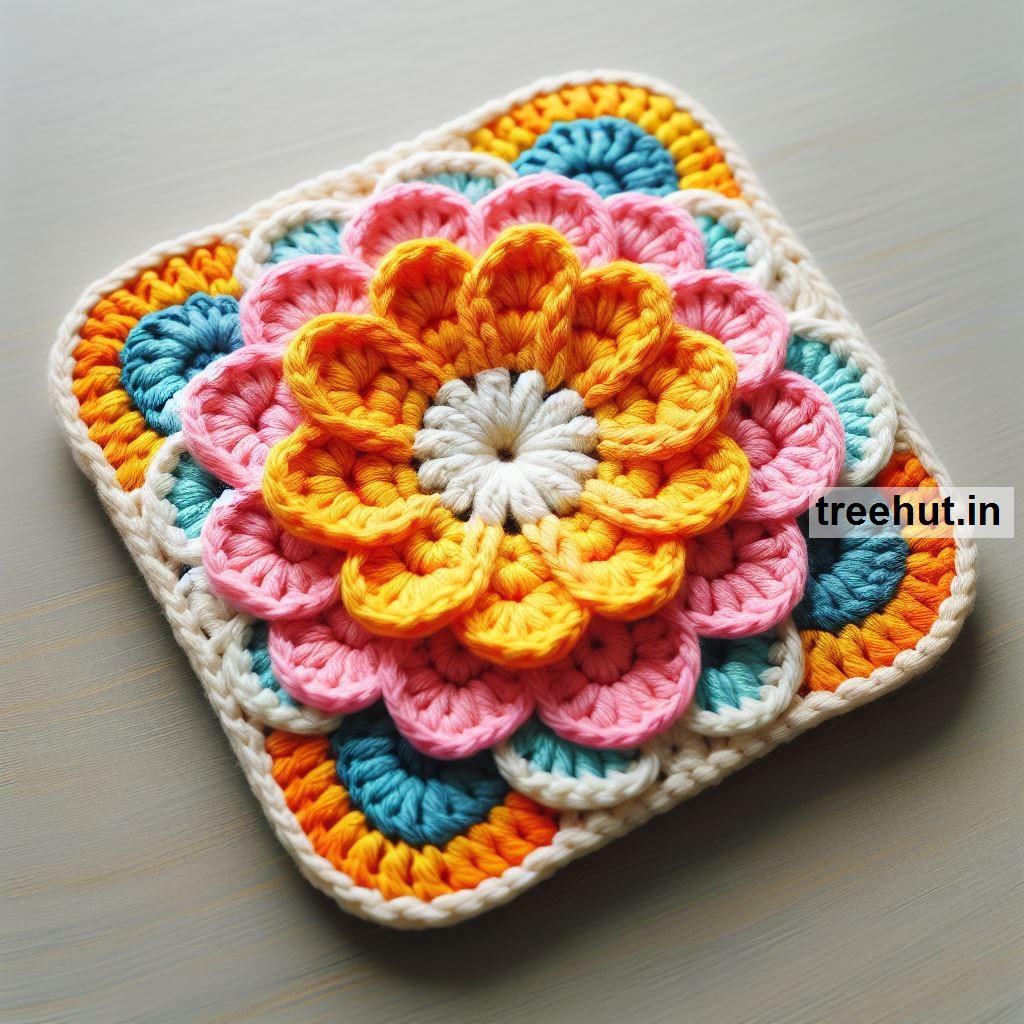
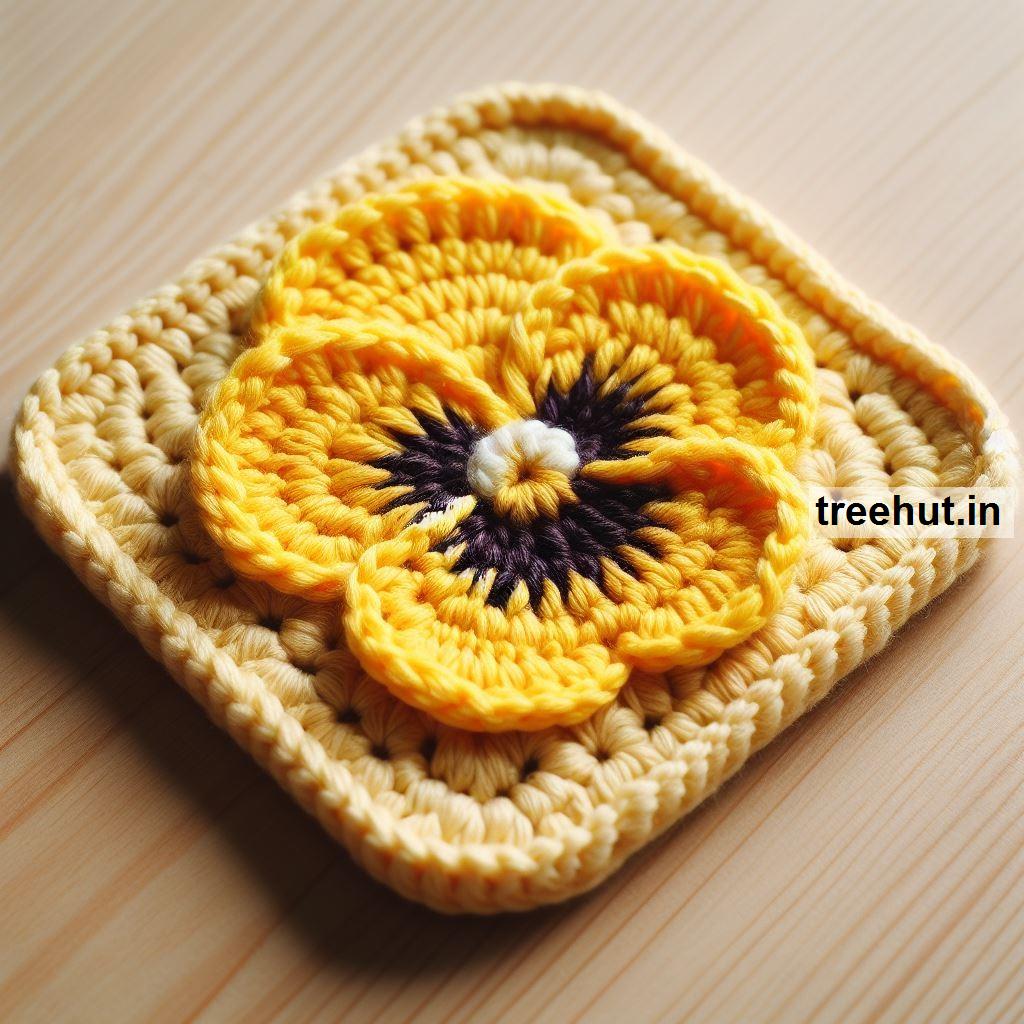
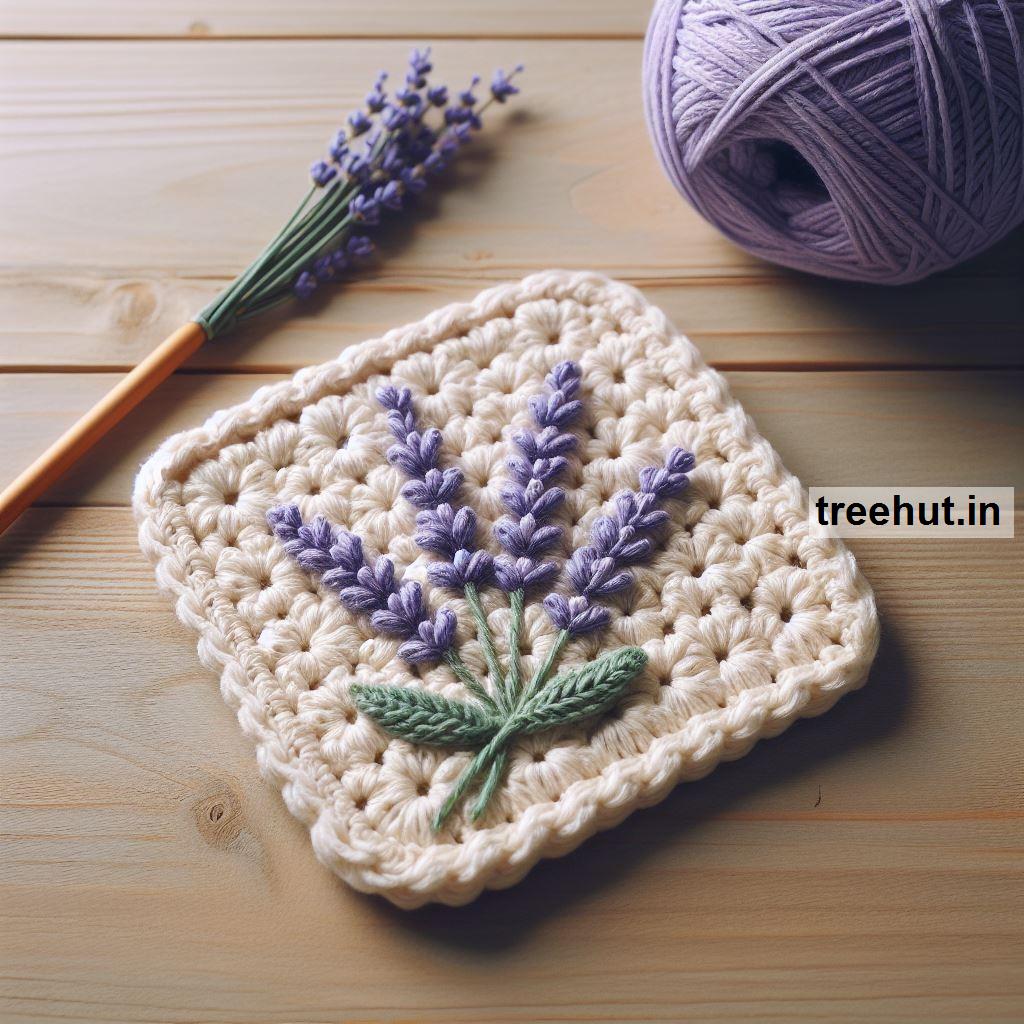
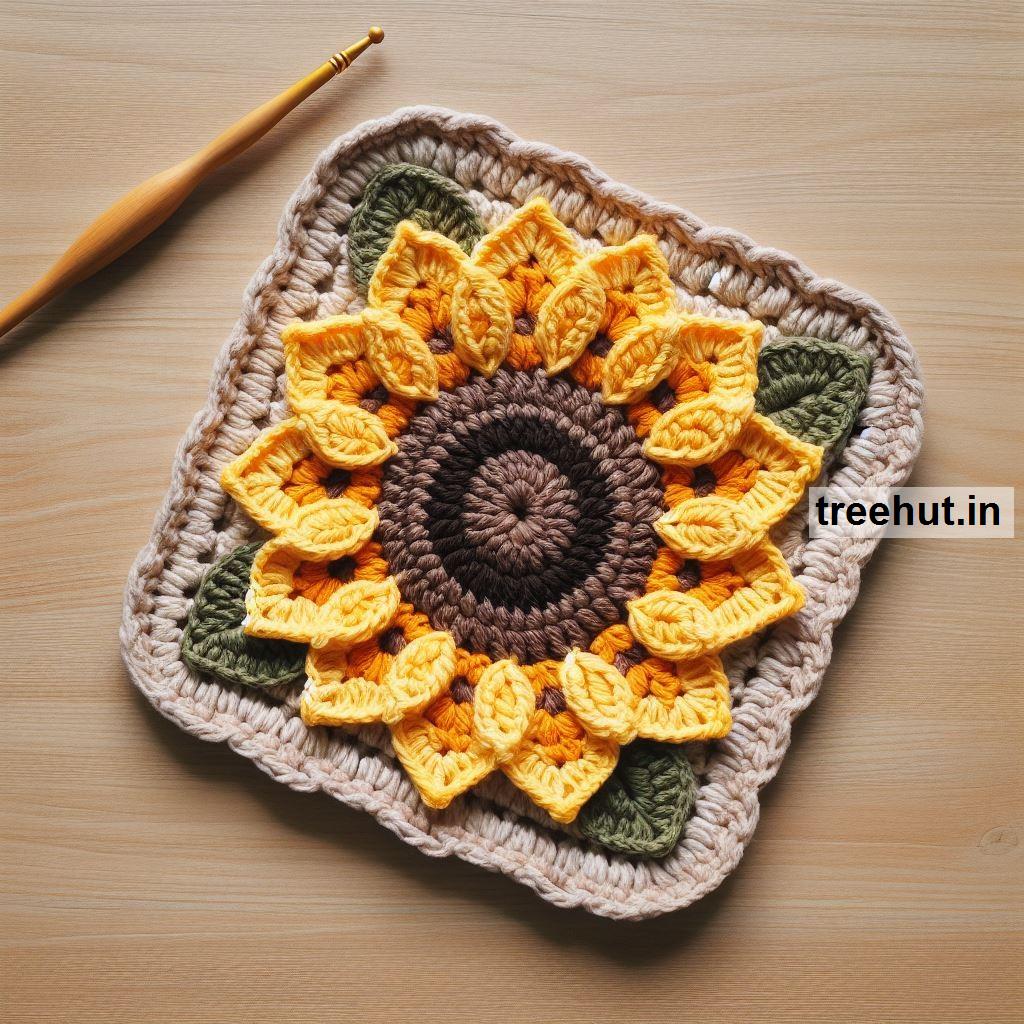
- Granny Square Variations: Once you master the basic square, try experimenting with different stitches, colors, or adding more texture (like puff stitches or shells).
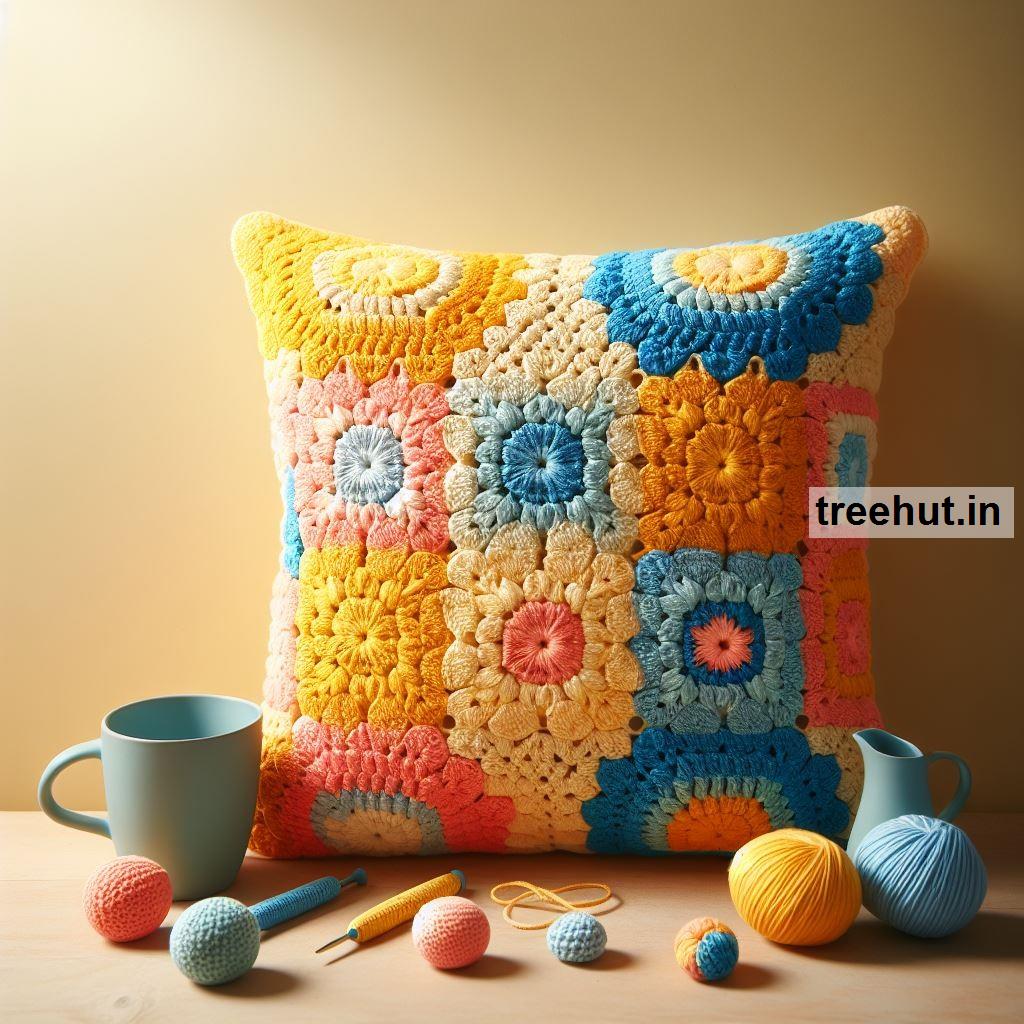
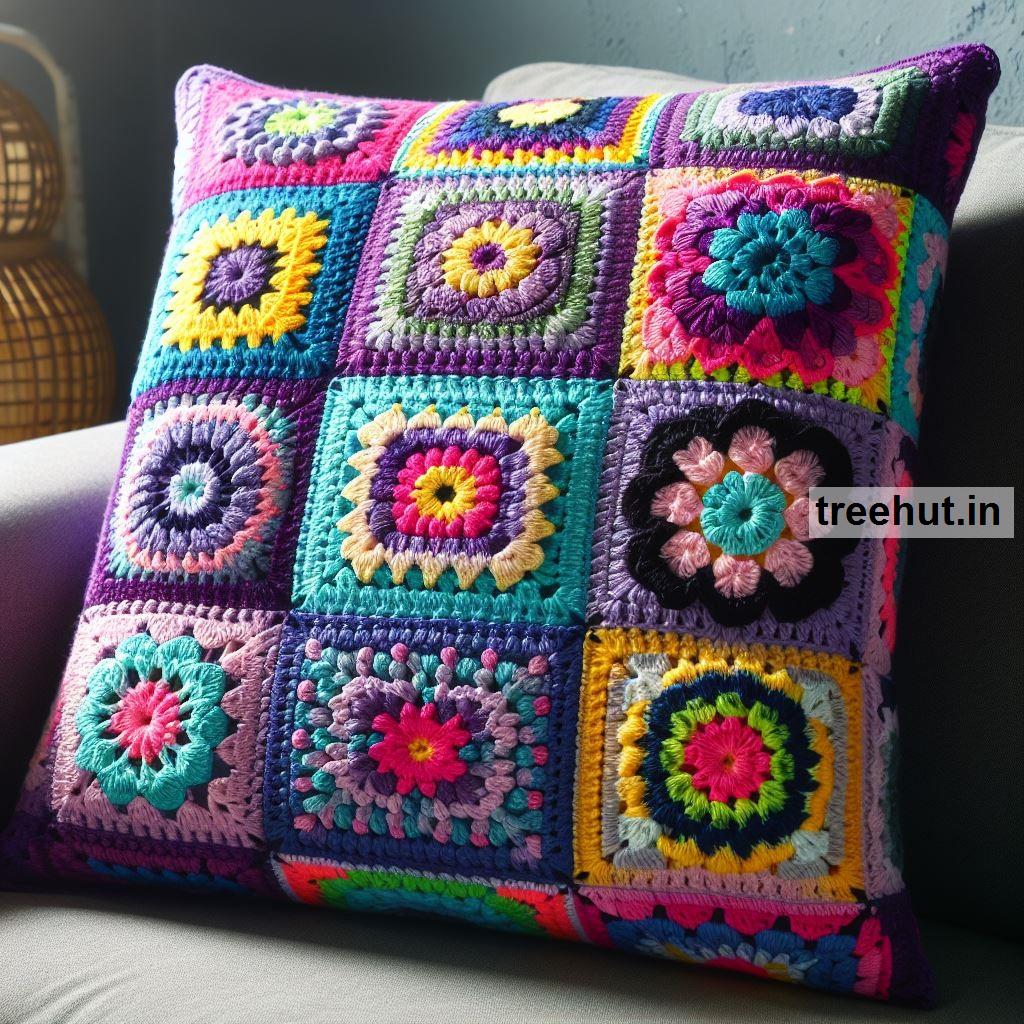
- Joining Squares: Granny squares can be joined together by sewing or crocheting the edges together for larger projects like blankets.
Now you're ready to create your first granny square! As you practice, you’ll be able to make more intricate squares and expand your crochet skills.