Kiwi Fruit Crochet Coaster Ideas for gifts or selling, How to make Kiwi crochet coasters
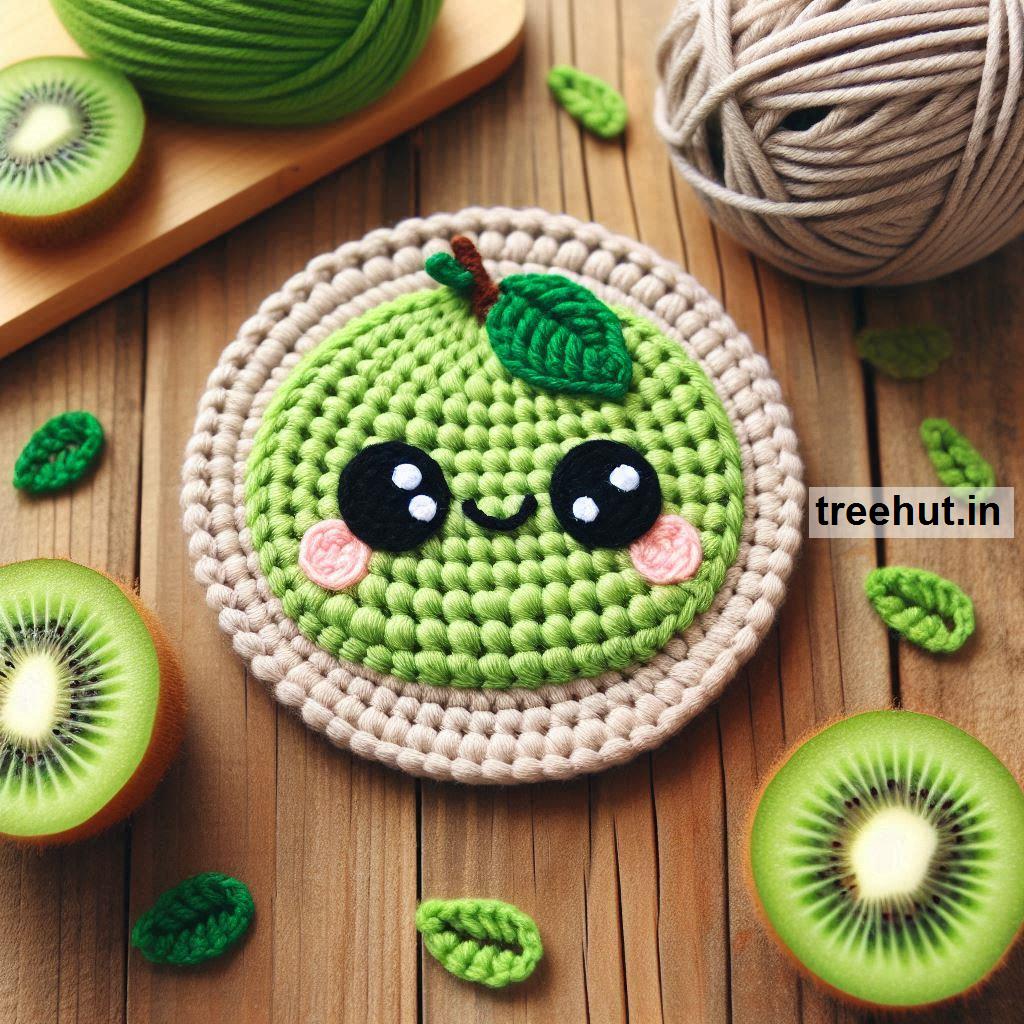
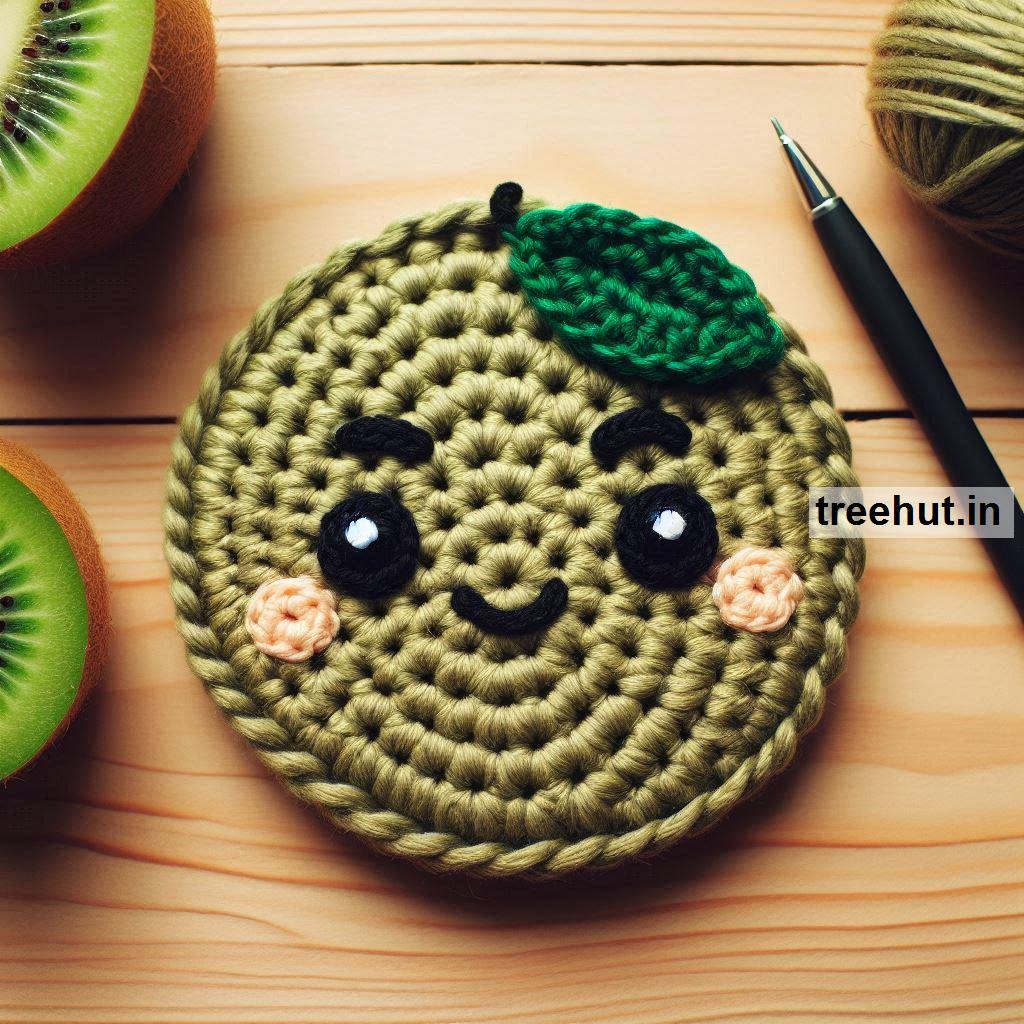
Creating Kiwi Fruit crochet coasters is a great idea for gifts or selling, especially for those who enjoy colorful, nature-inspired items. These coasters are fun to make, and their simple yet vibrant design makes them stand out. Below, you'll find several ideas for kiwi fruit coasters and a step-by-step guide on how to crochet different versions.
Ideas for Kiwi Crochet Coasters in Cotton Yarn:
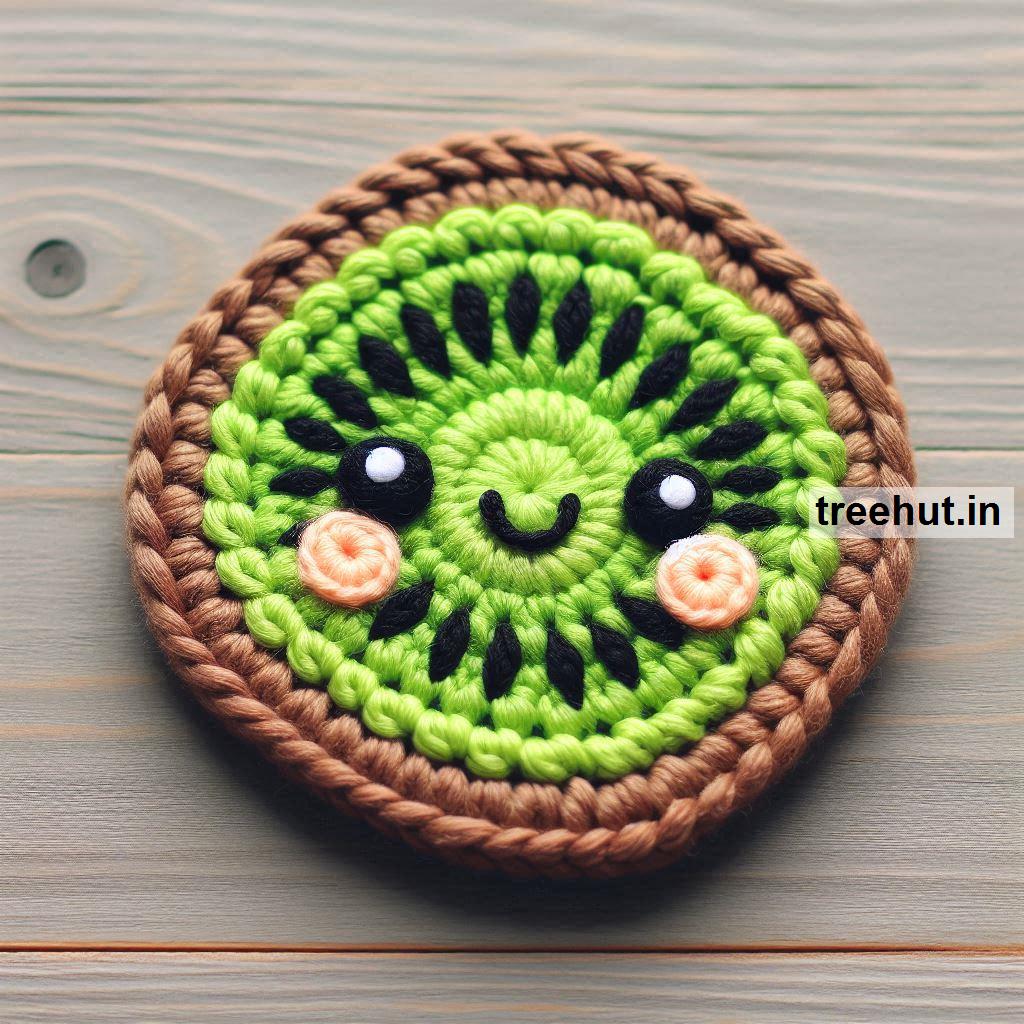
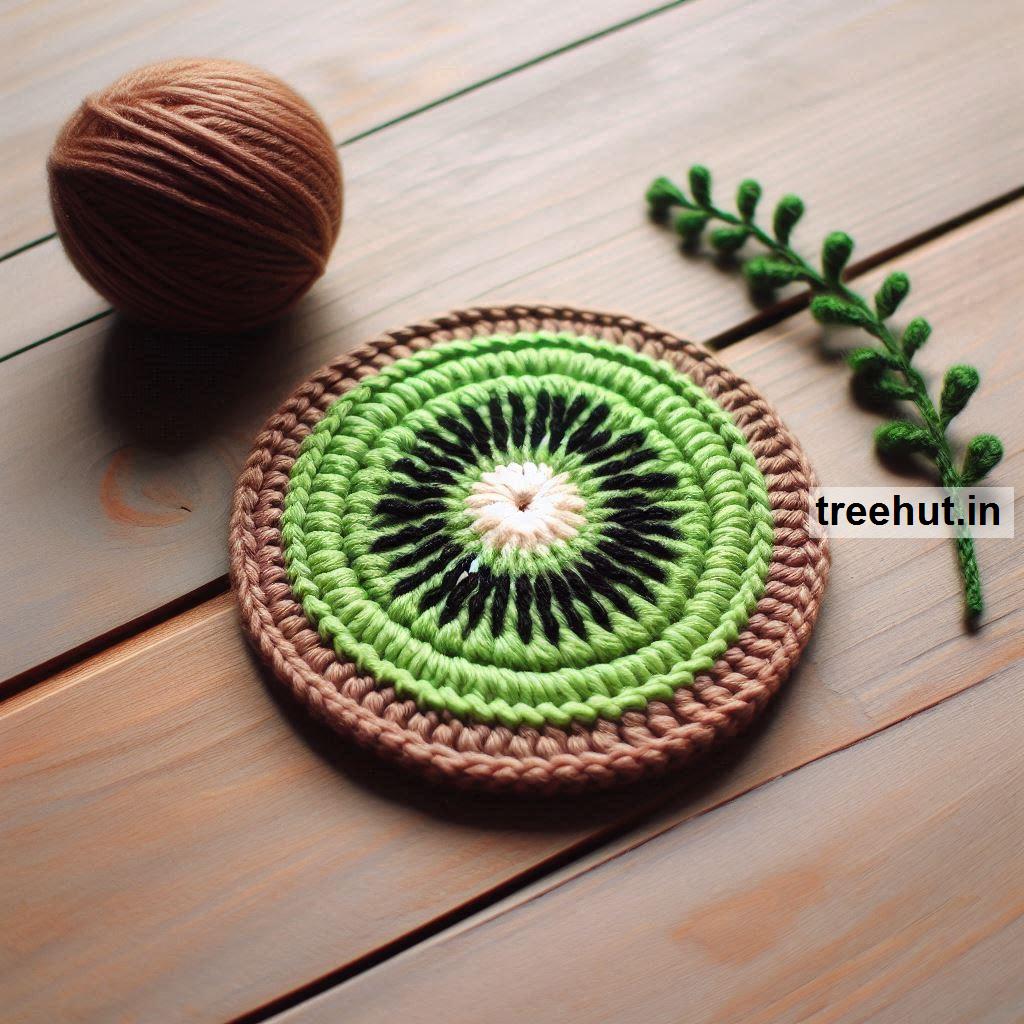
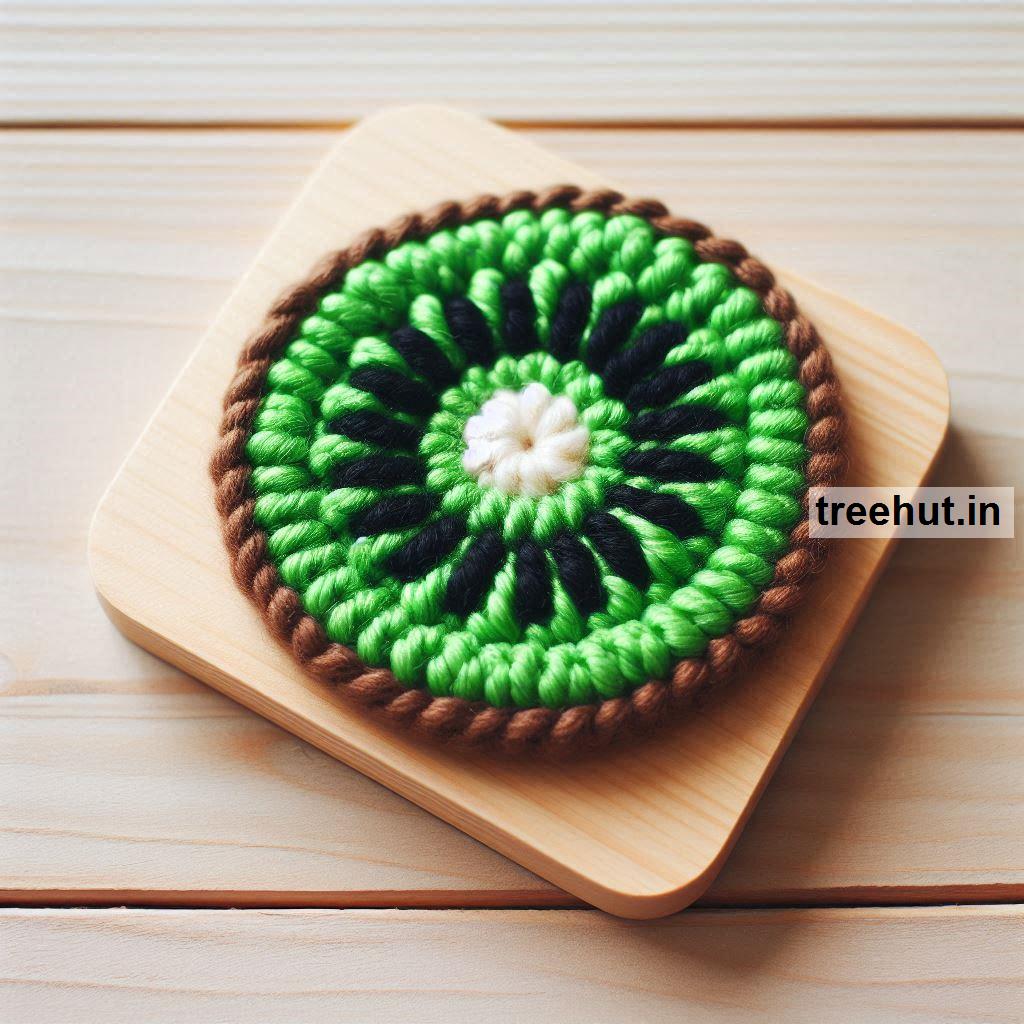
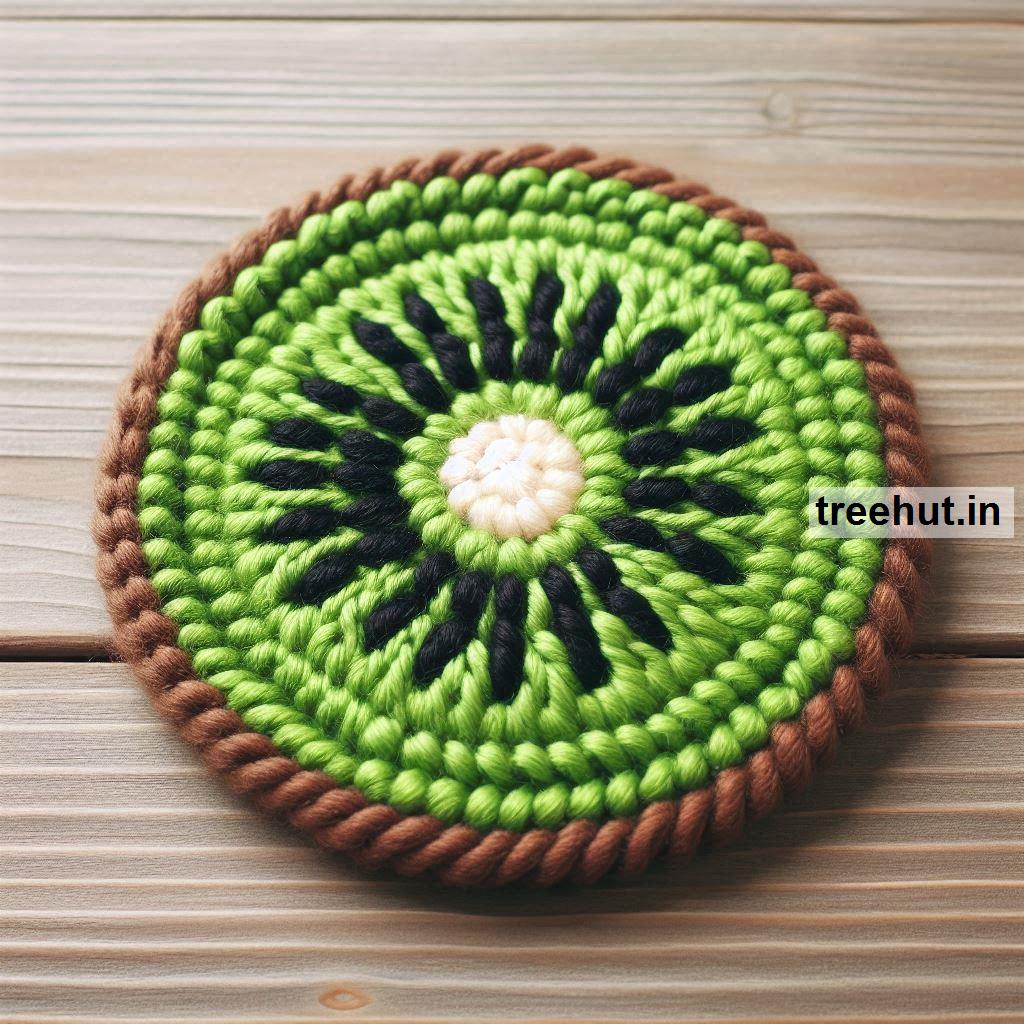
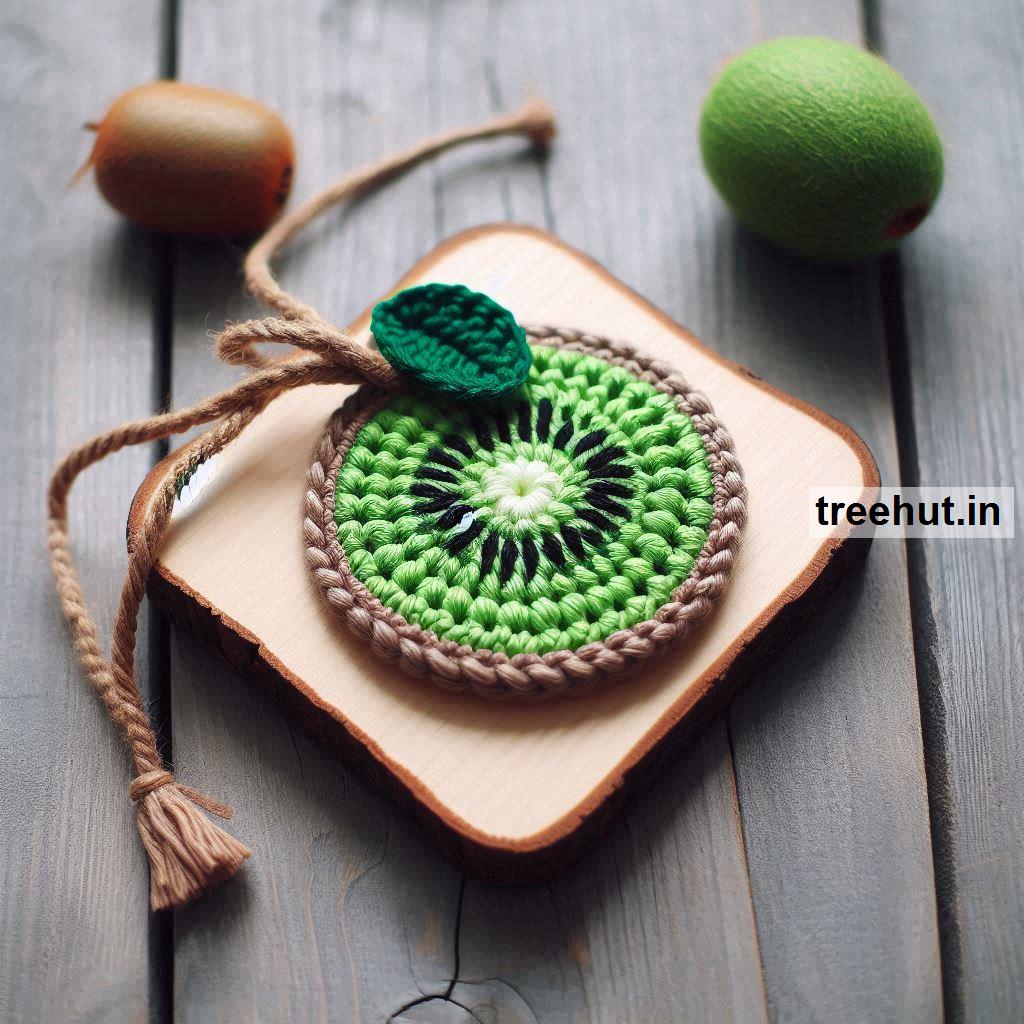
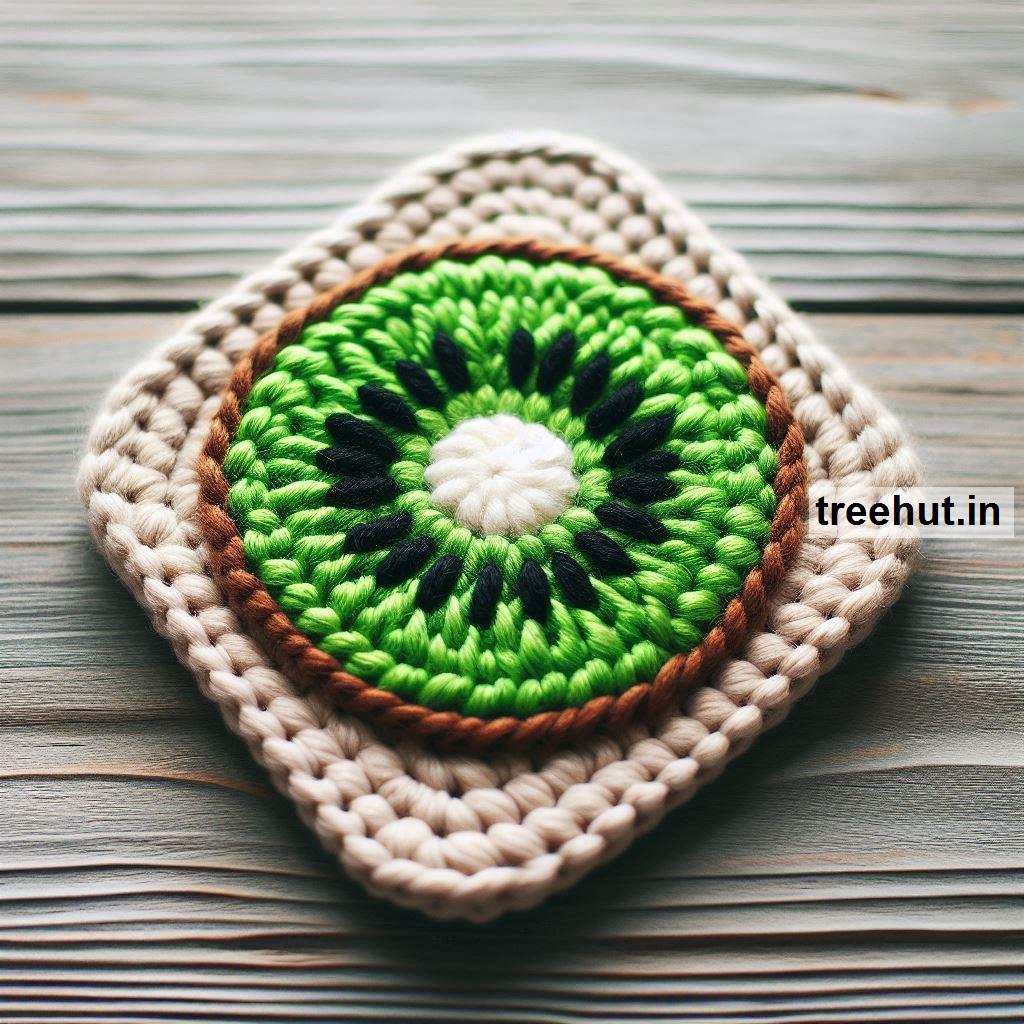
Classic Kiwi Slice Coaster:
- A circular coaster that resembles a cross-section of a kiwi fruit, with green flesh, a white center, and black seeds around the edge.
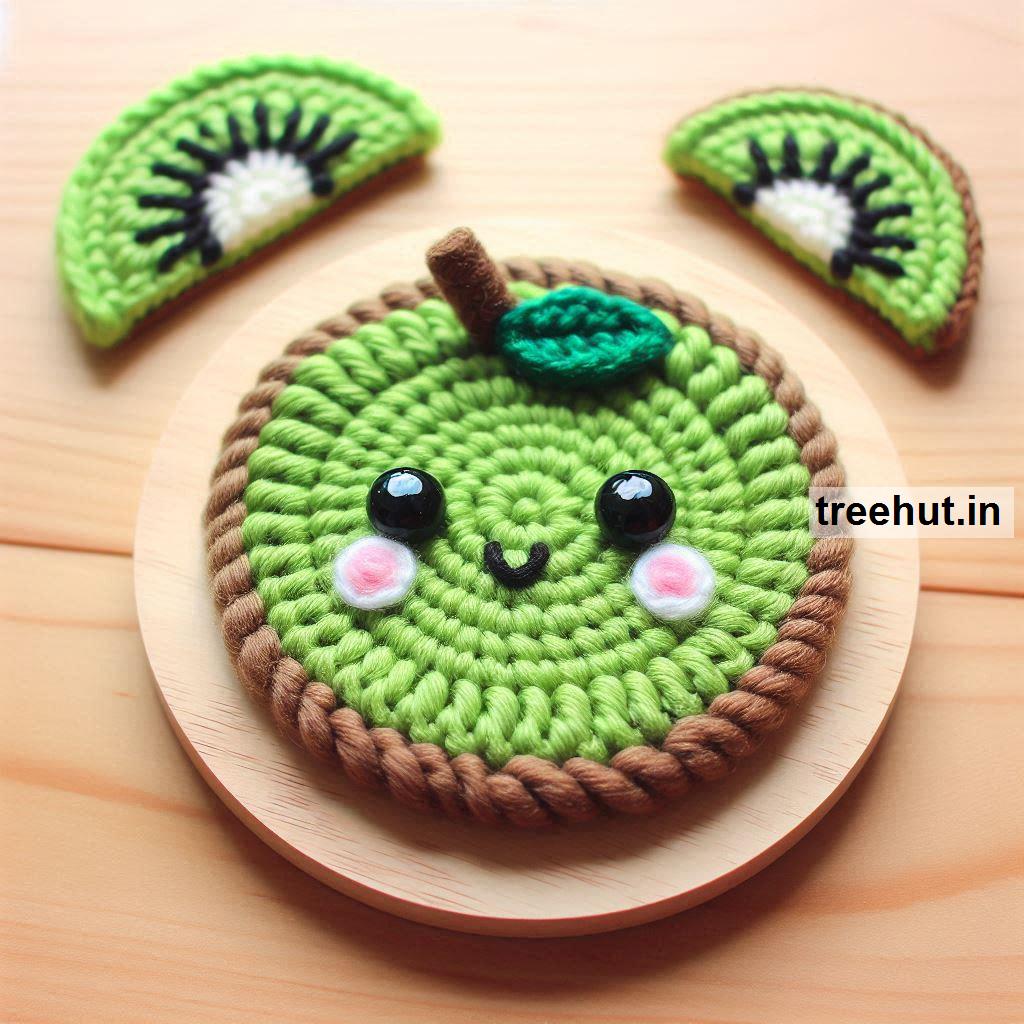
Half-Sliced Kiwi Coaster:
- Instead of a full circle, this design resembles a half-slice of kiwi, giving it a unique shape and making it a bit more playful.
Textured Kiwi Coaster:
- Add texture to the coaster by using bobble or popcorn stitches to give depth to the kiwi seeds, or by creating a textured outer "skin" edge.
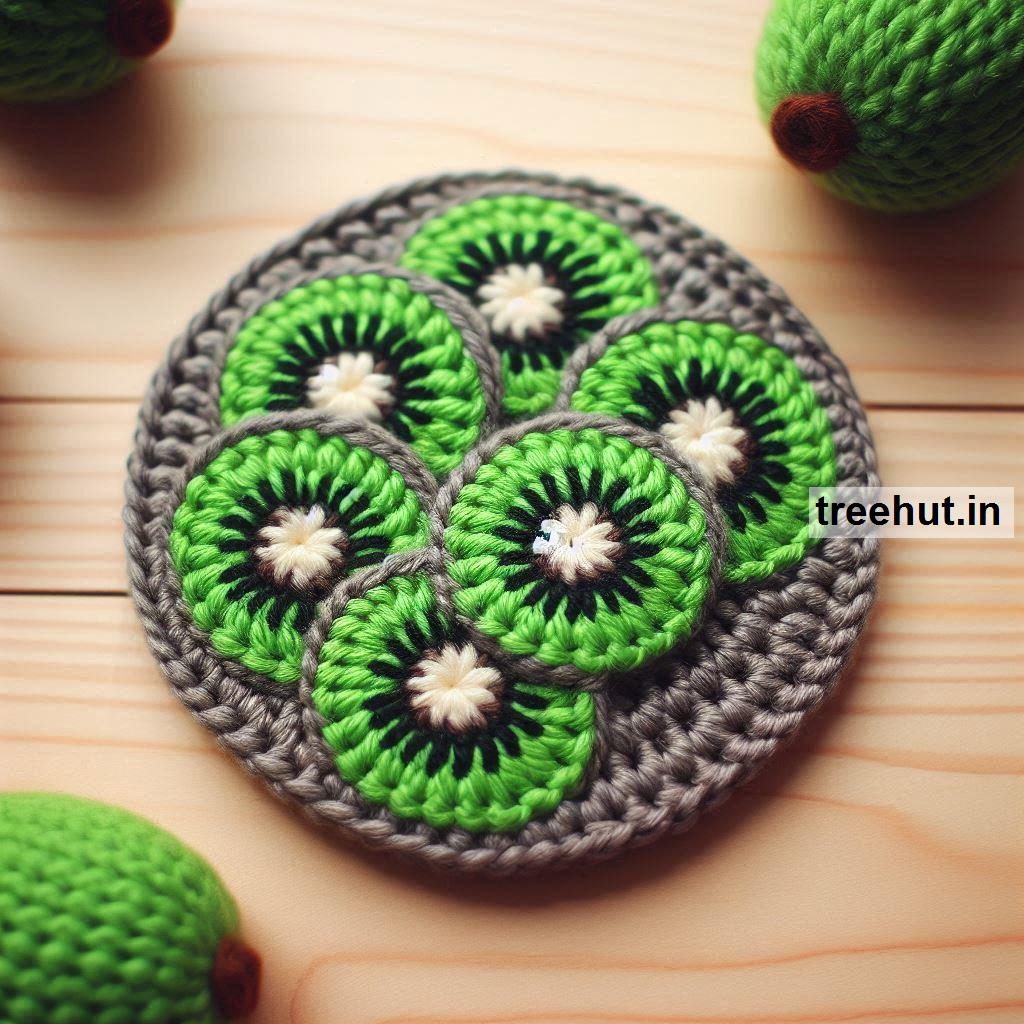
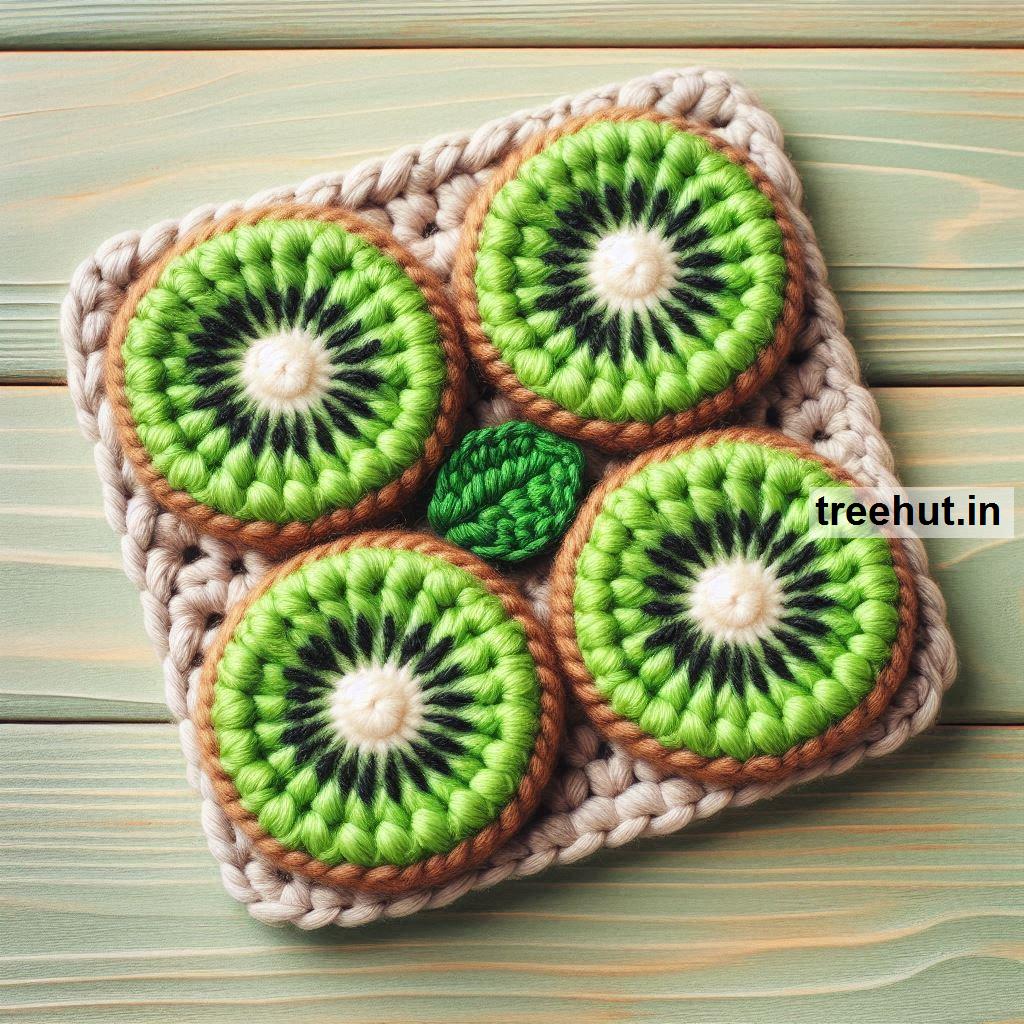
Mini Kiwi Coaster Set:
- Create a set of small coasters, each one a miniature kiwi slice. Perfect for small glasses or teacups.
Kiwi and Other Fruit Coaster Set:
- Combine kiwi coasters with other fruit designs like watermelon, lemon, or orange slices for a colorful and diverse set.
How to Make a Kiwi Fruit Crochet Coaster (Various Versions):
1. Basic Kiwi Crochet Coaster (Classic Slice Design)
Materials:
- Yarn in white (center), green (flesh), brown (skin), and black (seeds) — preferably cotton for absorbency.
- Crochet hook (appropriate size for your yarn, typically 3.5mm - 4mm).
- Tapestry needle for weaving in ends.
- Scissors.
Instructions:
Step 1: Start with the White Center
- Make a magic ring with the white yarn.
- Round 1: Ch 3 (counts as 1 dc), work 11 more dc into the ring. Sl st to the top of the first ch 3 to join. (12 dc)
- Round 2: Ch 3, 1 dc in the same stitch, 2 dc in each stitch around. Sl st to join. (24 dc)
- Fasten off the white yarn.
Step 2: Add the Green Flesh
- Attach the green yarn to any stitch from Round 2.
- Round 3: Ch 3, 1 dc in the same stitch, 1 dc in the next stitch, 2 dc in the next; repeat from * to * around. Sl st to join. (36 dc)
- Round 4: Ch 3, 1 dc in the same stitch, 1 dc in the next 2 stitches, 2 dc in the next; repeat around. Sl st to join. (48 dc)
- Fasten off the green yarn.
Step 3: Add the Brown Skin
- Attach the brown yarn to any stitch.
- Round 5: Ch 3, 1 dc in each stitch around. Sl st to join. (48 dc)
- Fasten off and weave in the ends.
Step 4: Add the Black Seeds
- Using black yarn and a tapestry needle, sew small lines or dots around the green section to represent the seeds.
- Evenly space them around the edge of the white center for a realistic look.
Finishing:
- Weave in all ends securely, and your kiwi slice coaster is ready to use or gift!
2. Half-Slice Kiwi Crochet Coaster
Materials:
- Same materials as the basic version but with half the amount of yarn for a smaller project.
Instructions:
Step 1: Create a Half Circle Base
- Start with the white yarn and ch 4.
- Row 1: Work 12 dc into the fourth ch from the hook. Ch 2 and turn.
- Row 2: Dc in the first stitch, 2 dc in each stitch across. (24 dc)
- Fasten off and switch to green yarn.
Step 2: Work the Green Section
- Row 3: Attach green yarn to the first stitch. Ch 3, 1 dc in each stitch across. (24 dc)
- Row 4: Ch 3, 1 dc in the first 2 stitches, 2 dc in the next stitch, repeat across. (36 dc)
- Fasten off and switch to brown yarn.
Step 3: Add the Brown Border
- Attach brown yarn to the first stitch.
- Row 5: Ch 3, 1 dc in each stitch across. Fasten off.
Step 4: Embroider the Seeds
- Using black yarn, embroider seeds around the green section as described in the basic coaster.
- Weave in all ends and block the coaster if needed.
3. Textured Kiwi Coaster (Using Bobble or Popcorn Stitches)
Materials:
- Same materials as for the classic kiwi coaster, but with textured stitches for the seeds.
Instructions:
Step 1: White Center
- Follow the same steps as the basic kiwi slice to create the white center.
Step 2: Green Section with Textured Seeds
- Attach green yarn.
- Round 3: Work 2 dc, then 1 bobble stitch in the next stitch (using black yarn for the bobble stitch). Repeat this pattern all the way around.
- Round 4: Work in dc, increasing as needed, but keep the bobble stitches in black at regular intervals to represent seeds.
Step 3: Brown Border
- Work the brown round the same as in the basic kiwi slice pattern.
Step 4: Finishing Touches
- Weave in all ends and ensure the coaster is lying flat. You can lightly block it for a professional finish.
4. Mini Kiwi Coaster Set (Quick and Simple)
Materials:
- Small amounts of green, white, brown, and black yarn.
- Smaller crochet hook for a tighter stitch.
Instructions:
Step 1: Small White Center
- Start with a magic ring, and work just one round of dc (12 dc) for a smaller white center.
Step 2: Green Flesh and Brown Skin
- Work two quick rounds in green yarn, followed by one round in brown for the skin.
Step 3: Add Seeds
- Sew a few black seeds using embroidery or simply crochet black dots around the green section.
Finishing:
- Fasten off, weave in the ends, and you’ll have a cute mini kiwi coaster for small cups or teacups.
Tips for Selling Kiwi Crochet Coasters:
- Customization: Offer different color options (e.g., slightly darker or lighter shades of green, fun borders, etc.) to appeal to different buyers.
- Gift Sets: Create sets of 4 or 6 coasters, either just kiwi or mixed with other fruit designs for variety.
- Packaging: Present them in eco-friendly packaging, like small cotton drawstring bags or paper boxes with a tropical theme.
- Pricing: Consider the time and materials involved when pricing your coasters. Hand-crocheted coasters can range from $5-$15 each, depending on intricacy.