



How to Make a Crochet Cucumber Appliqué, Cucumber Crochet Coasters and Potholders for Home, Gift or Selling
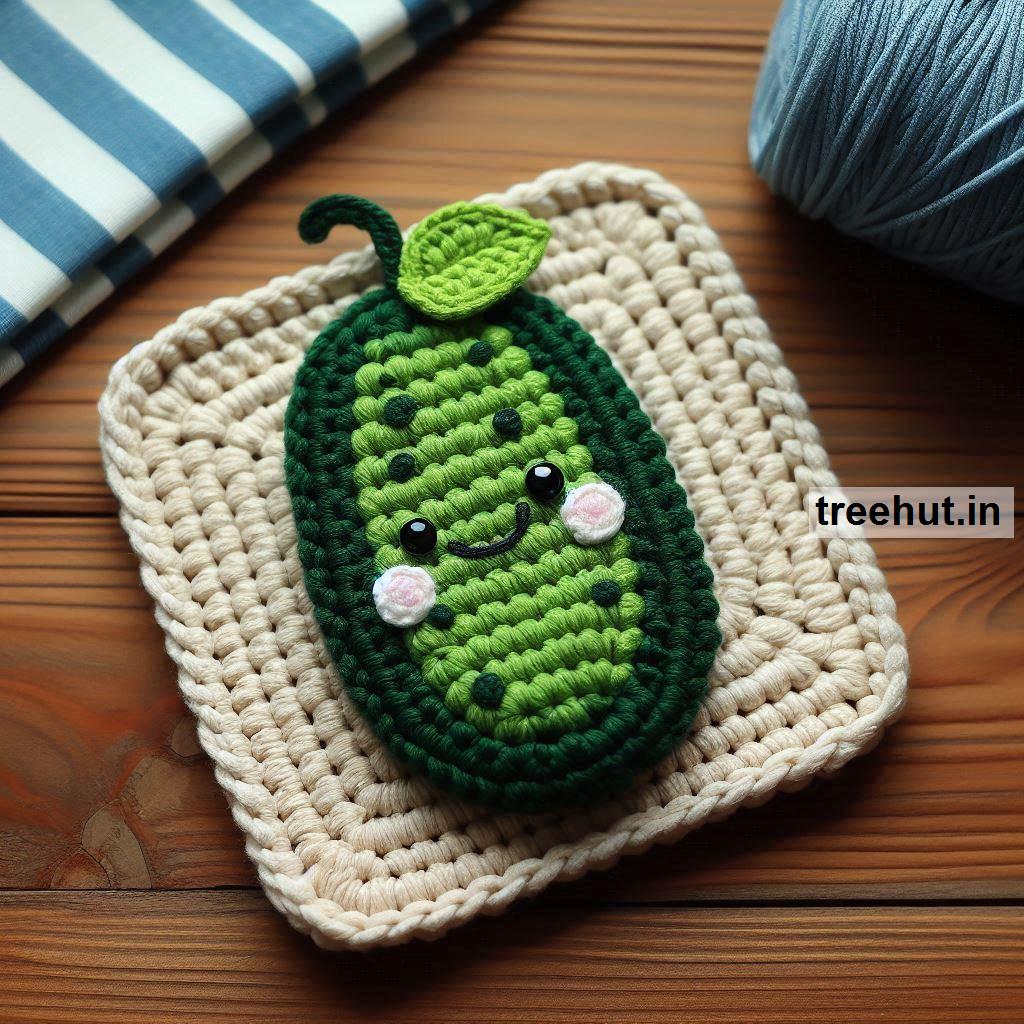
How to Make a Crochet Cucumber Appliqué
Crochet cucumber appliqués are perfect for adding a fun, whimsical touch to summer projects, kitchen decor, or even clothing. Here’s a simple guide to creating a cucumber slice appliqué.
Materials:
- Green yarn (for the outer skin)
- Light green yarn (for the inner flesh)
- White yarn (optional, for seed details)
- Crochet hook appropriate for yarn size
- Scissors
- Yarn needle (for weaving in ends and adding seed details)
Basic Cucumber Slice Appliqué Pattern:
Step 1: Start with the Inner Flesh (Light Green Yarn)
Magic Ring:
- Begin with a magic ring or adjustable loop. This helps keep the center of the cucumber slice tight.
Round 1:
- Chain 1, then work 6 single crochets into the magic ring.
- Pull the ring tight and slip stitch to the first single crochet to close the round.
Round 2:
- Chain 1, work 2 single crochets in each stitch around (total of 12 stitches).
- Slip stitch to the first stitch to close the round.
Round 3:
- Chain 1, work 1 single crochet in the first stitch, then 2 single crochets in the next stitch. Repeat this pattern around (18 stitches total).
- Slip stitch to the first stitch to close the round.
Step 2: Add the Outer Skin (Green Yarn)
Join Green Yarn:
- Attach the darker green yarn at any point along the edge of the appliqué.
Round 4:
- Chain 1, work 1 single crochet in each stitch around. For a larger cucumber slice, you can work 2 rounds in this darker green color.
- Slip stitch to the first stitch to close the round.
Step 3: Add Seeds (Optional)
- Use White Yarn:
- Cut a small length of white yarn and use a yarn needle to stitch small seed shapes randomly on the light green part of the cucumber slice.
- Make little “V” shapes or simple stitches to represent seeds.
Step 4: Fasten Off and Weave in Ends
- Once you’ve finished crocheting the cucumber slice and adding any details, fasten off the yarn and use a yarn needle to weave in any loose ends.
How to Make Cucumber-Themed Crochet Coasters
Cucumber coasters add a fresh, summery touch to your table setting. Here's how to create cucumber coasters that resemble slices of cucumber.
Materials:
- Green yarn (for the outer ring)
- Light green or white yarn (for the inner flesh)
- White yarn (optional, for seed details)
- Crochet hook
- Scissors
- Yarn needle
Basic Cucumber Coaster Pattern:
Step 1: Start with the Flesh (Light Green or White Yarn)
Magic Ring:
- Start with a magic ring and chain 1.
Round 1:
- Work 6 single crochets into the magic ring, pull it tight, and slip stitch to the first stitch.
Round 2:
- Chain 1, work 2 single crochets in each stitch around (12 stitches).
- Slip stitch to the first stitch to close the round.
Round 3:
- Chain 1, work 1 single crochet in the first stitch, then 2 single crochets in the next stitch. Repeat this pattern around (18 stitches).
Round 4:
- Chain 1, work 1 single crochet in each of the next 2 stitches, then 2 single crochets in the next stitch. Repeat this pattern around (24 stitches).
Step 2: Add the Outer Skin (Green Yarn)
Join Green Yarn:
- Switch to dark green yarn and work a round of single crochet evenly around the coaster to represent the cucumber’s skin.
- Optionally, work a second round in the same green yarn for a thicker border.
Add Seed Details:
- Use white yarn to stitch seed details onto the light green part of the coaster, just as you did with the appliqué.
Fasten Off:
- Fasten off the yarn and weave in the ends.
How to Make Cucumber-Themed Crochet Potholders
Cucumber potholders follow a similar pattern to the coasters but are slightly larger and thicker for protection from heat. Here’s how to adapt the coaster pattern to create a potholder.
Materials:
- Green yarn (outer skin)
- Light green yarn (inner flesh)
- White yarn (optional, for seed details)
- Crochet hook
- Scissors
- Yarn needle
- Cotton yarn (recommended for heat resistance)
Steps:
Step 1: Create the Inner Flesh (Light Green Yarn)
Start with the Magic Ring and Repeat Rounds from Coaster:
- Follow the same steps for creating the inner part of the cucumber coaster, but add additional rounds to make the potholder larger.
Increase the Size:
- After Round 4 (in the coaster pattern), continue increasing the size by adding more rounds of single crochet.
- For example:
- Round 5: 1 sc in each of the next 3 stitches, 2 sc in the next stitch, repeat around (30 stitches).
- Round 6: 1 sc in each of the next 4 stitches, 2 sc in the next stitch, repeat around (36 stitches).
- Continue increasing until the potholder reaches your desired size.
Step 2: Thicken the Potholder
Make a Second Circle:
- Create a second circle following the same pattern. This will be the back of the potholder.
Join the Two Circles:
- Place the two circles together and single crochet around the edge using green yarn to join them. This creates a double-thickness for heat protection.
Step 3: Add a Loop
- Create a Hanging Loop:
- When you finish joining the circles, chain 10–15 stitches to form a loop at the edge of the potholder.
- Slip stitch back into the same spot to secure the loop, then fasten off and weave in the ends.
With these patterns, you can create fun and functional cucumber-themed crochet appliqués, coasters, and potholders. These make great gifts or decorative pieces for the home, especially during summer. Experiment with different shades of green, and add details like seeds to make your projects stand out!
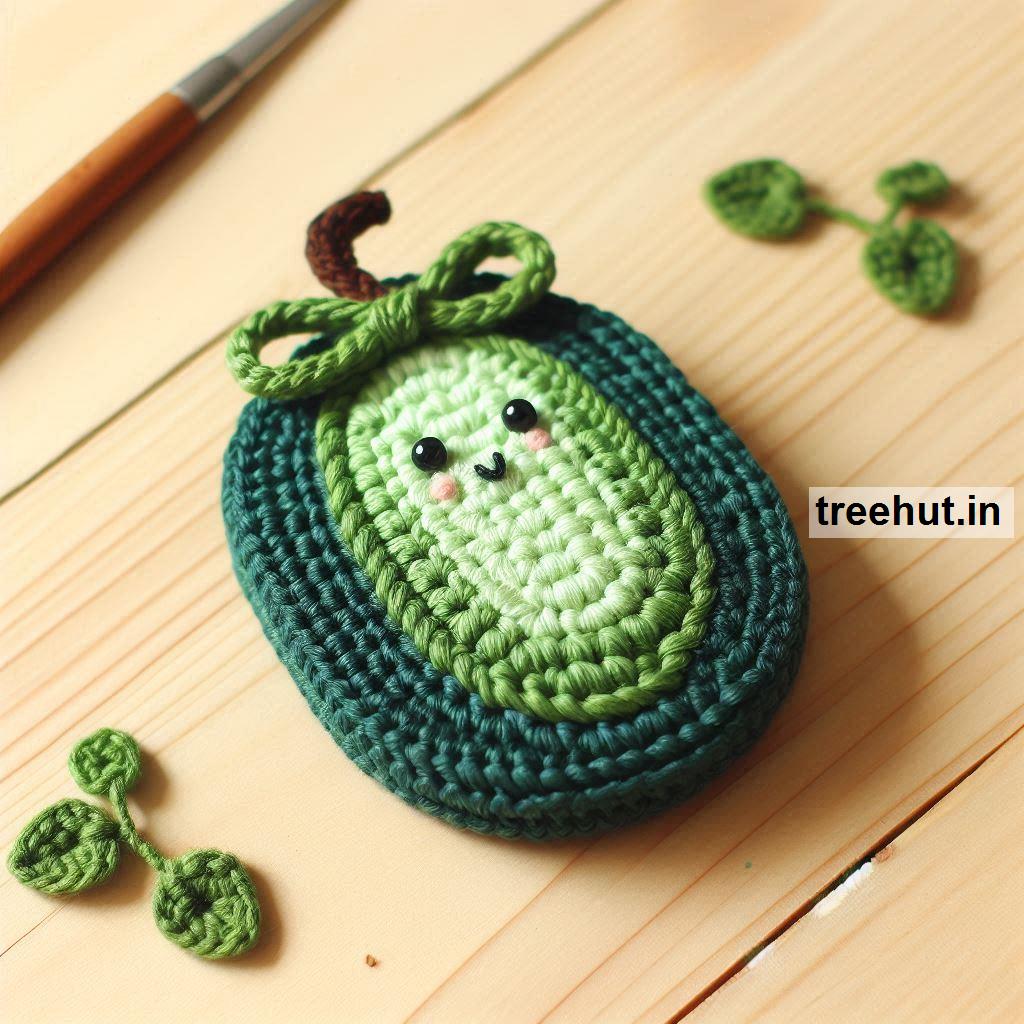
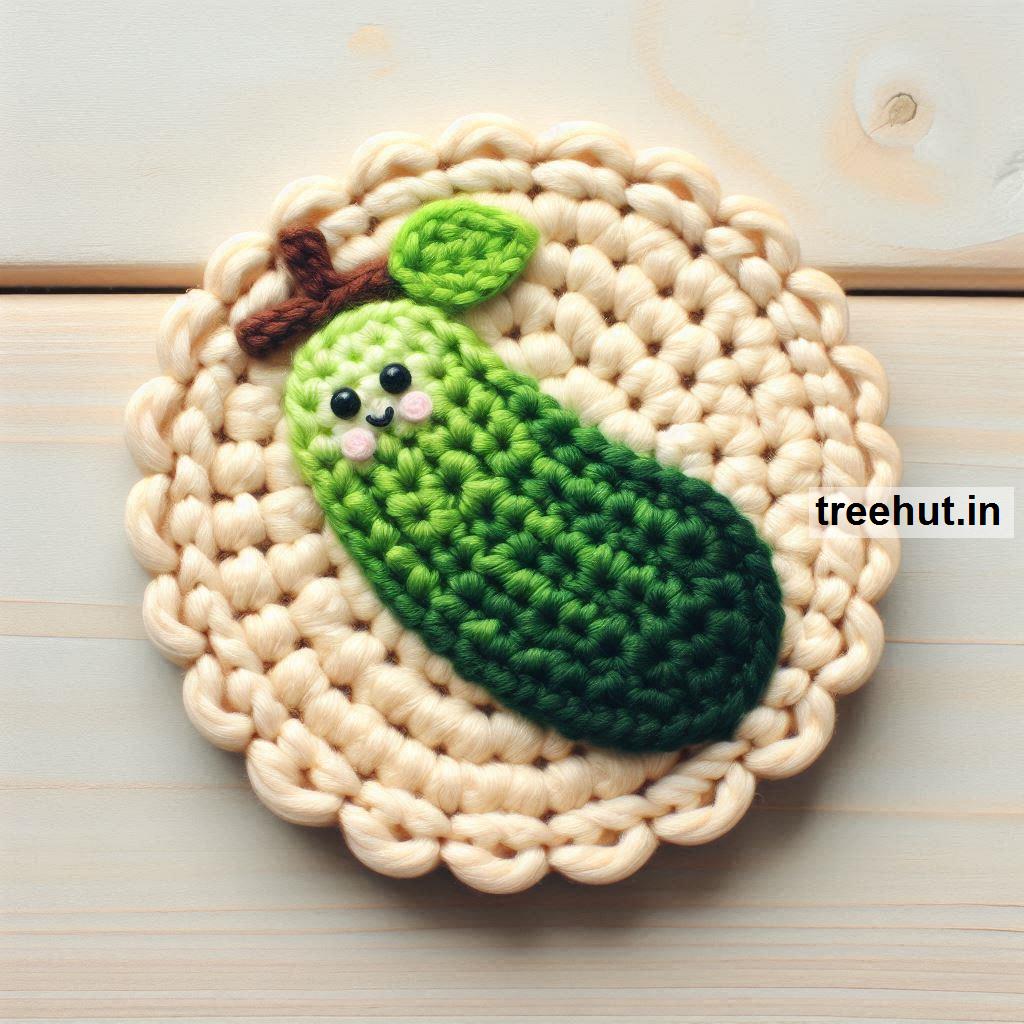
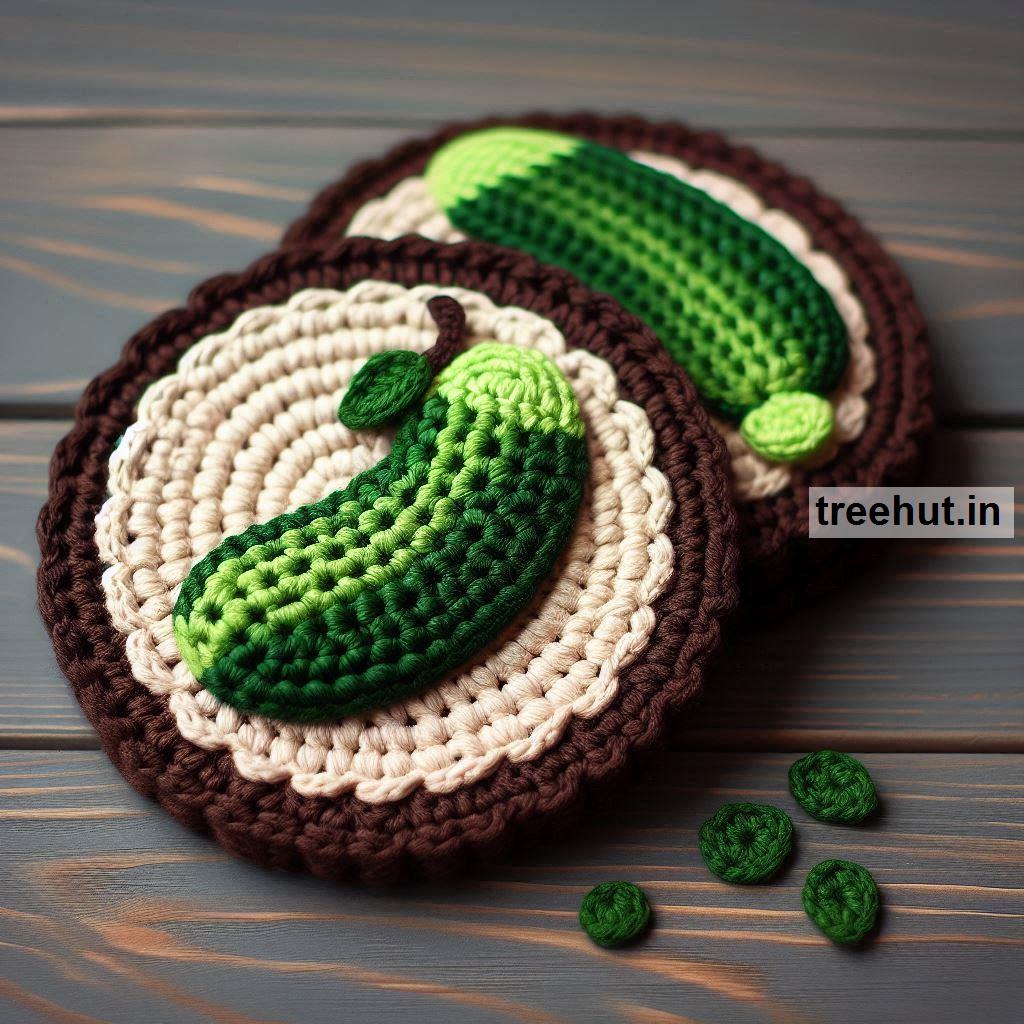
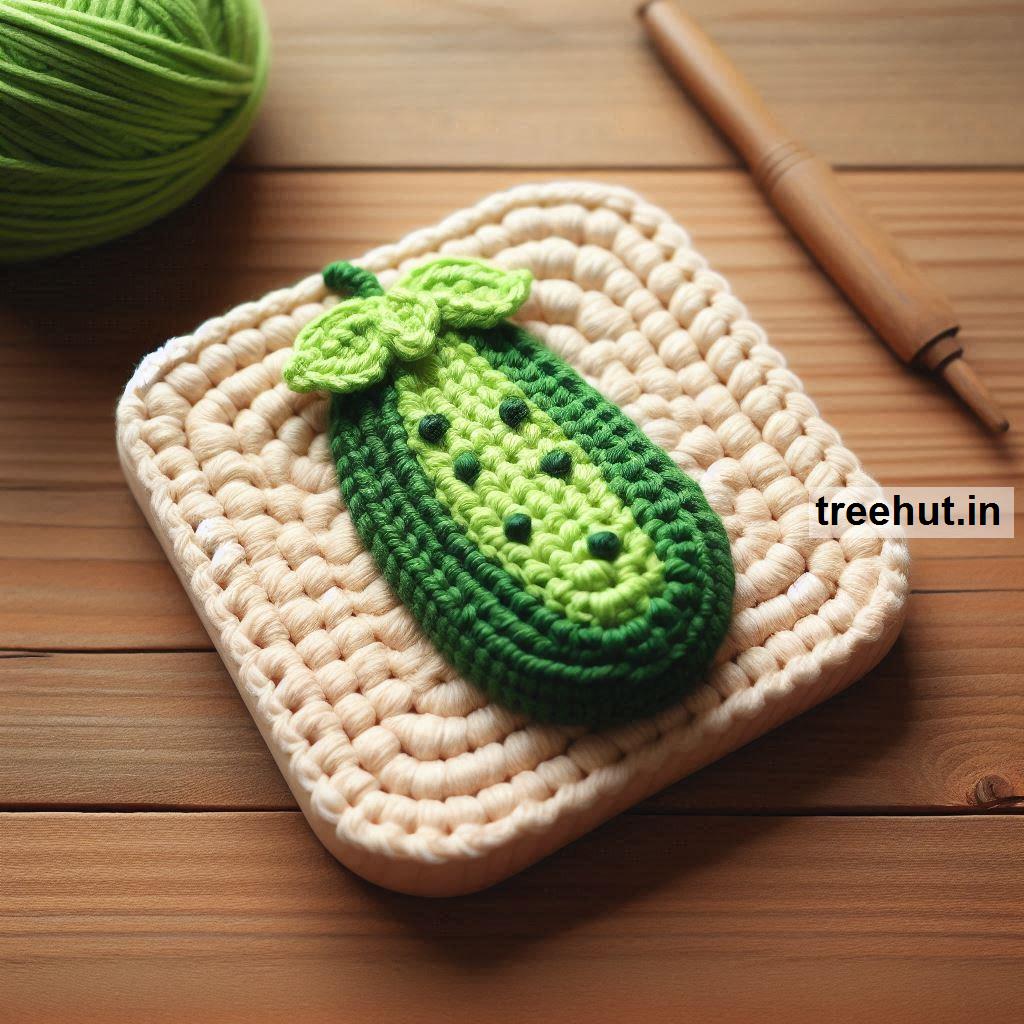
cucumber-themed coasters is a fun and creative way to add a fresh, summery touch to your home. You can experiment with different styles and techniques to get various looks, textures, and designs. Here are several ways to create crochet cucumber coasters, along with tips to help you understand the concepts and customize your designs.
1. Basic Crochet Cucumber Slice Coaster
This is the most straightforward version of a cucumber coaster, where you create a round design resembling a cucumber slice.
Materials:
- Green yarn (for the outer skin)
- Light green or white yarn (for the inner flesh)
- Optional: white yarn for seeds
- Crochet hook suitable for your yarn
- Scissors and yarn needle for weaving in ends
Steps:
Inner Flesh (Light Green or White Yarn)
- Start with a magic ring. Chain 1 and work 6 single crochets into the ring.
- Increase round: Chain 1, work 2 single crochets in each stitch (total of 12 stitches).
- Next round: Work 1 single crochet in the first stitch, then 2 single crochets in the next stitch. Continue this pattern around (total of 18 stitches).
- Outer Rounds: Continue increasing by adding more single crochets between each increase until the coaster is the desired size. This will form the fleshy inside of the cucumber.
Outer Skin (Dark Green Yarn)
- Attach the green yarn to the outer edge. Work a round of single crochet all the way around the edge.
- To make the skin more prominent, you can add an extra round of single crochet or half double crochet.
Seeds (Optional)
- Use white yarn and a yarn needle to stitch small "V" shapes or single straight lines for seeds randomly around the inner part of the coaster.
2. Textured Cucumber Coaster
To add more realism and depth, you can experiment with textured stitches to imitate the natural bumps of a cucumber.
Materials:
- Green yarn for the skin
- Light green for the flesh
- Crochet hook
- Tapestry needle
- Scissors
Steps:
Inner Section with Puff Stitches:
- Start the inner flesh (light green yarn) as usual with a magic ring and rounds of single crochet.
- Once you have completed two or three rounds, switch to puff stitches in every second stitch in the next round to give the coaster a bumpier texture. This adds a realistic element, as cucumbers have a bit of texture.
- Work a few rounds alternating between puff stitches and single crochet.
Outer Skin:
- Use dark green yarn for the outer round, using front post single crochet in every other stitch to create a raised border that mimics the skin of the cucumber.
Seeds: As in the basic coaster, add seeds using embroidery or contrasting yarn.
3. Cucumber Coaster with Raised Seeds
If you want to give more dimension to the seeds, you can crochet raised elements to represent them.
Materials:
- Green, light green, and white yarn
- Crochet hook
- Scissors, yarn needle
Steps:
Cucumber Slice Base:
- Follow the basic cucumber slice pattern as described in the first method.
Raised Seeds:
- Using white yarn, create raised seeds by working small bobble stitches in random spots in one of the last rounds of the inner light green section. A bobble stitch is made by working several incomplete double crochets into the same stitch, then closing them together to form a bump.
Finishing:
- Complete the coaster by crocheting a round of single crochet in dark green for the outer skin. Add extra rows of green yarn to make the coaster more defined if desired.
4. Cucumber Spiral Coaster
For a more abstract design, try making a cucumber spiral that mimics a cucumber cut in a wavy or spiral shape.
Materials:
- Light and dark green yarn
- Crochet hook
- Scissors and yarn needle
Steps:
Spiral Base:
- Start with a magic ring using light green yarn. Chain 1 and work 6 single crochets into the ring.
- In the next round, increase by working 2 single crochets in each stitch.
- Continue working in the round, but instead of increasing evenly, add extra stitches randomly in some spots to form a wavy, spiral edge. For example, in one round, you could work 1 sc, 1 hdc, 1 dc, 1 hdc, and so on.
- This will create a more dynamic, uneven look that resembles a cucumber slice with a spiral shape.
Outer Skin:
- Switch to dark green yarn and crochet one or two rounds of single crochet or half double crochet to form the skin of the cucumber.
Seed Embellishments:
- You can use white yarn to add seeds with a tapestry needle or crochet them with tiny chain stitches and attach them to the flesh part.
5. Two-Layer Cucumber Coaster
To make your coasters thicker and more durable, create two layers and join them together.
Materials:
- Light green and dark green yarn
- Crochet hook
- Scissors and yarn needle
Steps:
First Layer:
- Follow the basic pattern for a cucumber slice coaster, working rounds of single crochet and increasing as necessary until the desired size is achieved.
Second Layer:
- Create a second identical circle using the same pattern and colors.
Joining Layers:
- Place the two circles together and single crochet around the edge with dark green yarn, joining them into one thick coaster.
- For extra texture and style, you can insert a round of back post single crochet before joining the layers.
Seeds and Details:
- Add seed embellishments using embroidery or contrasting yarn before or after joining the two layers.
6. Cucumber Potholder
By following the same steps as the cucumber coaster but creating a larger version, you can make a cucumber-themed potholder.
Key Differences from Coaster:
- Increase the number of rounds to make the potholder larger, allowing it to cover more surface area.
- Use cotton yarn for heat resistance, as acrylic yarn might melt when exposed to heat.
- Add a hanging loop by chaining 10–15 stitches at the end and securing it to the edge before fastening off.
Final Touches and Customizations
- Embroidery Highlights: Use embroidery floss or thin yarn to add small seed details or highlights to your cucumber slice, making the design pop.
- Use Variegated Yarn: Using variegated green yarn can add more dimension and color variation to the cucumber slice, giving it a more natural look.
- Add a Border: For a more polished look, add a final decorative round of crochet in contrasting yarn, such as a picot edge, shell stitch, or reverse single crochet (also called the crab stitch).