How do I crochet a hat, and tips for choosing the right yarn, pattern, and size? Crochet Techniques
How do I crochet a hat, and what are some tips for choosing the right yarn, pattern, and size?
Crocheting a hat is a fun and practical project that can be customized to fit any style, season, or size. Here’s a comprehensive guide on how to crochet a hat, along with tips for selecting yarn, patterns, and determining the right size.
How to Crochet a Hat:
Choose a Pattern:
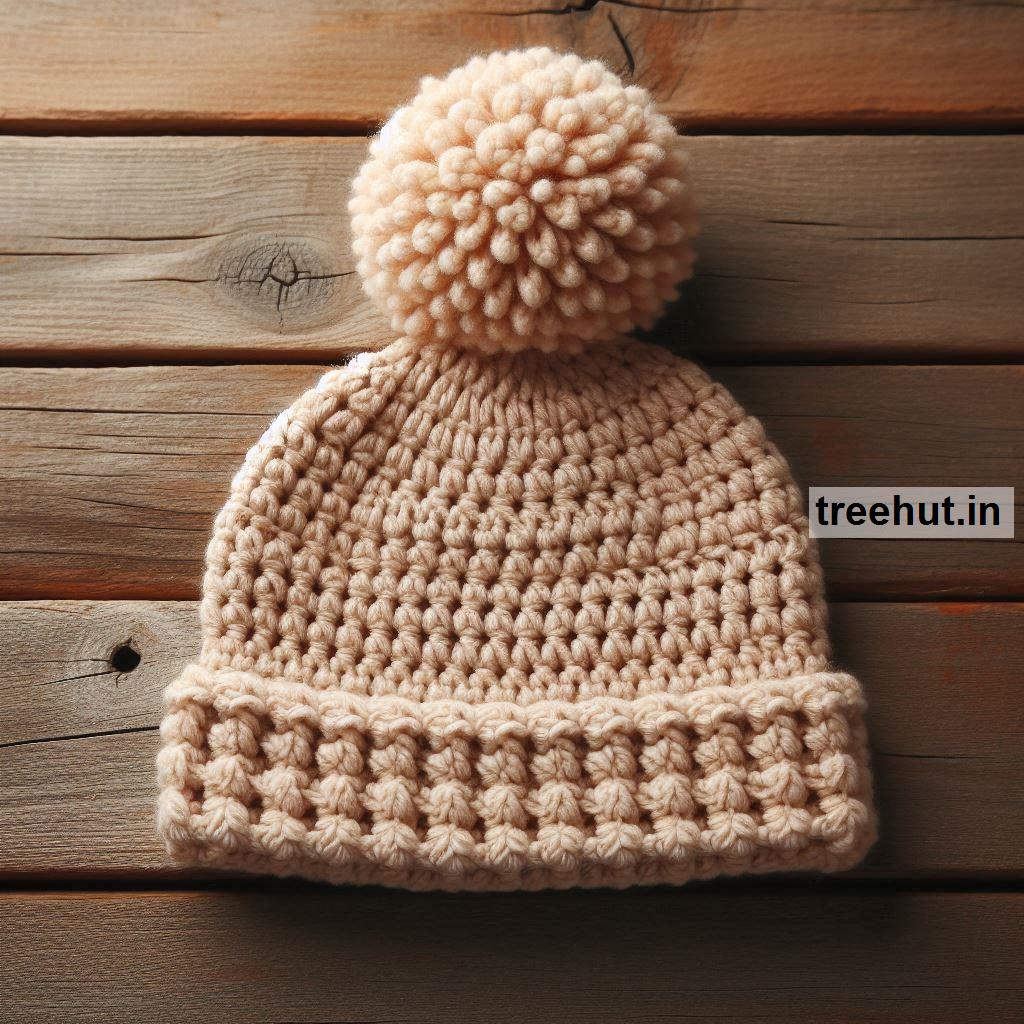
- Basic Patterns: For beginners, start with simple patterns like a basic beanie or slouchy hat using single crochet (sc) or double crochet (dc) stitches.
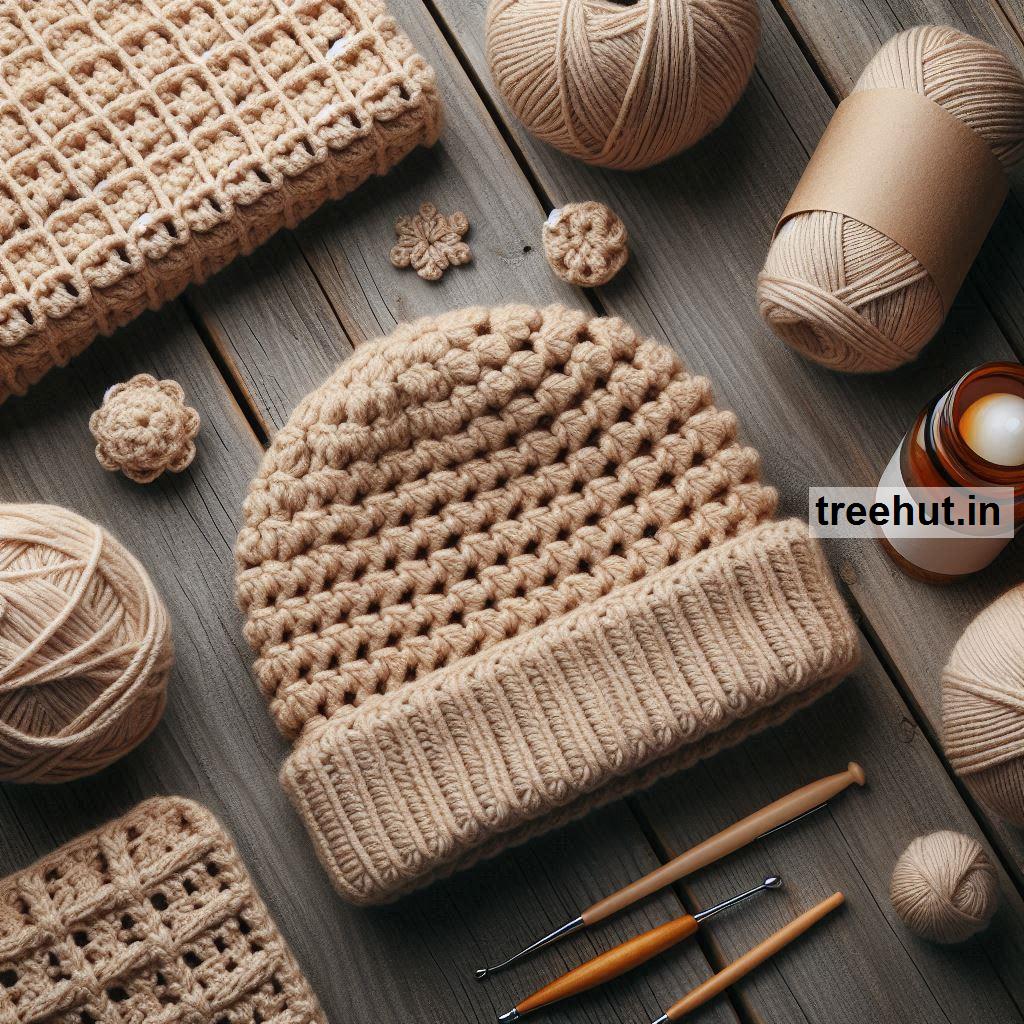
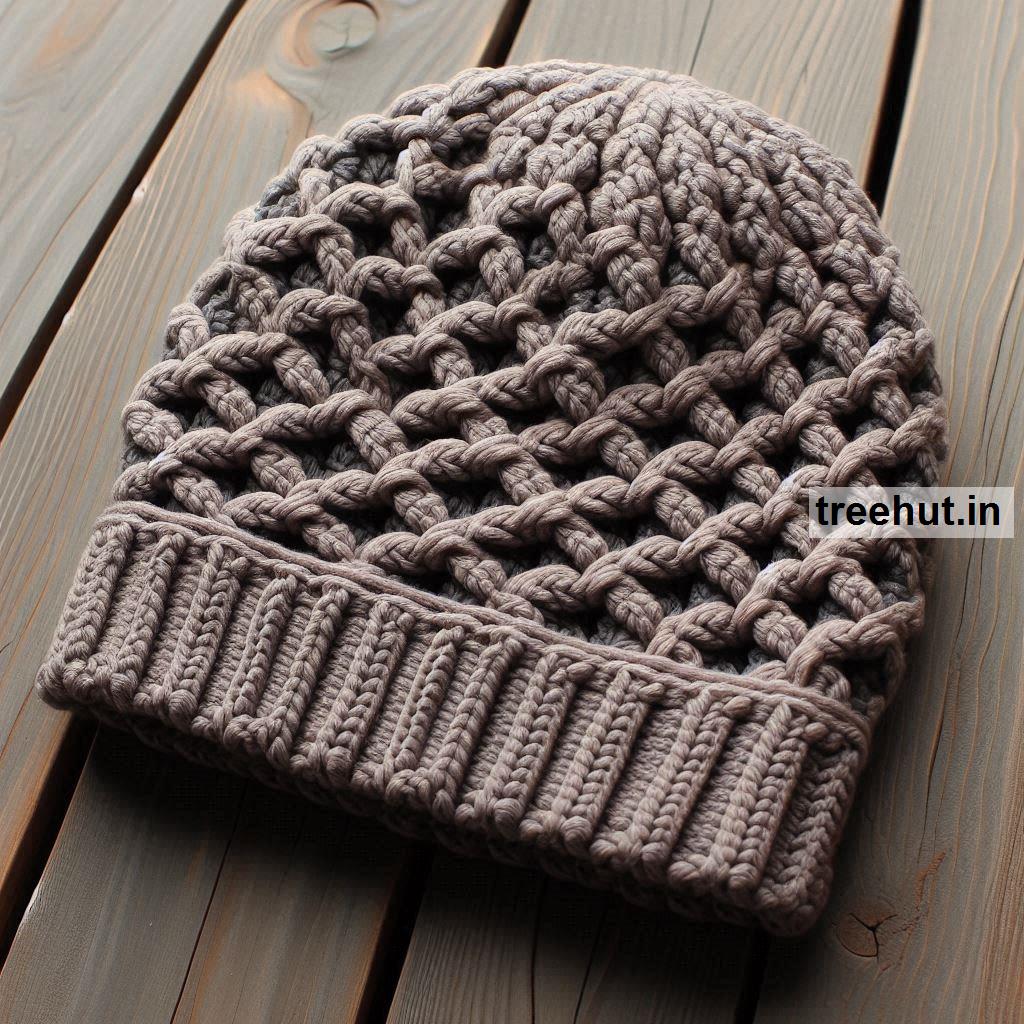
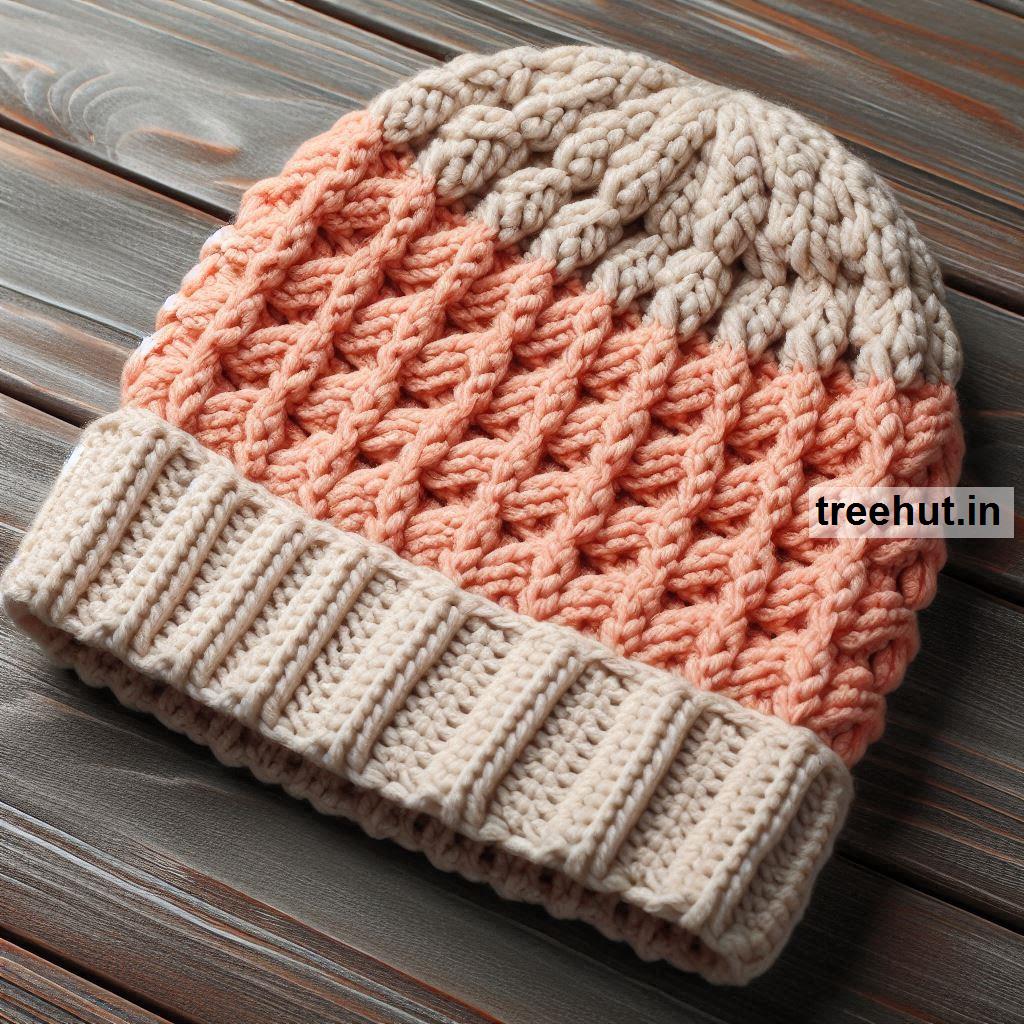
- Textured Patterns: Intermediate crocheters can try textured patterns like cables, popcorn stitches, or puff stitches.
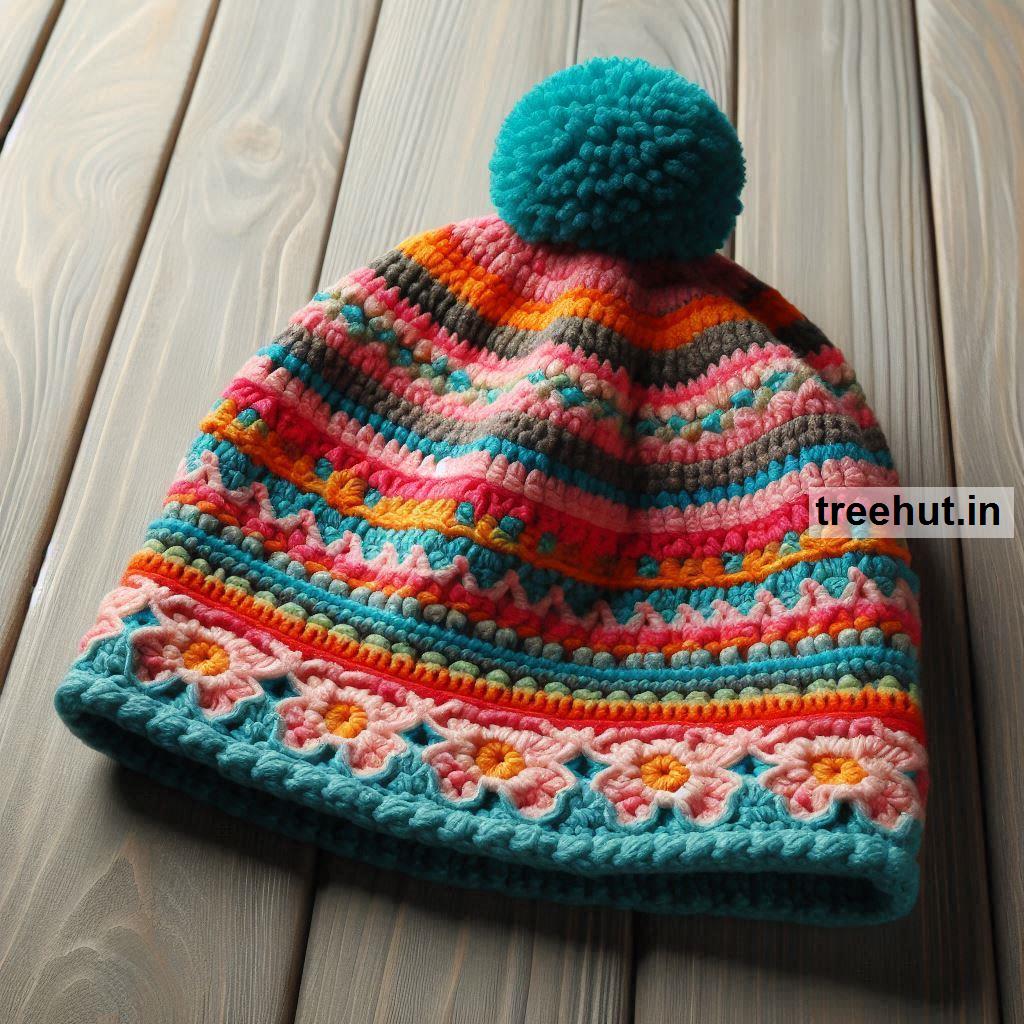
- Advanced Patterns: Experienced crocheters might opt for more complex designs, including colorwork, lace, or intricate stitch combinations.
Select Yarn:
- Yarn Weight: Choose a yarn weight suitable for the hat’s intended use and season. Worsted weight yarn is commonly used for standard hats, while bulky yarn can create a warmer, cozier hat. For lighter, spring or summer hats, consider using DK weight or sport weight yarn.
- Fiber Content: Select yarn based on warmth and comfort. Wool, alpaca, and acrylic blends are popular choices for warmth, while cotton or linen yarns are suitable for lighter hats.
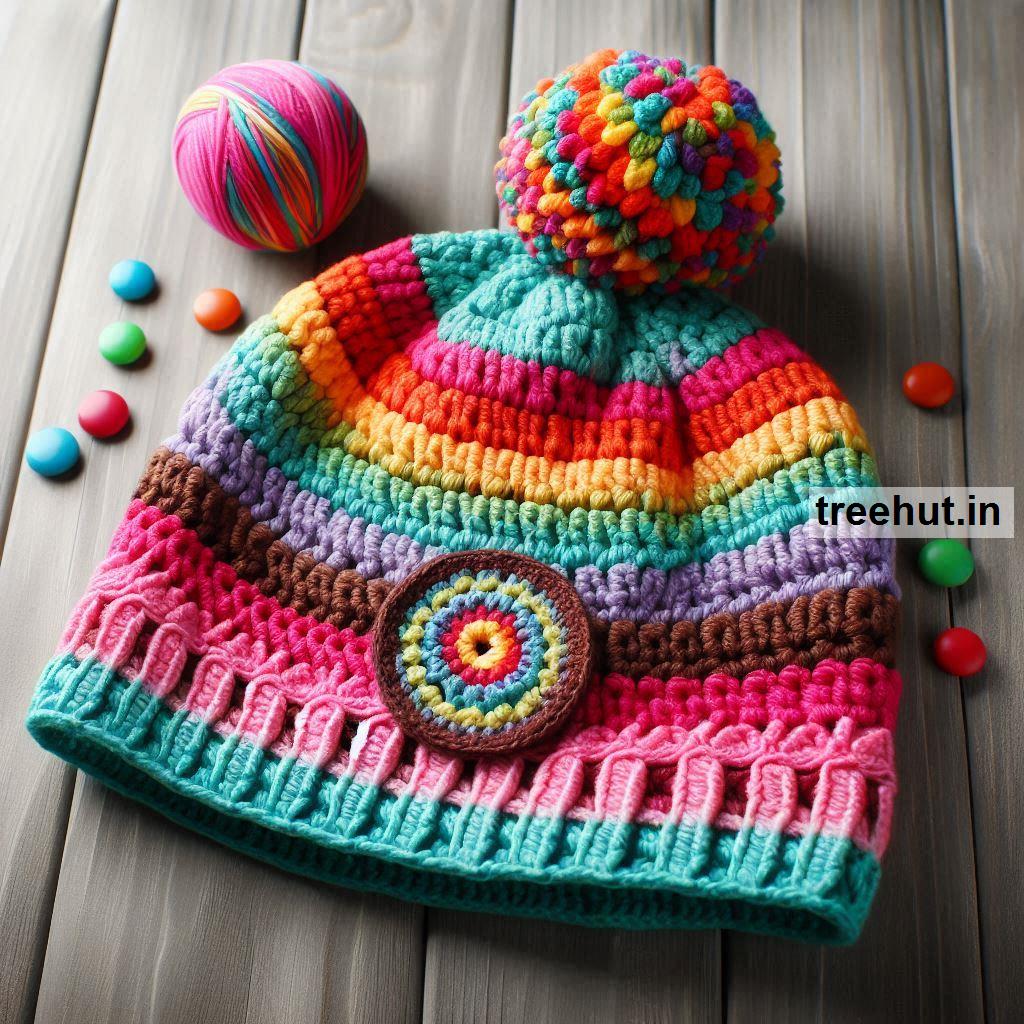
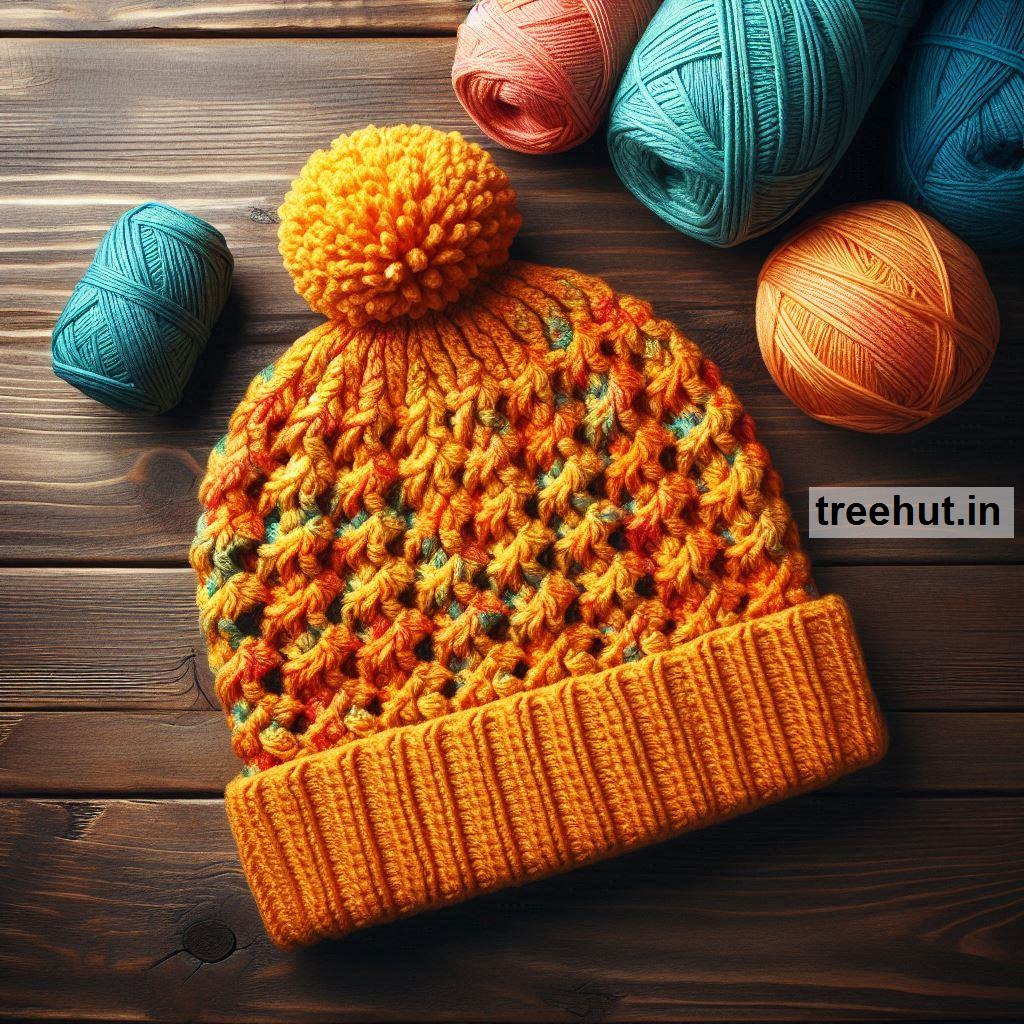
- Color and Texture: Choose colors and textures that reflect your style or the recipient’s preferences. Solid colors provide a classic look, while variegated or self-striping yarns can add visual interest.
Choose a Hook Size:
- Hook Size: Use a crochet hook that matches your yarn weight. Check the yarn label for the recommended hook size or follow the pattern’s instructions.
Crochet the Hat:
- Foundation: Start with a foundation chain or ring that matches the pattern’s instructions. Most hats are worked in the round, so you’ll typically begin with a magic ring or a chain joined into a loop.
- Body: Follow the pattern to work the body of the hat. This often involves working in the round with increases at the top to shape the hat, followed by straight rounds to create the desired height.
- Brim: The brim can be worked in a variety of ways, such as single crochet (sc), half-double crochet (hdc), or double crochet (dc). Some patterns include a foldable brim or a decorative edge.
Finish and Edging:
- Finishing Touches: Once you’ve reached the desired height, finish off the hat according to the pattern instructions. This might involve decreasing stitches at the top or adding a decorative edge.
- Weave in Ends: Securely weave in all loose ends to prevent unraveling.
Blocking the Hat (Optional):
- Blocking: Block your hat to even out stitches and achieve the final shape. This step can help the hat maintain its form and improve the overall appearance.
Tips for Choosing Yarn, Pattern, and Size:
Yarn Care: Consider the hat’s use and care requirements. Choose a yarn that is comfortable against the skin, especially if it will be worn frequently. For easy care, opt for machine-washable yarns.
Pattern Choice: Select a pattern that matches your skill level and the amount of time you have. Simple patterns are great for a quick project, while more complex patterns offer a creative challenge.
Size Considerations: Determine the size of the hat based on its intended wearer. Common sizes include:
- Child’s Size: Approximately 16-18 inches in circumference
- Adult Small/Medium: Approximately 20-22 inches in circumference
- Adult Large/Extra Large: Approximately 22-24 inches in circumference
Use the recipient’s head measurement as a guide and adjust the pattern accordingly. Do consider negative space or stretching capacity of your crochet project to judge finished hat size. This varies based on your yarn, hook size and stitch type and hand tension.
Gauge: Make a gauge swatch to ensure the hat will fit correctly and that the pattern will work with your chosen yarn. Adjust your hook size if necessary to match the pattern’s gauge.
Yarn Substitution: If substituting yarn, ensure it has a similar weight and texture to the one recommended in the pattern. Check the gauge to maintain the correct sizing.
Comfort and Fit: Consider how the hat will be worn. Ensure it fits comfortably and doesn’t feel too tight or too loose. Adjust the pattern if needed to achieve the desired fit.
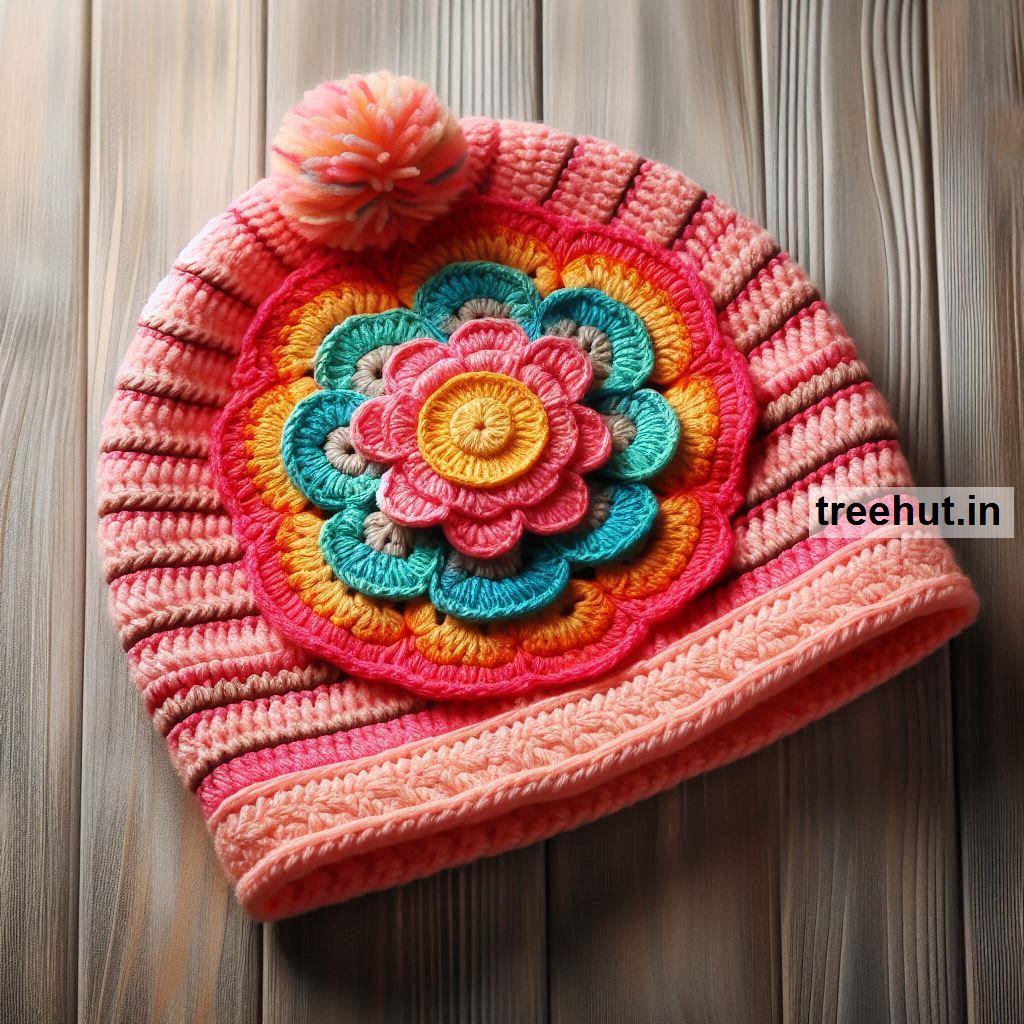
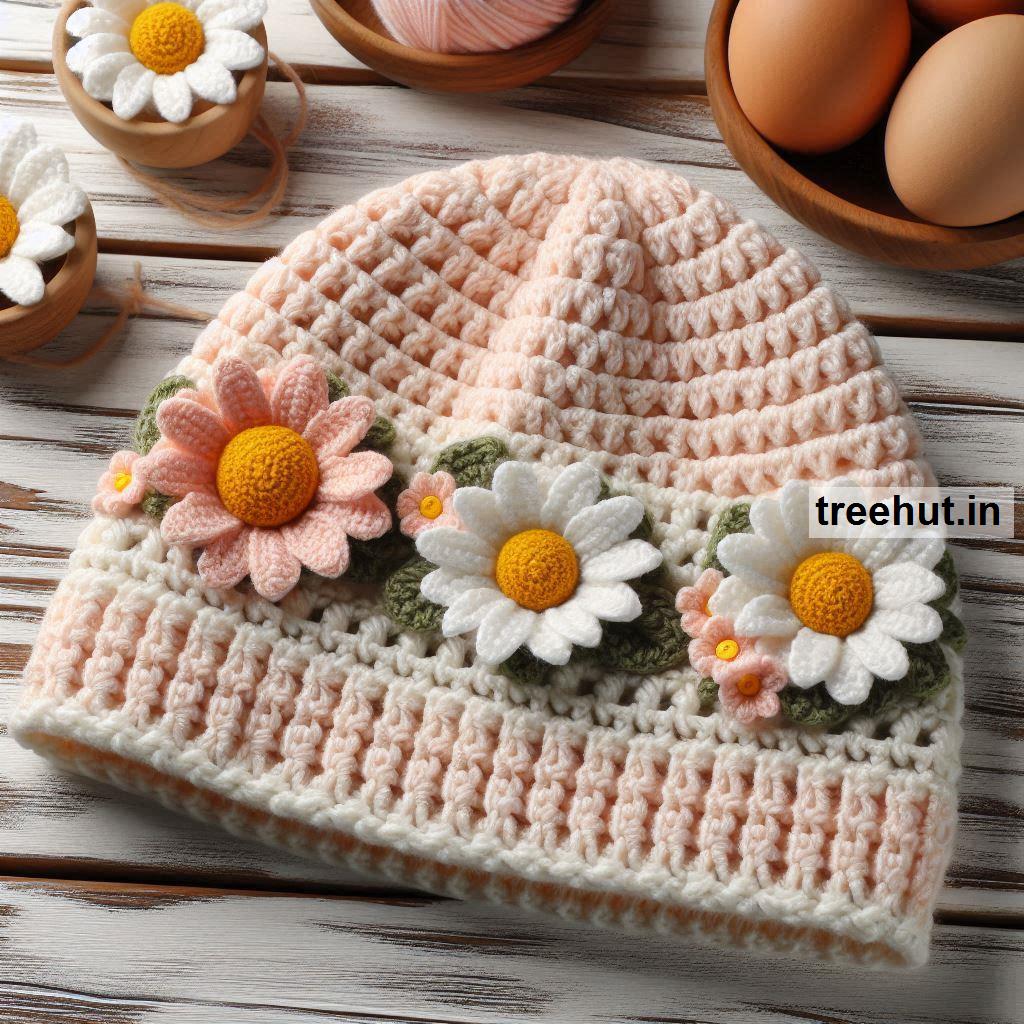
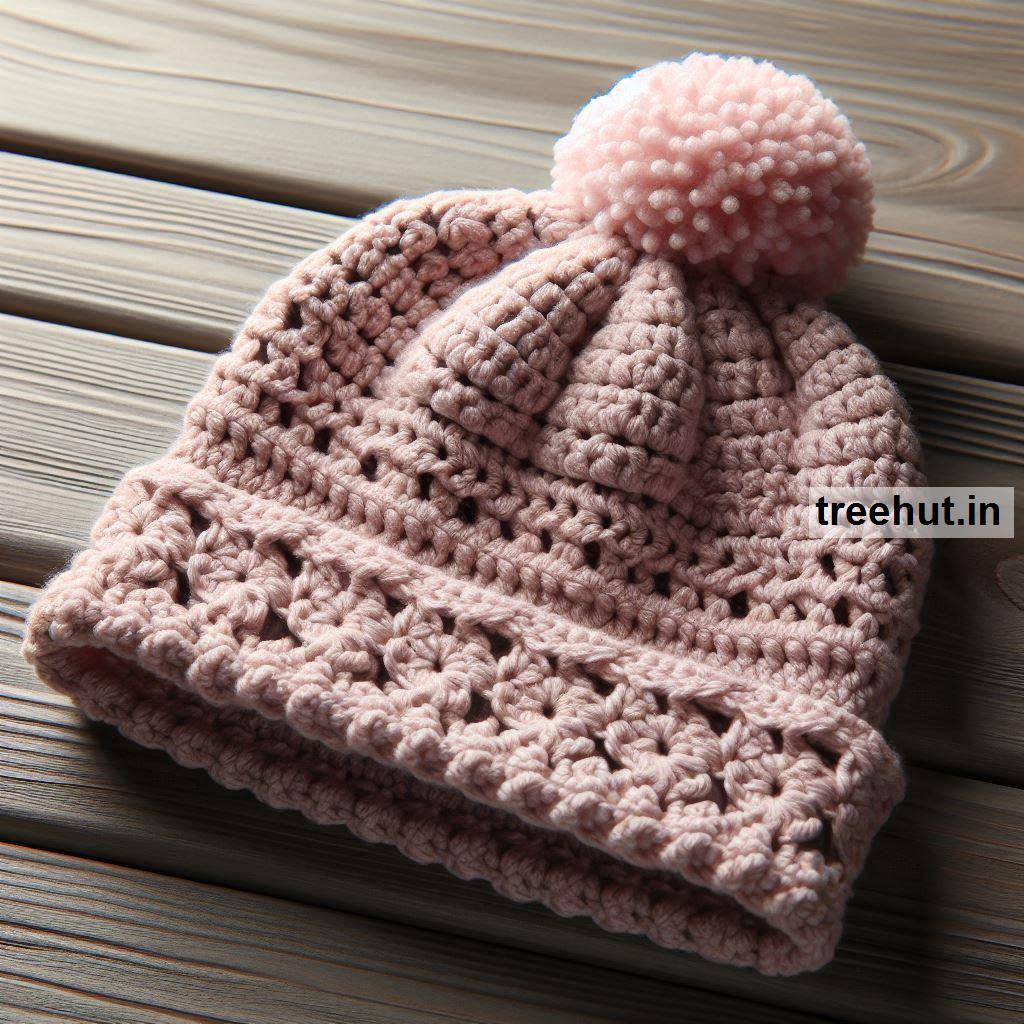
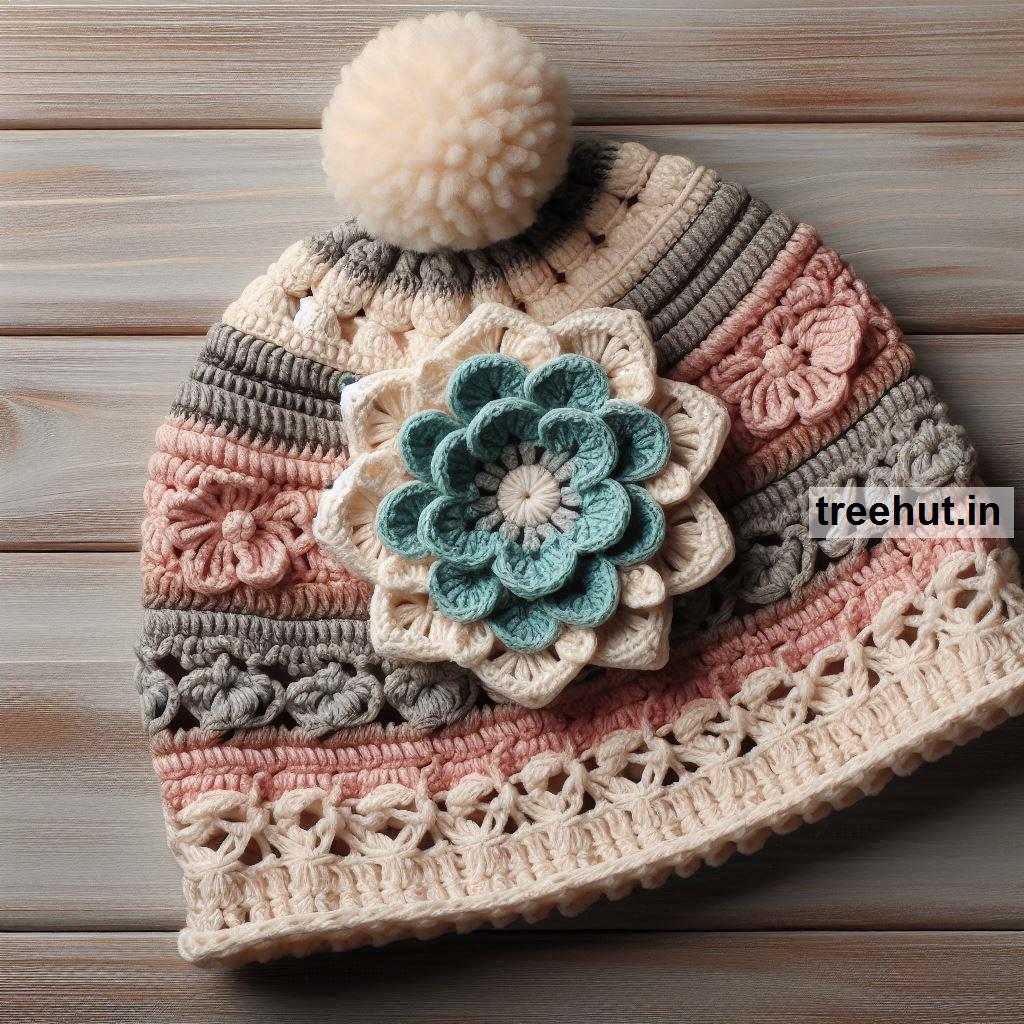
Personal Touches: Add personal touches to the hat, such as embellishments, appliqués, or a pom-pom, to make it unique and tailored to the recipient’s style.
By following these steps and tips, you can create a stylish and functional hat that suits your needs or the needs of the person you’re making it for.