



How do I crochet a border around my project? Crochet Techniques
How do I crochet a border around my project?
Crocheting a border around your project adds a professional and finished touch, whether it’s a blanket, scarf, garment, or any other crochet piece. Here's a detailed guide on how to crochet a border, with tips to ensure it complements your project.
1. Finish Your Main Project
Before adding the border, make sure that your project is fully completed:
- Fasten off any loose yarn ends from your main piece, except for the spot where you'll be starting the border.
- Weave in any leftover ends to avoid tangles while crocheting.
2. Choose Your Yarn and Hook
- Yarn Choice: For a harmonious look, select the same yarn weight as your main project. For contrast, choose a different color, but be sure it complements the existing design.
- Hook Size: Use the same hook size that you used for the main body. If you want a looser border, consider going up a hook size.
3. Attach the Yarn
- Start in a corner if you’re working on a square or rectangular piece, or choose an inconspicuous spot for round projects.
- Attach the yarn by inserting your hook into the edge stitch, yarn over, and pull through to form a slip stitch.
- If the edge has irregular stitches (like on curves), it may be helpful to make a foundation round of single crochet (sc) stitches to even things out.
4. Crochet the First Round
Your first round of stitches will help to establish an even base. Here are some options:
- Single Crochet (sc): This is a simple, clean option that creates a solid edge. Work 1 sc into each stitch along straight edges. For curves or corners, add extra stitches as needed to keep the piece flat (usually 3 sc in each corner).
- Half Double Crochet (hdc): Adds a bit more height than sc but still keeps the border clean and neat.
- Double Crochet (dc): Works well for larger or more decorative borders, providing a higher stitch for a more prominent edge.
5. Add More Rounds for Thickness
If you want a thicker border, continue working additional rounds. Here are some tips:
- Corners: In each corner (or wherever you want the border to turn), you’ll need to add extra stitches to maintain a clean corner. A common formula for turning a corner is to work 3 stitches (e.g., 3 sc, 3 hdc, or 3 dc) into the corner stitch. Alternatively, you can work 2 dc, ch 2, 2 dc for a more defined square corner.
- Straight Edges: For straight edges, work 1 stitch in each stitch of the previous round, adjusting the tension as needed to keep the piece flat.
6. Choose a Border Pattern
You can keep the border simple or go for a more decorative edge. Here are a few popular options:
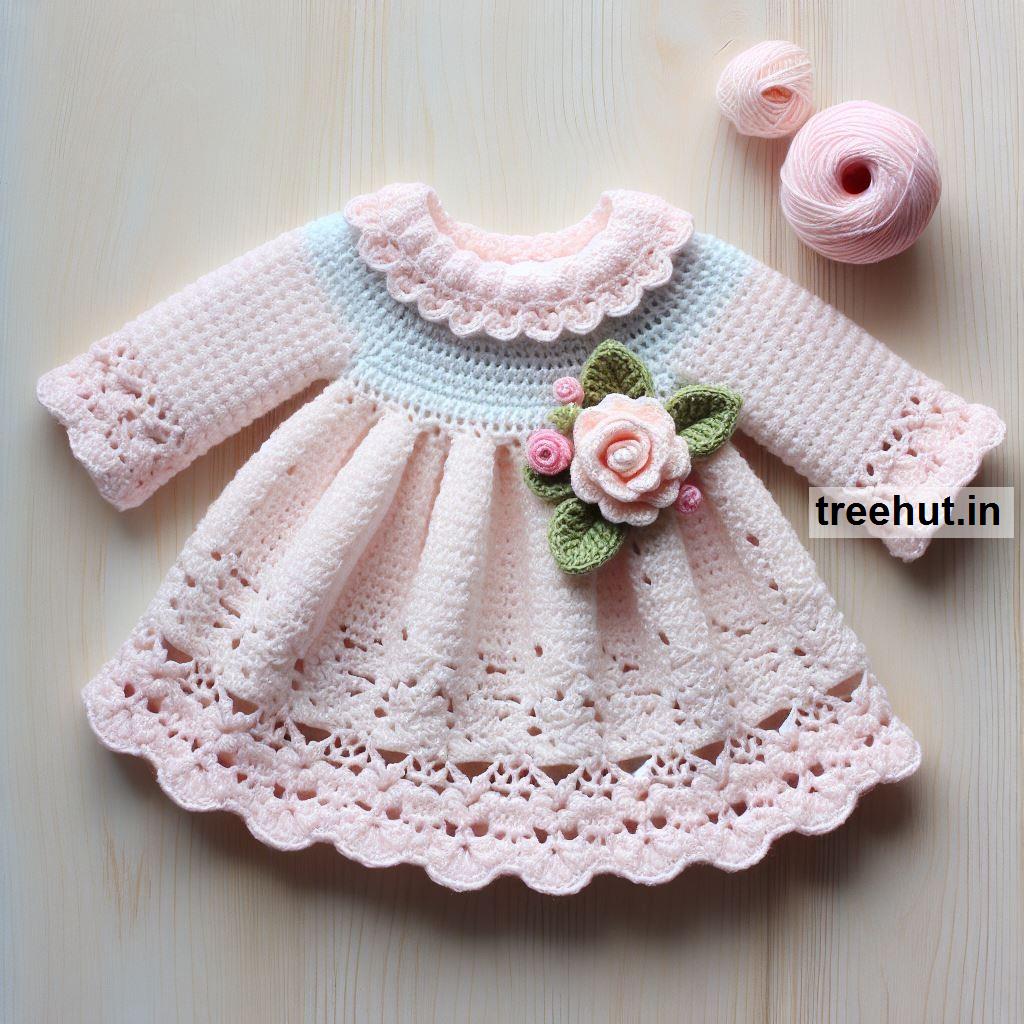
- Shell Border: Work 5 double crochet stitches in the same stitch to create a shell. Skip a few stitches and repeat. This creates a wavy, scalloped edge.
- Picot Border: After a round of sc or dc, you can add picots (a small pointy loop of chains). To do this, chain 3, then slip stitch into the same stitch. Repeat around for a delicate, lacy look.
- Crab Stitch (Reverse Single Crochet): This stitch is worked backward (from left to right), giving the border a unique, twisted appearance. It's a great choice for finishing touches on blankets or garments.
7. Finish and Weave in Ends
Once your border is complete:
- Fasten off the yarn by cutting it and pulling it through the final loop on your hook.
- Weave in any loose ends using a yarn needle to tuck them securely into the border stitches.
8. Optional: Blocking
Blocking helps to shape and set your border, especially if it's a decorative or lace border. To block:
- Wet the entire project or use steam.
- Lay it flat on a towel or blocking mat, pinning it into place if necessary.
- Let it dry completely before removing the pins.
Summary
To crochet a border around your project, attach the yarn to an edge, choose a simple stitch (sc, hdc, or dc) for the foundation round, and work around the entire edge, adjusting for corners and curves. For a thicker or more decorative border, add multiple rounds and incorporate patterns like shells, picots, or crab stitch. Finally, weave in any ends and block your project for a polished finish.