





How to change colors in crochet without creating knots or gaps? Crochet Techniques
How do I change colors in crochet without creating knots or gaps?
Changing colors in crochet is a fundamental technique used in projects like striped blankets, multicolored granny squares, or any design requiring multiple hues. The goal is to make seamless color transitions without leaving noticeable knots or gaps, ensuring your project looks clean and professional. Here’s how you can change colors smoothly:
Steps for Changing Colors in Crochet
Work to the Last Stitch Before the Color Change:
- When changing colors in crochet, it’s important to work the new color into the last stitch of the previous row or round. Specifically, you’ll want to stop when you reach the final yarn-over (yo) of the last stitch before the new color starts.
- For example, if you’re working in double crochet (dc), complete the stitch up to the last step, leaving two loops on the hook. This is where you will introduce the new color.
Introduce the New Color:
- Step 1: Grab the new color yarn and place it over the hook, ensuring the tail is long enough to weave in later.
- Step 2: Yarn over with the new color and pull it through the two loops on your hook to complete the stitch.
- The old color will now be dropped, and the new color will be used to continue the project.
Tighten and Secure:
- After changing colors, gently pull both the old and new yarn tails to snug up the color transition. This prevents any looseness or gaps between stitches.
- It’s important to maintain a consistent tension, as too much pulling can distort the fabric, while too little can cause loose stitches.
Continue Crocheting with the New Color:
- Now that the new color is in place, continue crocheting as usual. The next stitch will be made with the new yarn, and the transition should appear seamless.
- If working in rounds, you can join the new color at the end of a round using a slip stitch to start the next one with the new color.
Weave in the Yarn Ends:
- When changing colors, you’ll have yarn tails from the old and new colors. It’s essential to weave in these ends securely to prevent unraveling.
- Use a yarn needle to weave the tails into the back of the stitches, preferably in a zigzag or diagonal pattern to ensure they stay hidden and secure.
Color Changing Tips to Avoid Gaps:
Work with a Consistent Tension:
- Maintaining an even tension during the color change process helps ensure that the fabric remains uniform. Loose stitches can create gaps, so keep your tension snug but not too tight.
Use the "Invisible" Color Change Method (for Amigurumi or Stripes):
- When working in the round, particularly with amigurumi or projects where color changes are more visible, you can use the "invisible" color change method:
- When you get to the last stitch of the old color, work it as usual.
- After completing the stitch, slip stitch into the next stitch using the new color. This helps avoid an obvious step or jog in the color transition, which can happen in circular work.
- When working in the round, particularly with amigurumi or projects where color changes are more visible, you can use the "invisible" color change method:
Carry the Yarn Along (in Stripes or Fair Isle Crochet):
- If you’re working with stripes or alternating colors frequently, you can carry the unused yarn along the back (or wrong side) of the work to avoid cutting and rejoining. This method is particularly useful in projects like Fair Isle crochet.
- Simply hold the unused yarn along the top of the stitches and crochet over it with the active yarn. This secures the unused yarn in place while keeping the back of your project tidy.
Choose Yarn Colors Wisely:
- If the color change is between two high-contrast colors (e.g., black and white), the transition might appear more noticeable. In these cases, make sure to weave in the ends carefully, as any loose stitches could show through the contrasting colors.
- For more subtle transitions, choose colors that blend or fade into each other, like shades of the same color family.
Avoid Knots:
- Some crocheters tie knots when changing colors, but this can result in bulky spots in your fabric. Instead, rely on weaving in the ends securely. If you’re worried about unraveling, use a yarn needle to weave the tails into the stitches in multiple directions to keep them from slipping out.
Best Techniques for Different Projects:
For Stripes in Rows:
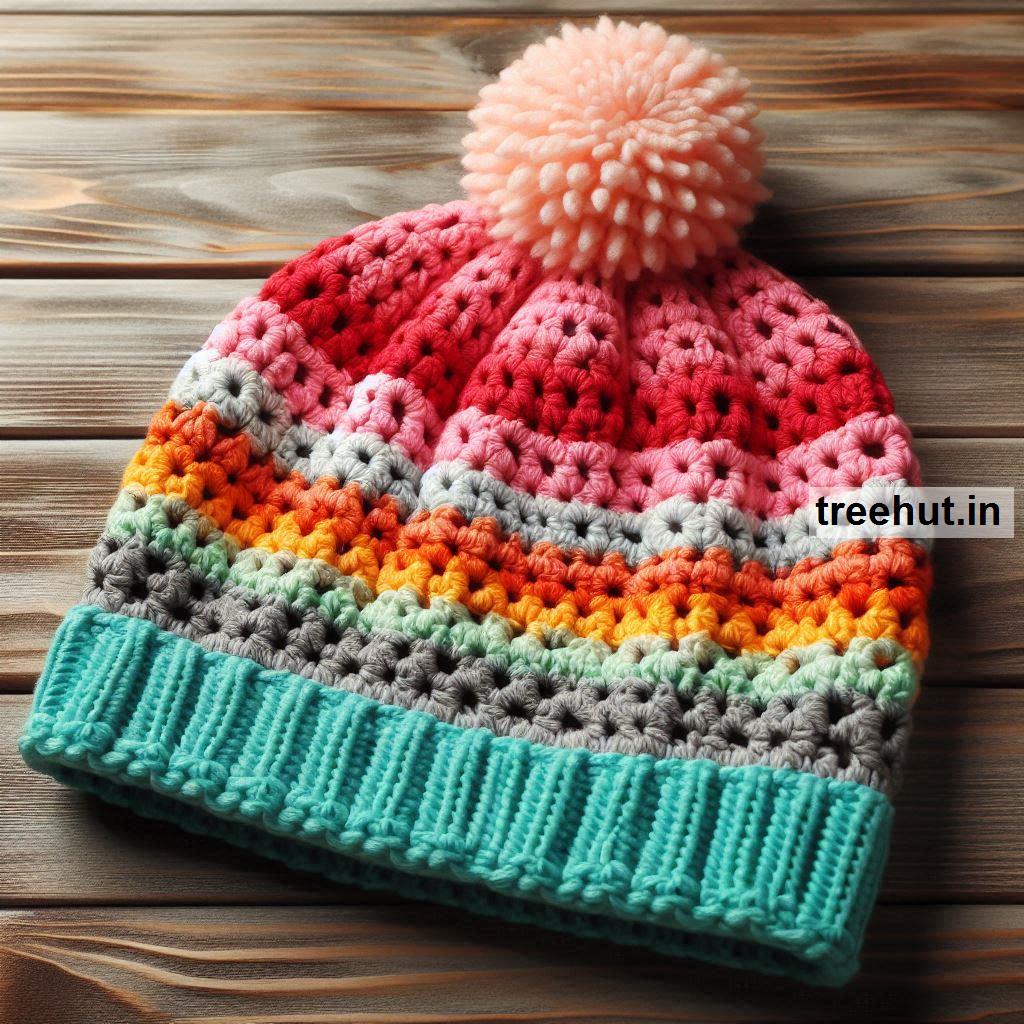
- When working stripes in rows (e.g., blankets or scarves), always change colors on the last yarn-over of the previous stitch, as described earlier. Cut the old color if you won’t be using it for several rows, leaving a tail to weave in.
- For long stretches of the same two colors (like alternating two-row stripes), you can carry the yarn up the side of the project without cutting, but make sure the floats on the side remain neat.
For Granny Squares or Rounds:
- Change colors at the end of a round, before starting the next. Slip stitch to join the new color, or cut the old yarn, weave in the tail, and attach the new yarn in a corner or chain space for a neat color transition.
For Amigurumi:
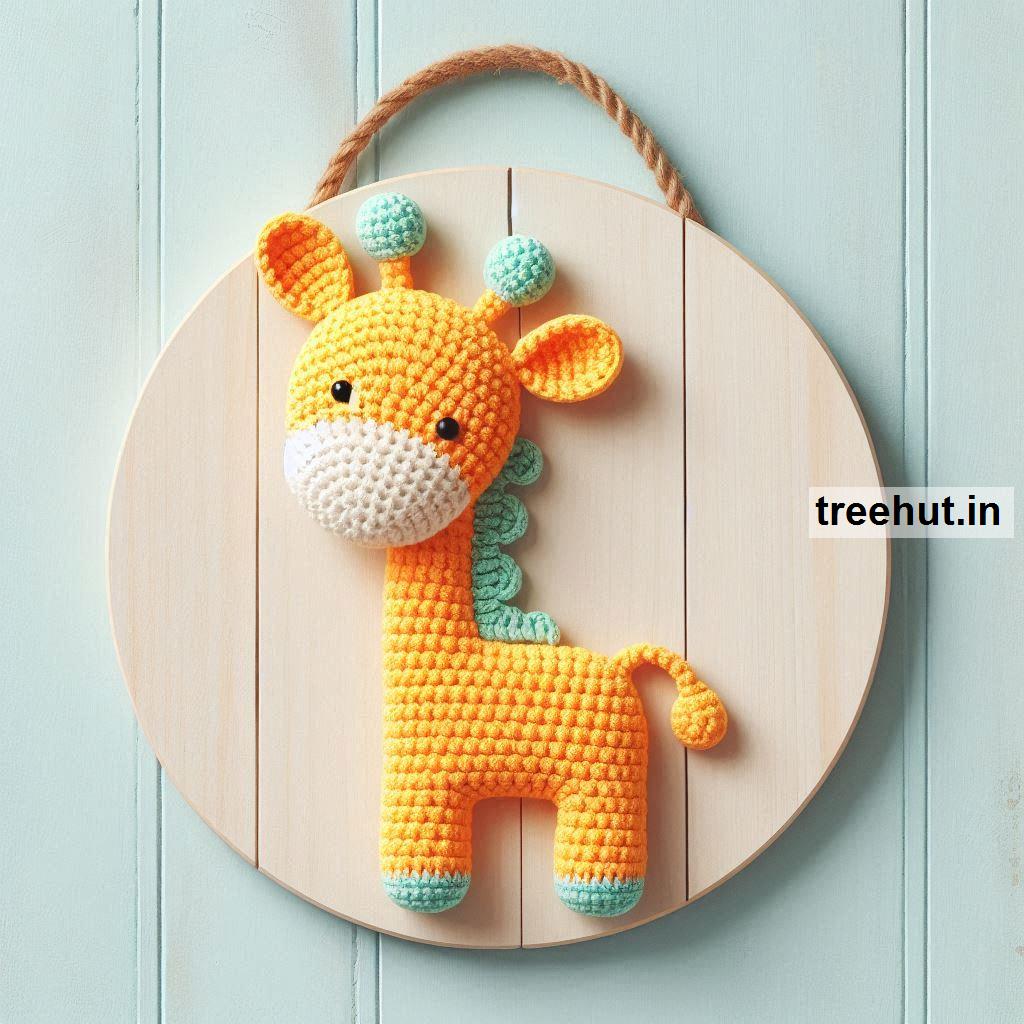
- Use the "invisible" color change method when working in rounds. This keeps the transition seamless and avoids the appearance of a "step" in the color pattern, which can be more obvious in 3D projects like toys or dolls.
Color changes can add vibrant detail and character to your crochet projects, but they need to be done smoothly to avoid unsightly gaps or knots. By following these methods and tips, you can ensure that your color changes are neat, professional, and enhance the overall appearance of your work. With practice, you'll become more comfortable with transitioning between colors, allowing you to explore more creative designs and patterns in your crochet projects.